|
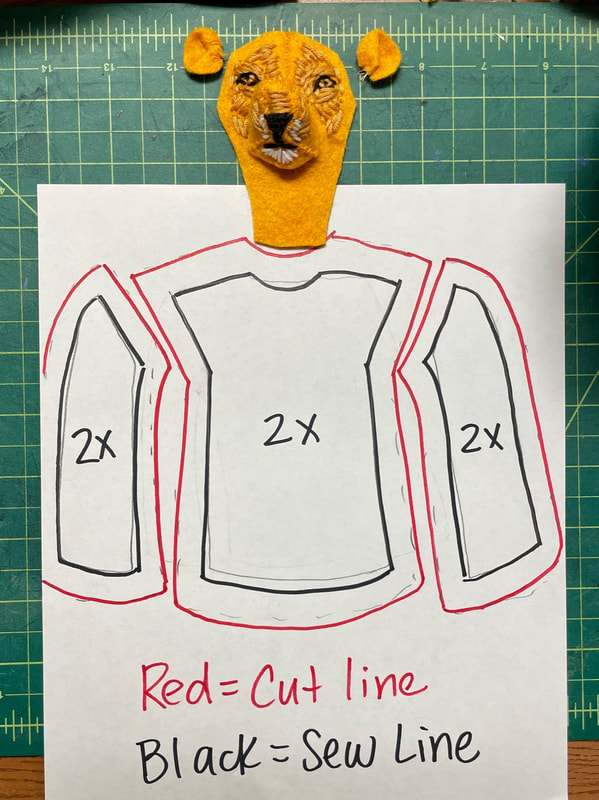
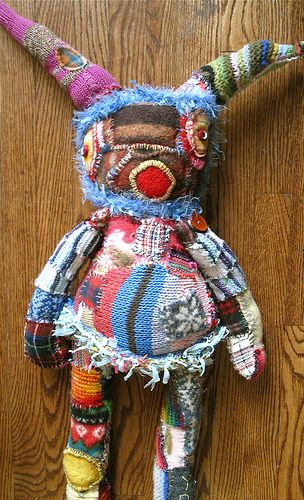
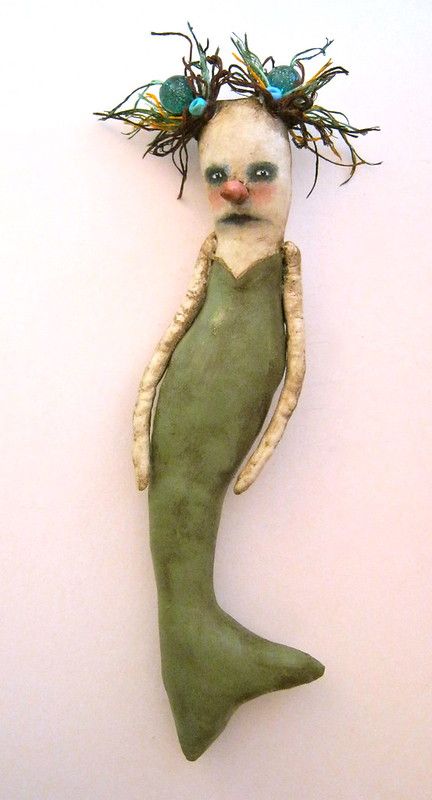
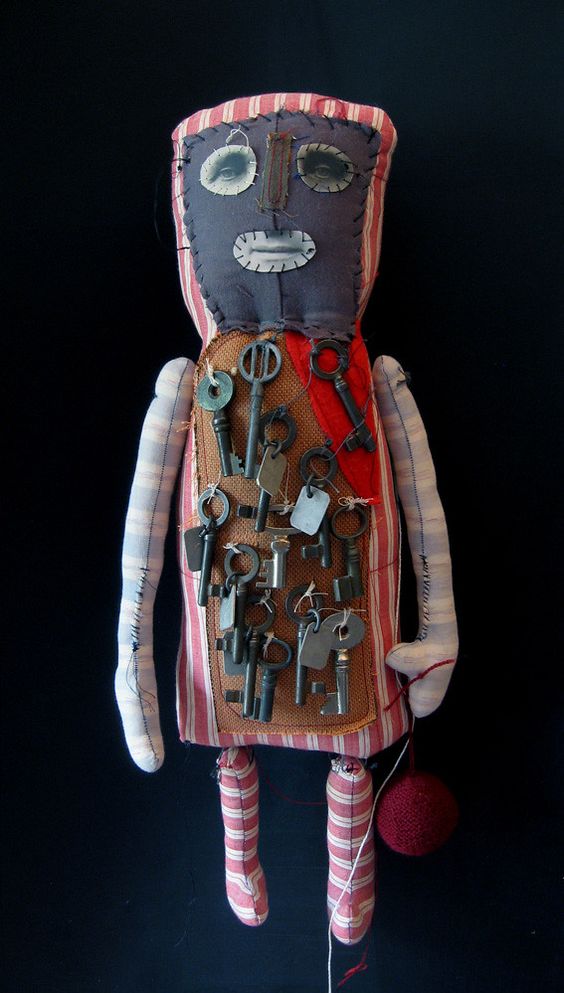
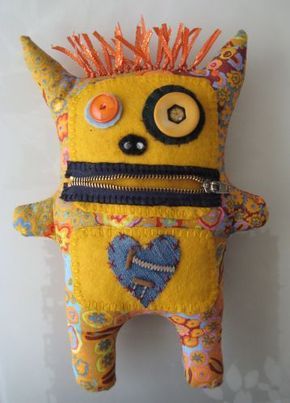
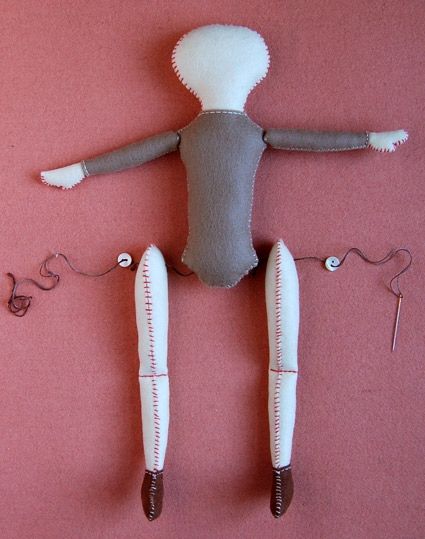
Using fabric, embroidery floss, yarn, string and our sewing machines, we will construct a stuffed animal, creature, or doll of your own creation. We will be using fabric that frays (where the strings start to unravel by the edges) so we have to leave at least 1/4th of an inch border that is larger than your finished piece. To begin this process:
See examples HERE.
0 Comments
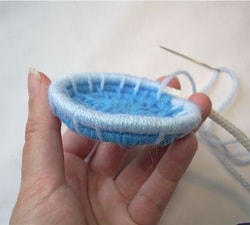
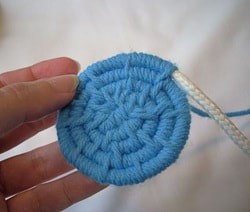
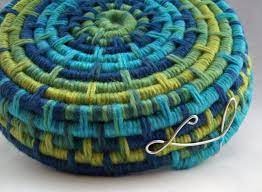
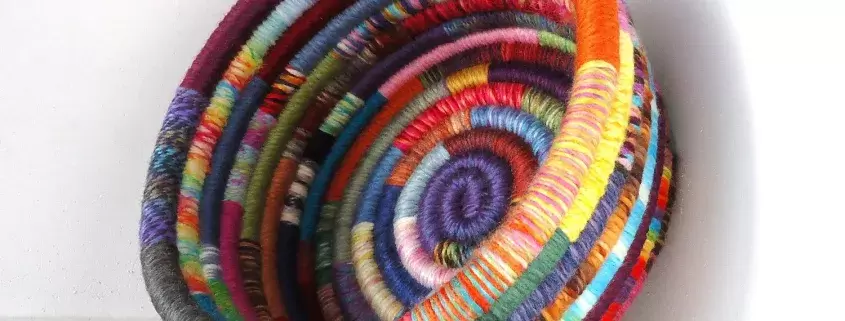
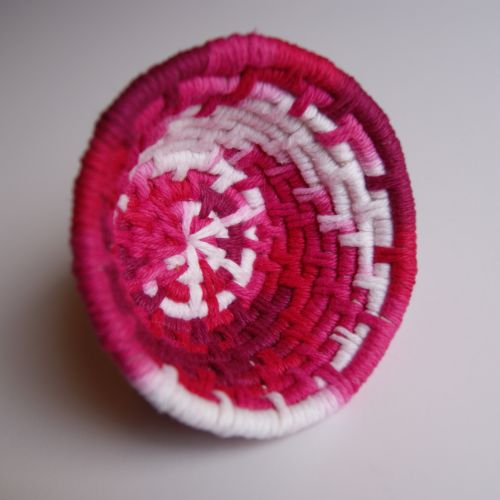
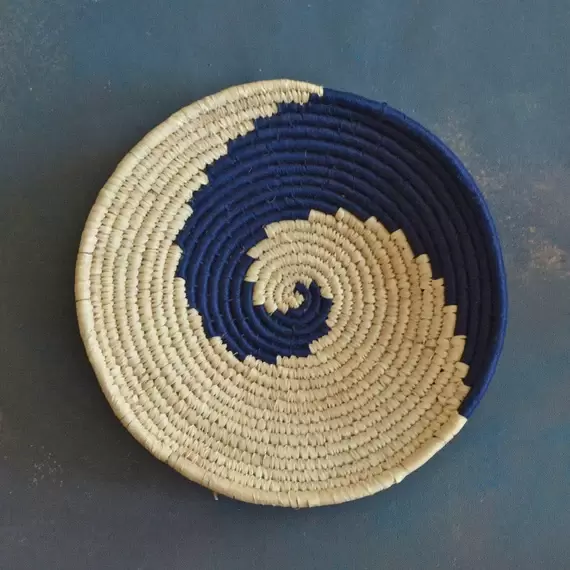
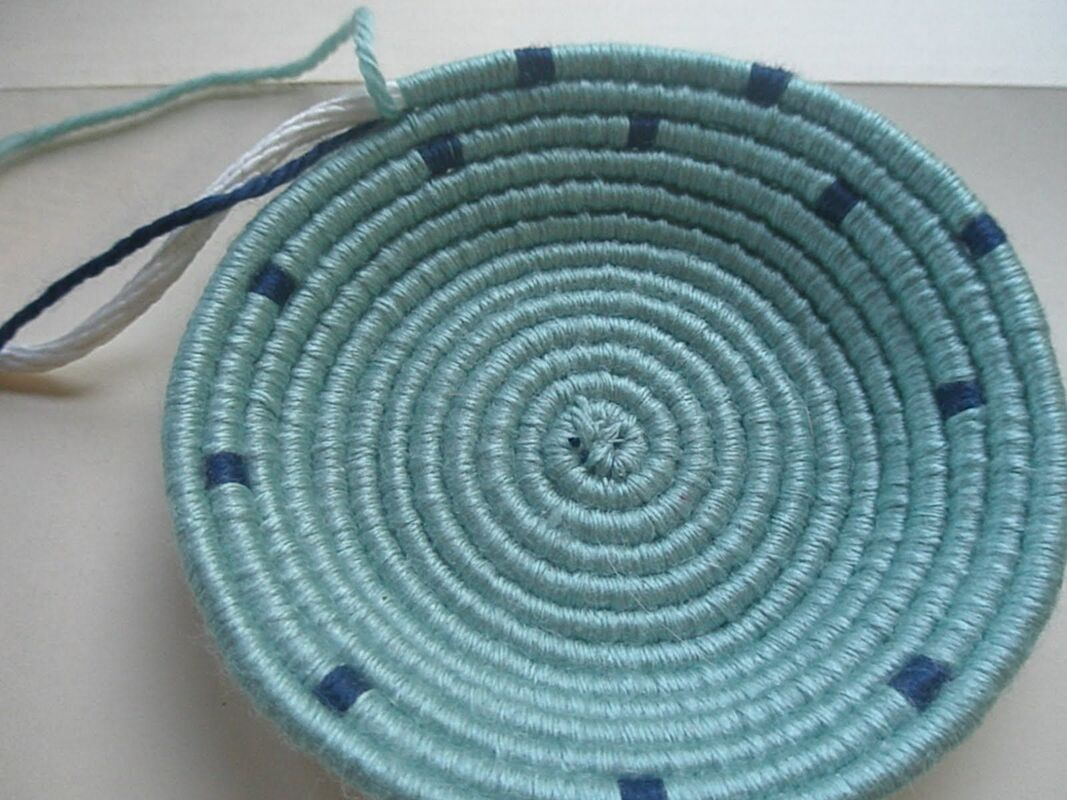
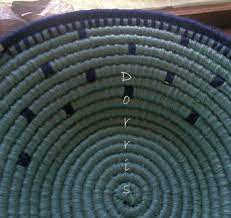
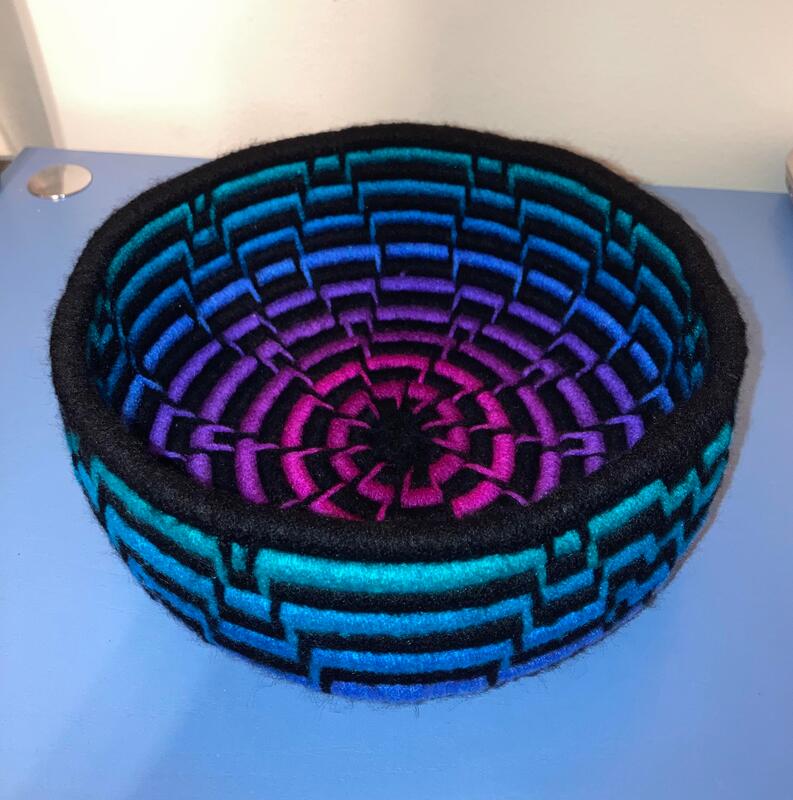
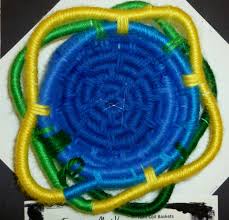
Using rope and yarn we will construct a coiled basket following the steps outlined in this Tutorial (click HERE).
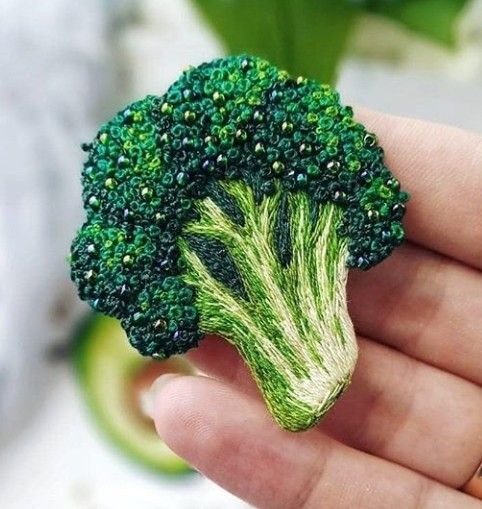
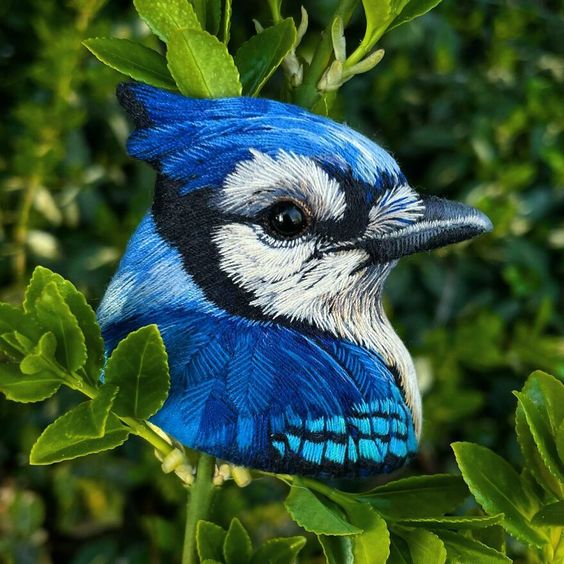
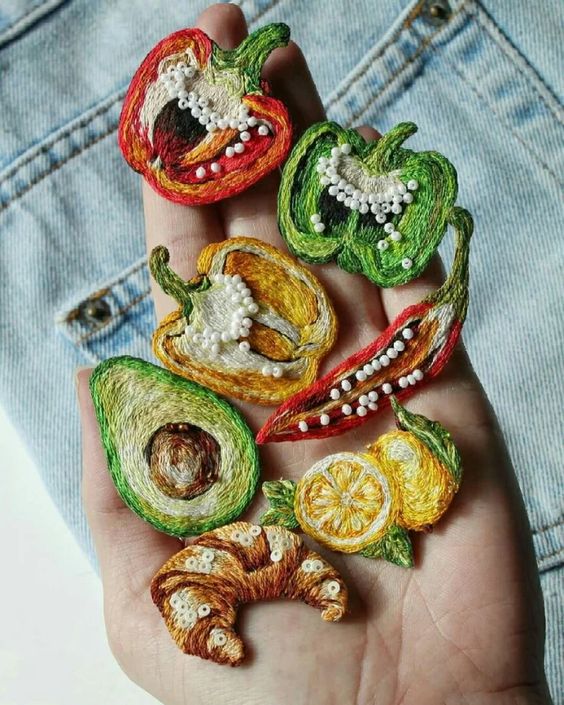
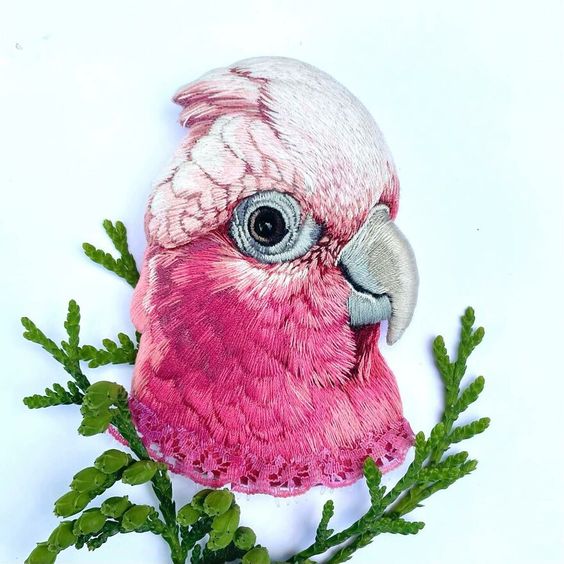
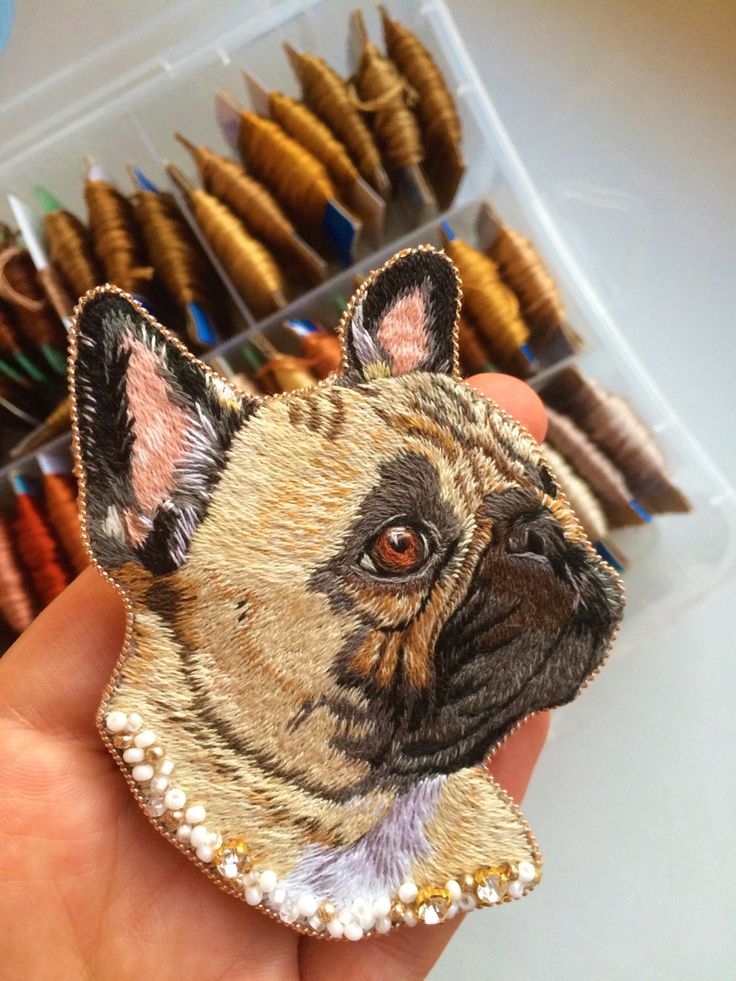
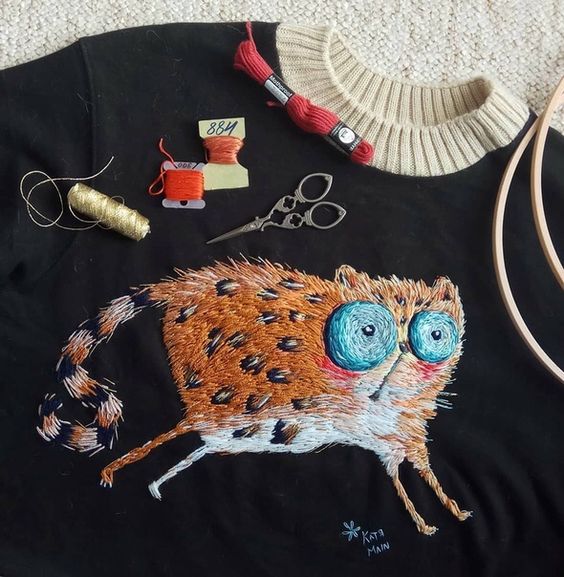
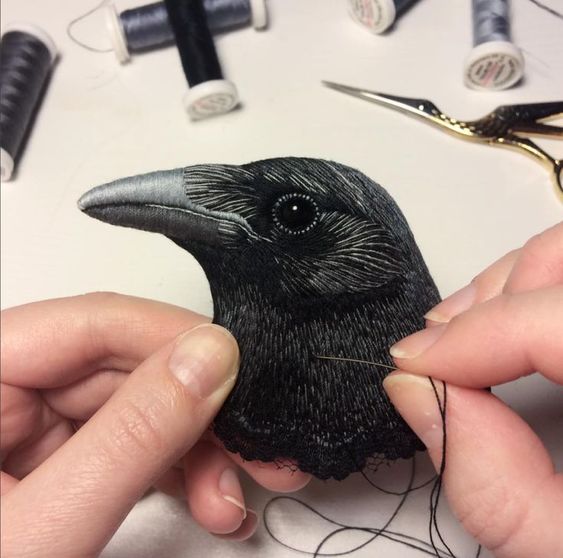
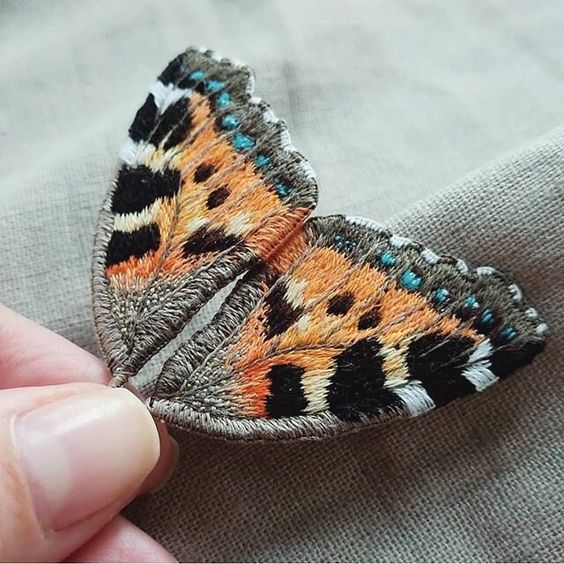
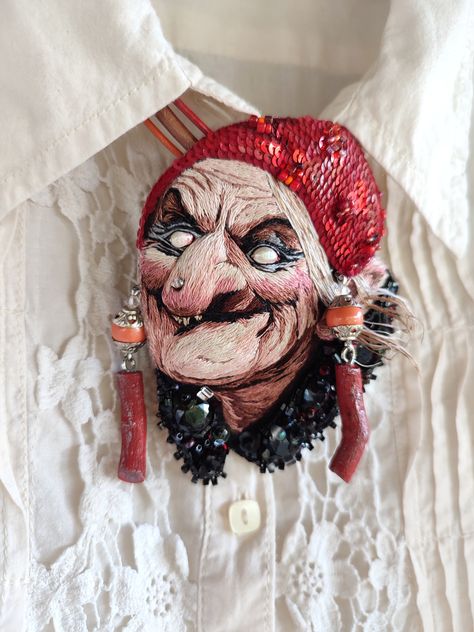
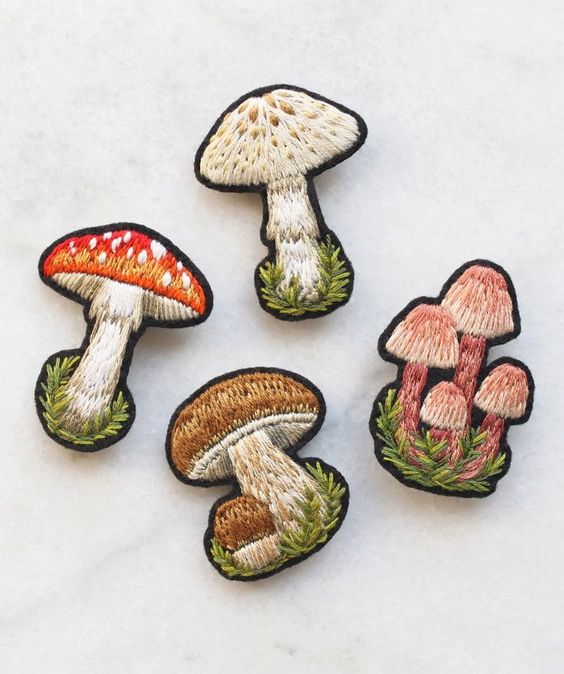
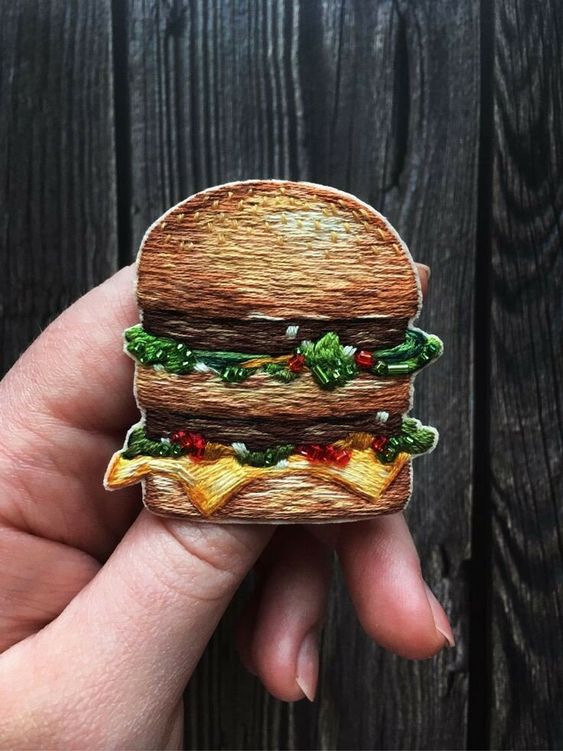
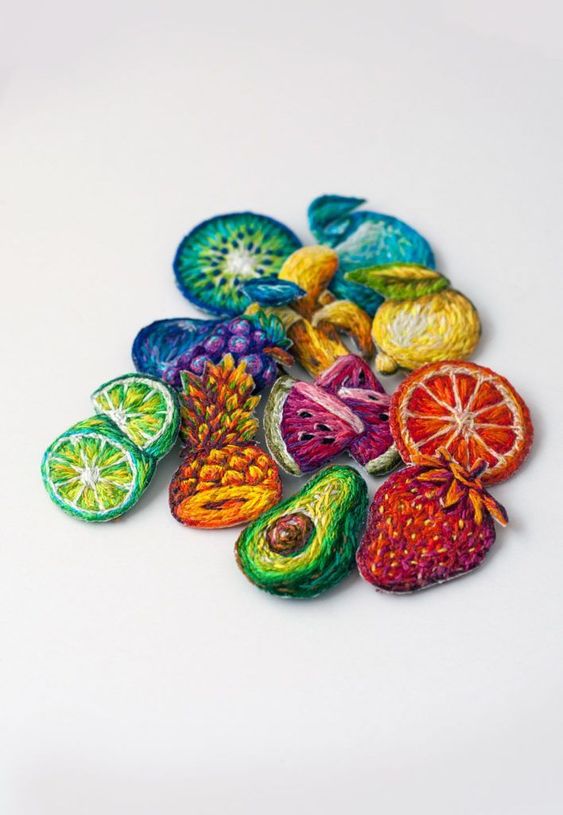
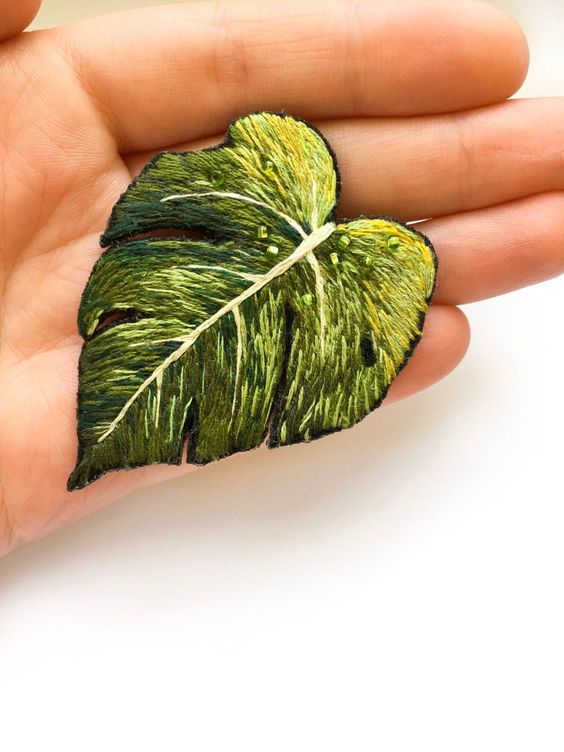
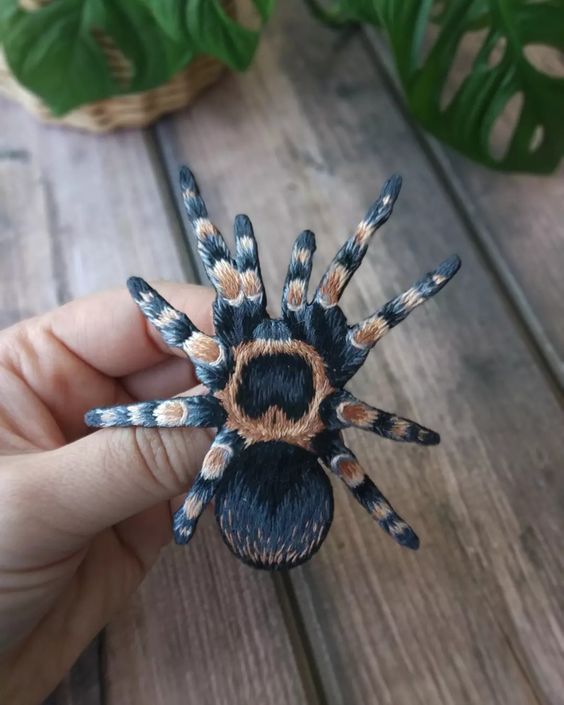
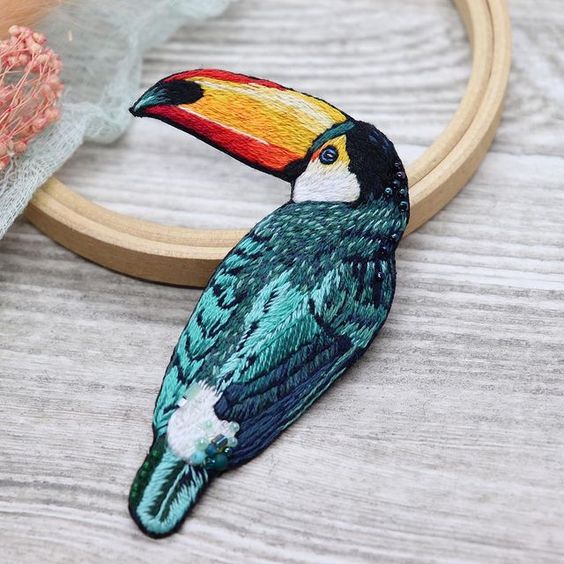
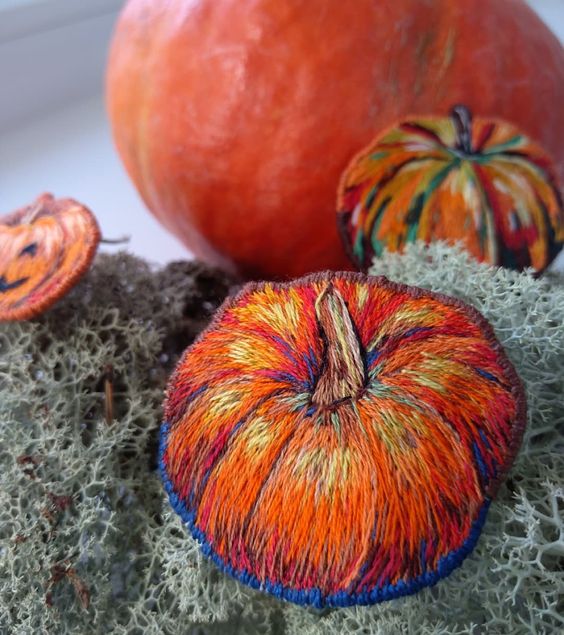
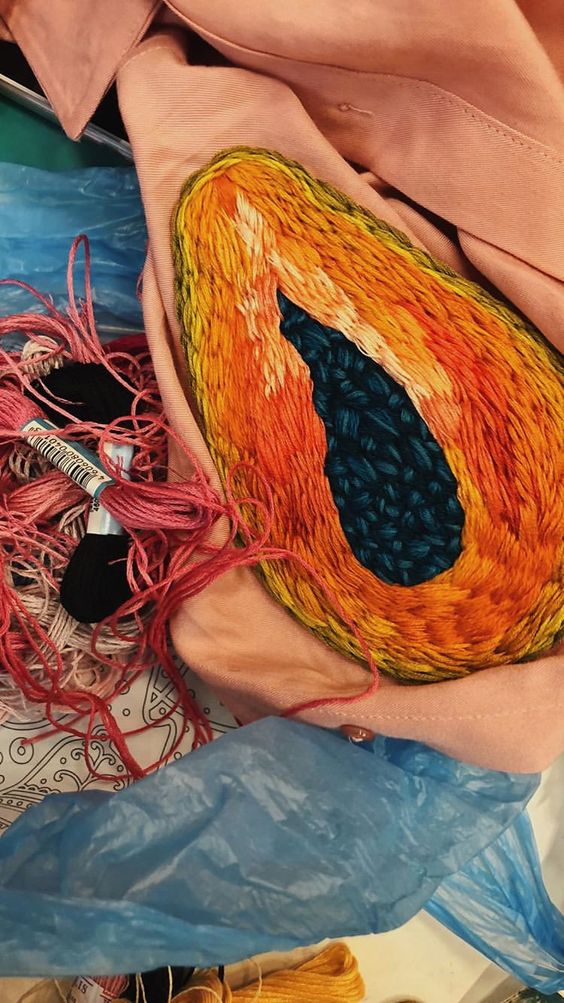
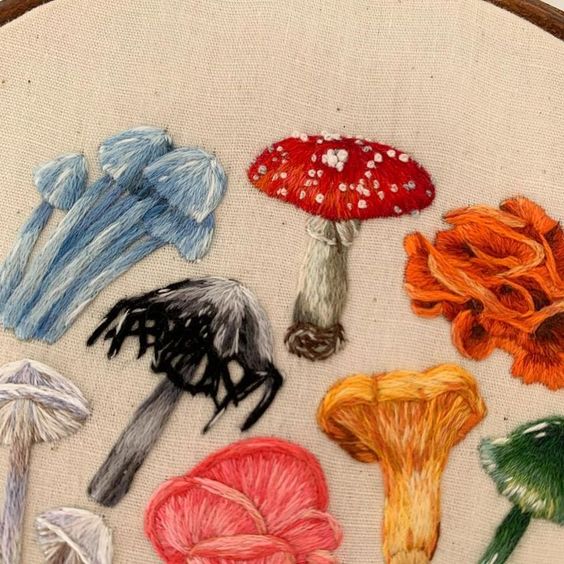
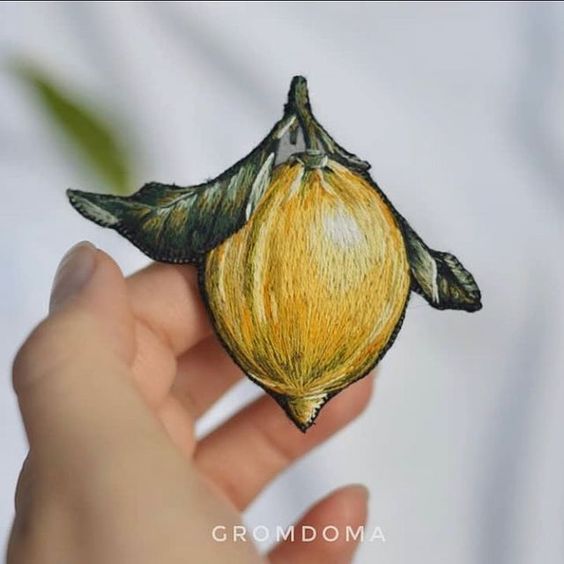
We will be learning how to create a detailed image with string by embroidering on felt to make a wearable broach or patch. Embroidery Art is created with either Embroidery Floss or Various Colored String that is closely stitched and blended with other colors of string to capture the details of whatever image you want to make. Each stitch should be fairly short in length (no more than 1/4th of an inch) and very close to the previous stitch to completely cover the surface you are stitching on. For this project you will:
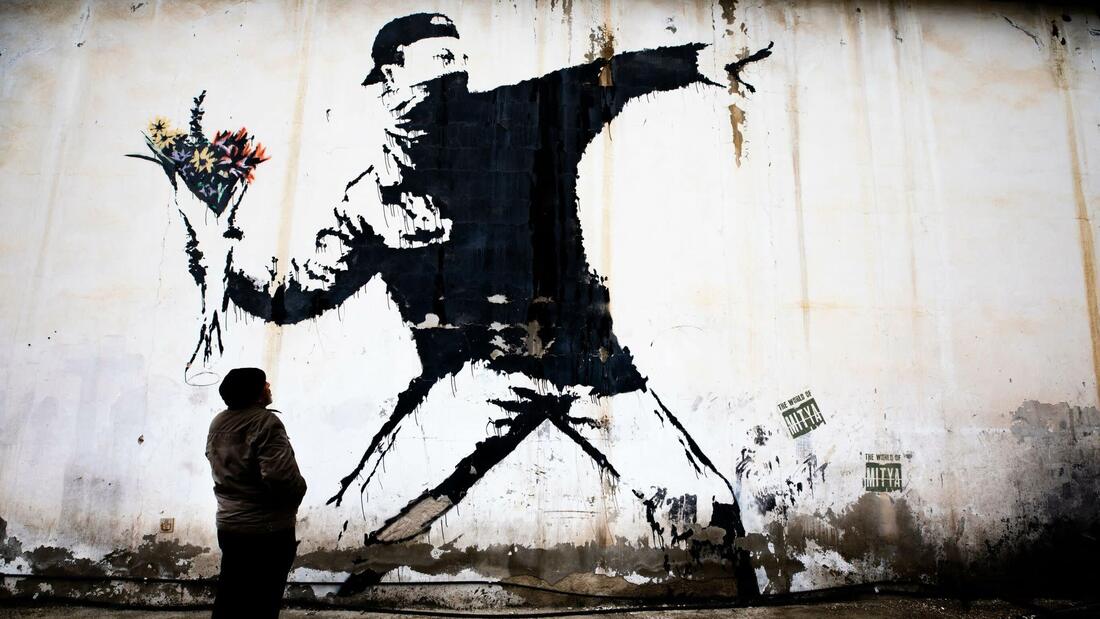
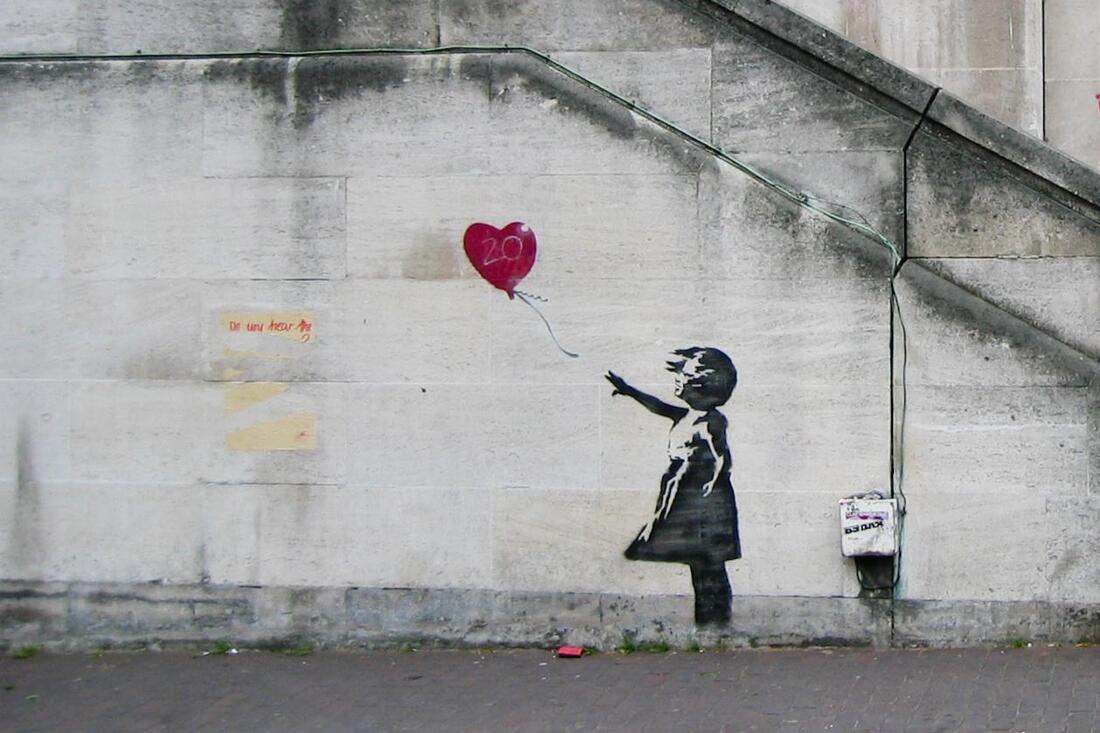
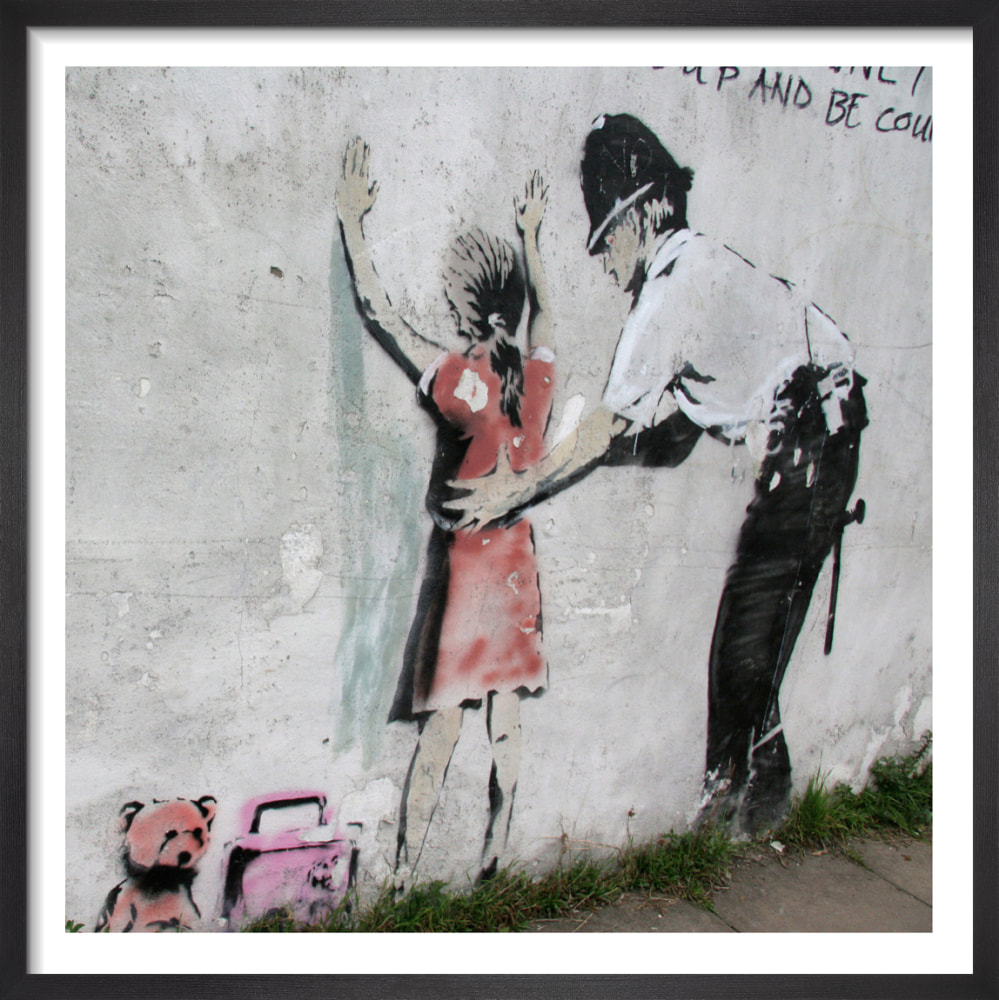
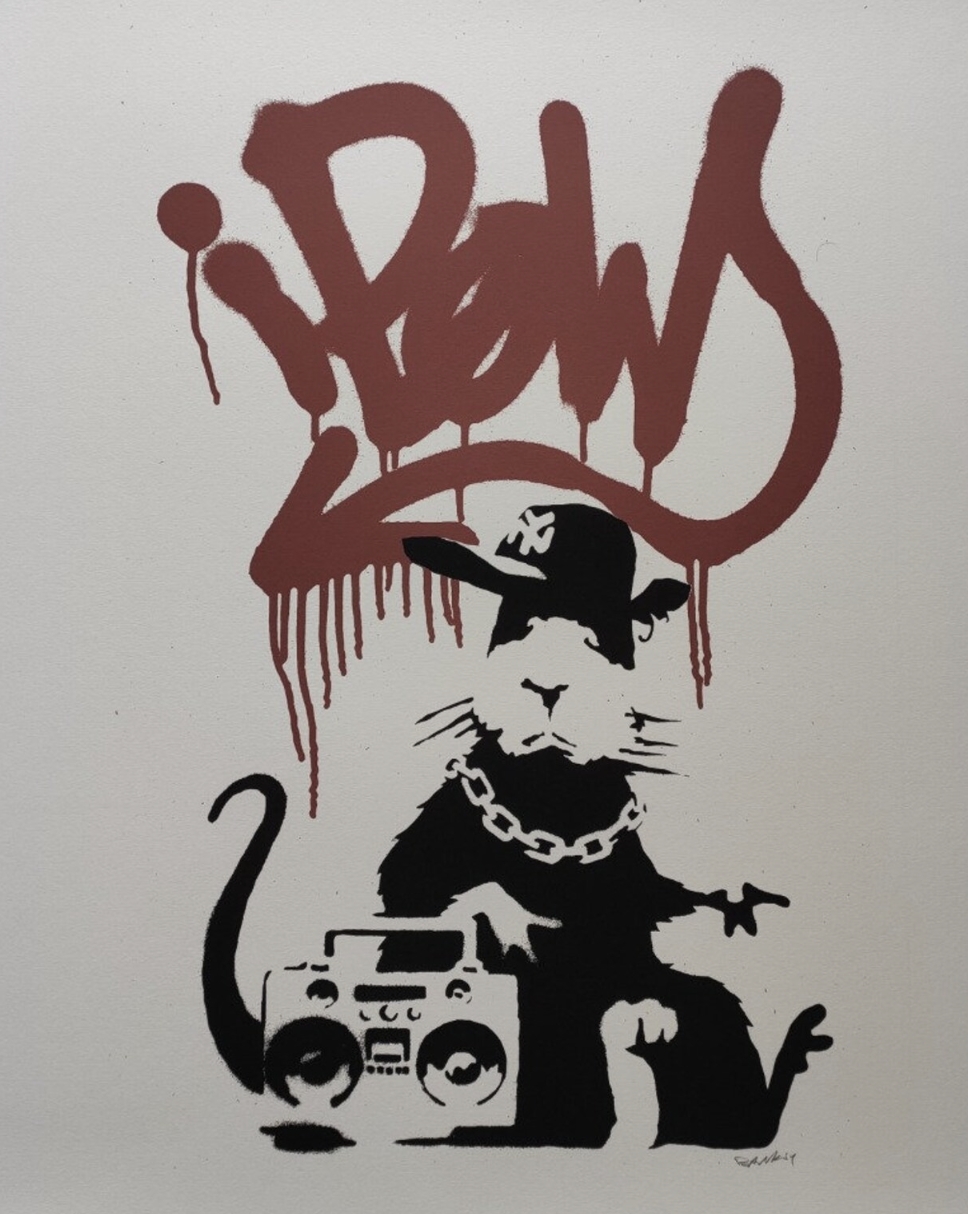
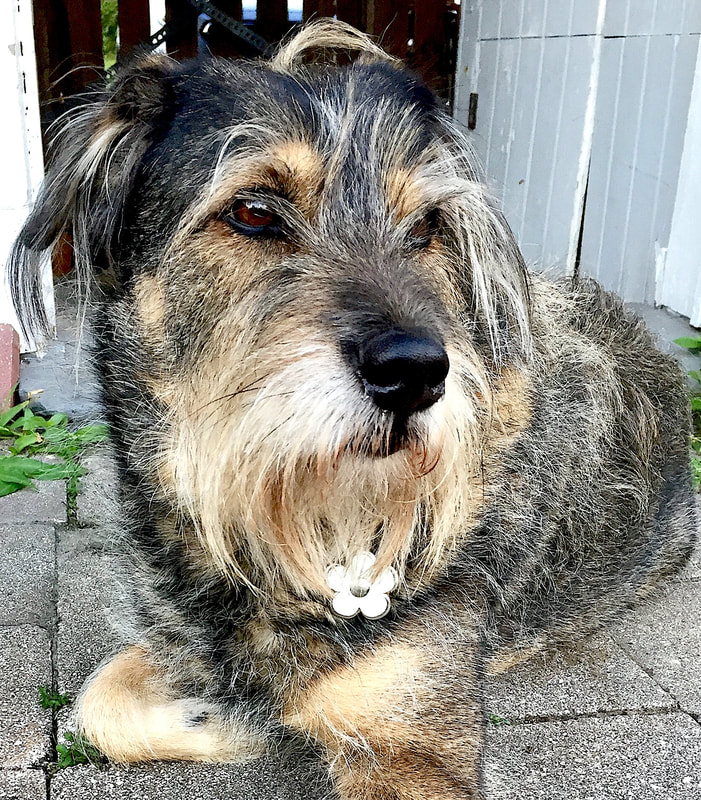
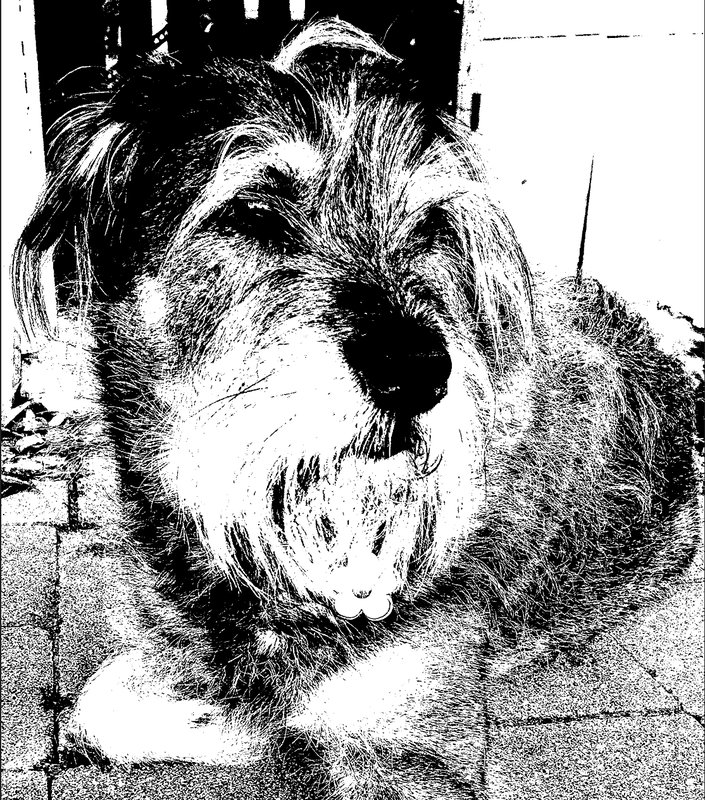
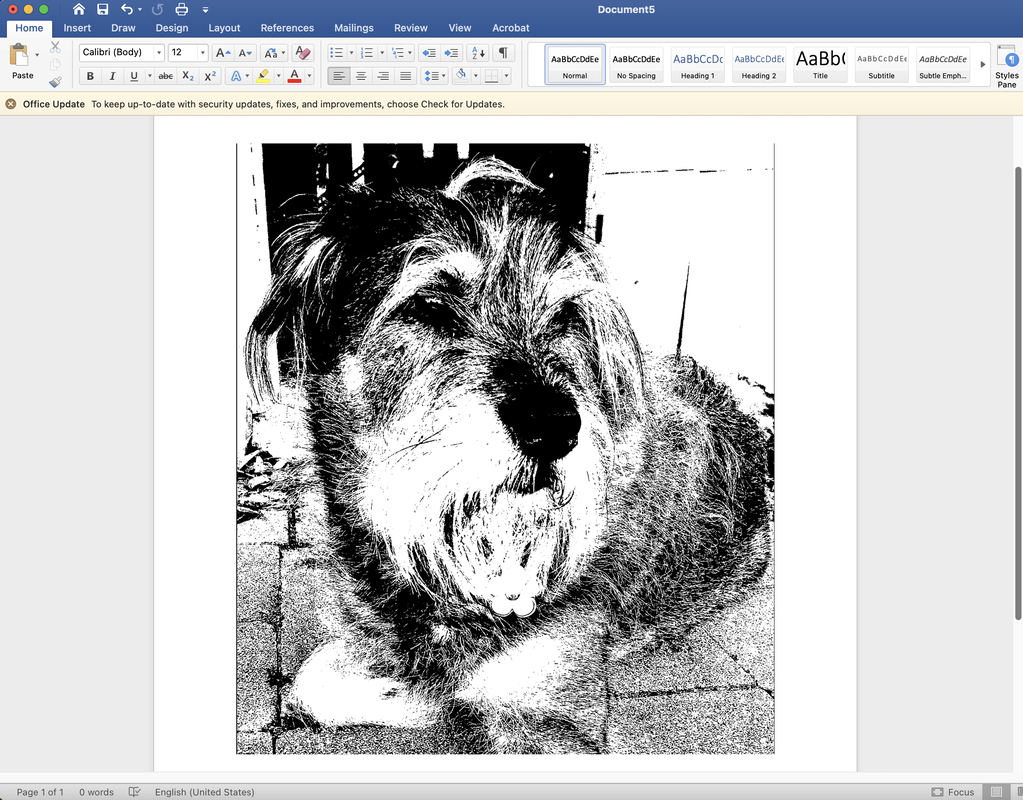
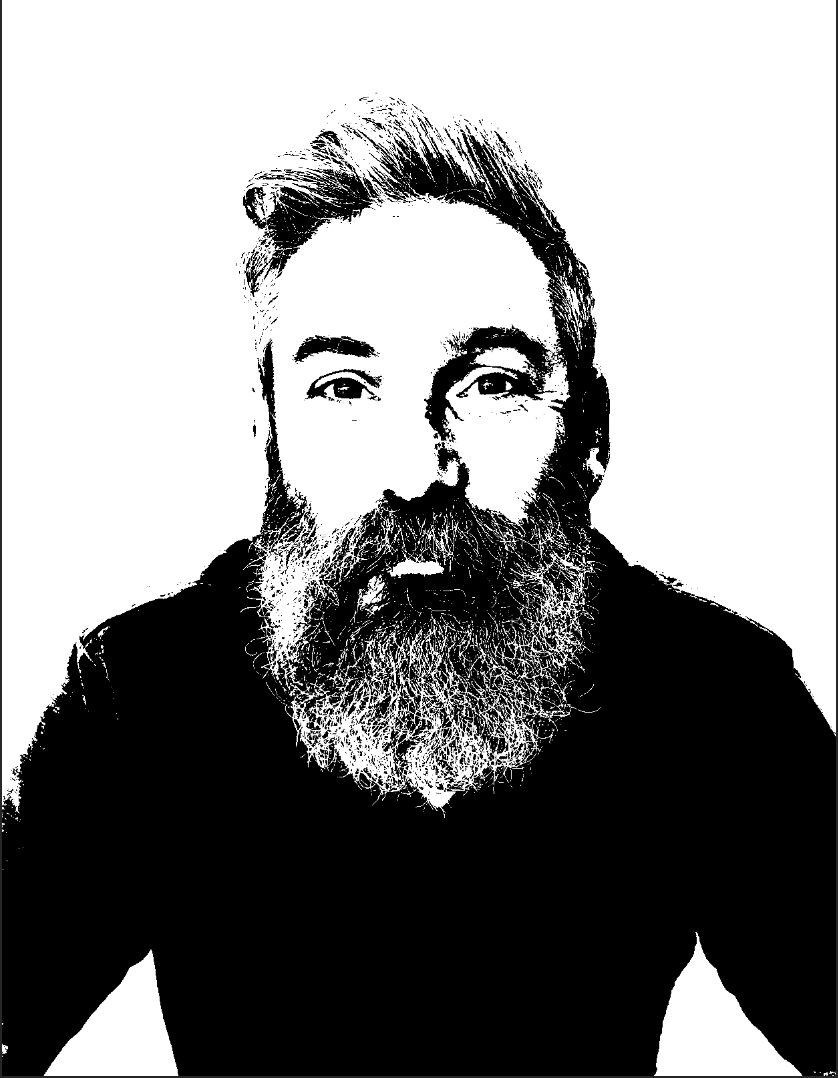
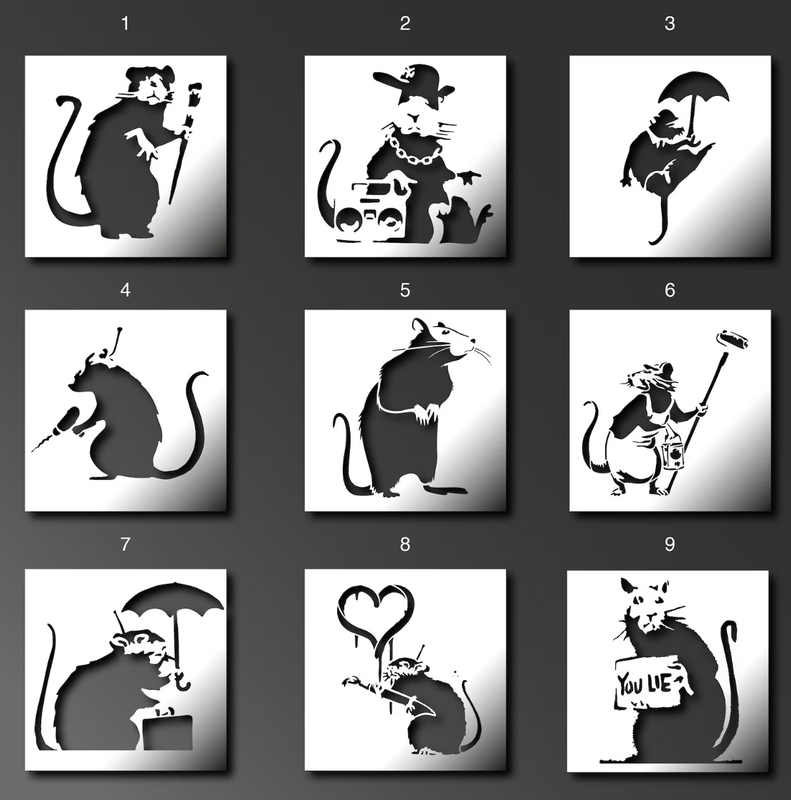
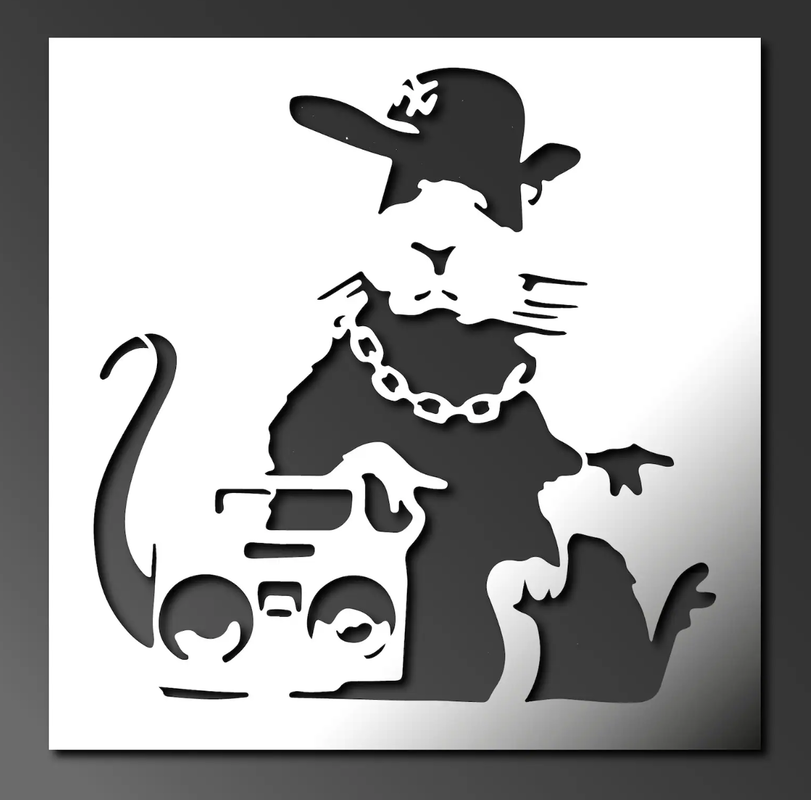
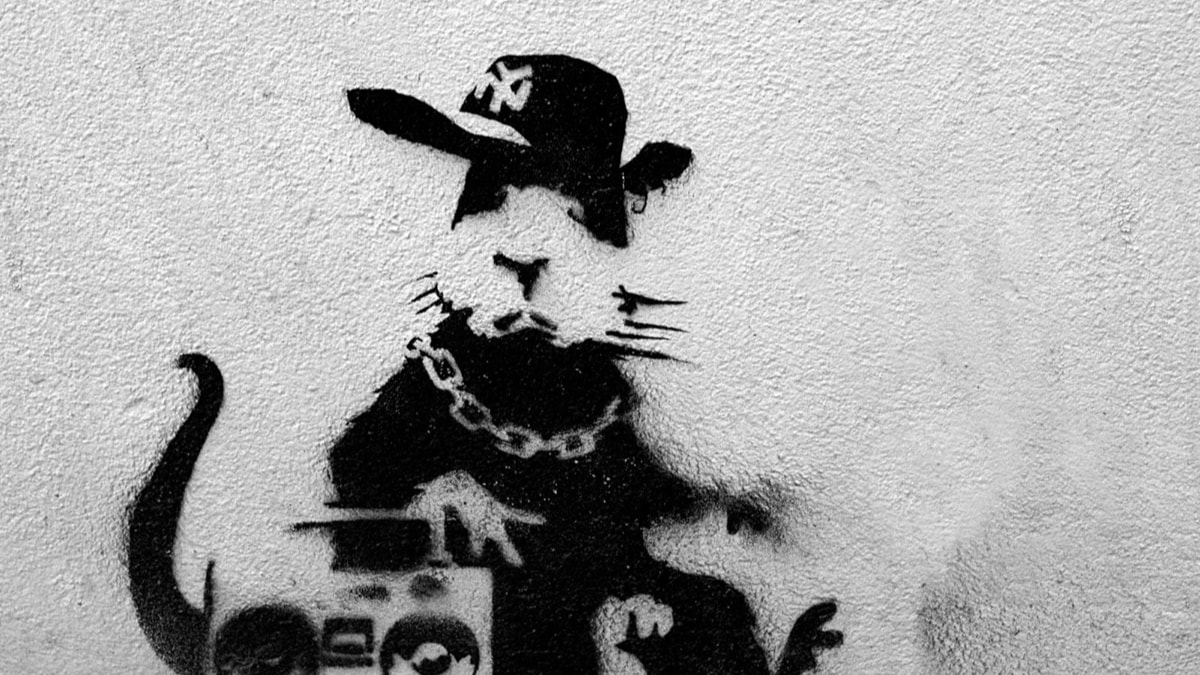
Click HERE to access the Presentation on making a Stencil in the style of Banksy!
For our first project of the year, we will be hand building our own sketchbook. Together we will go step by step to construct and decorate our sketchbook.
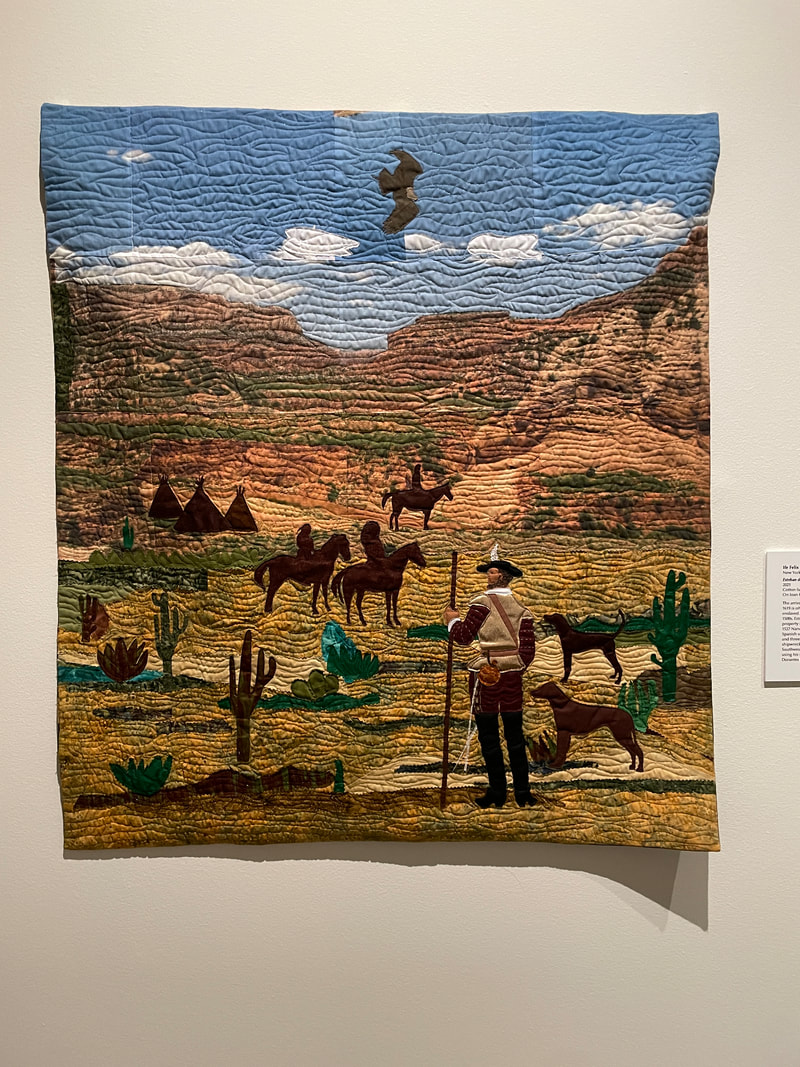
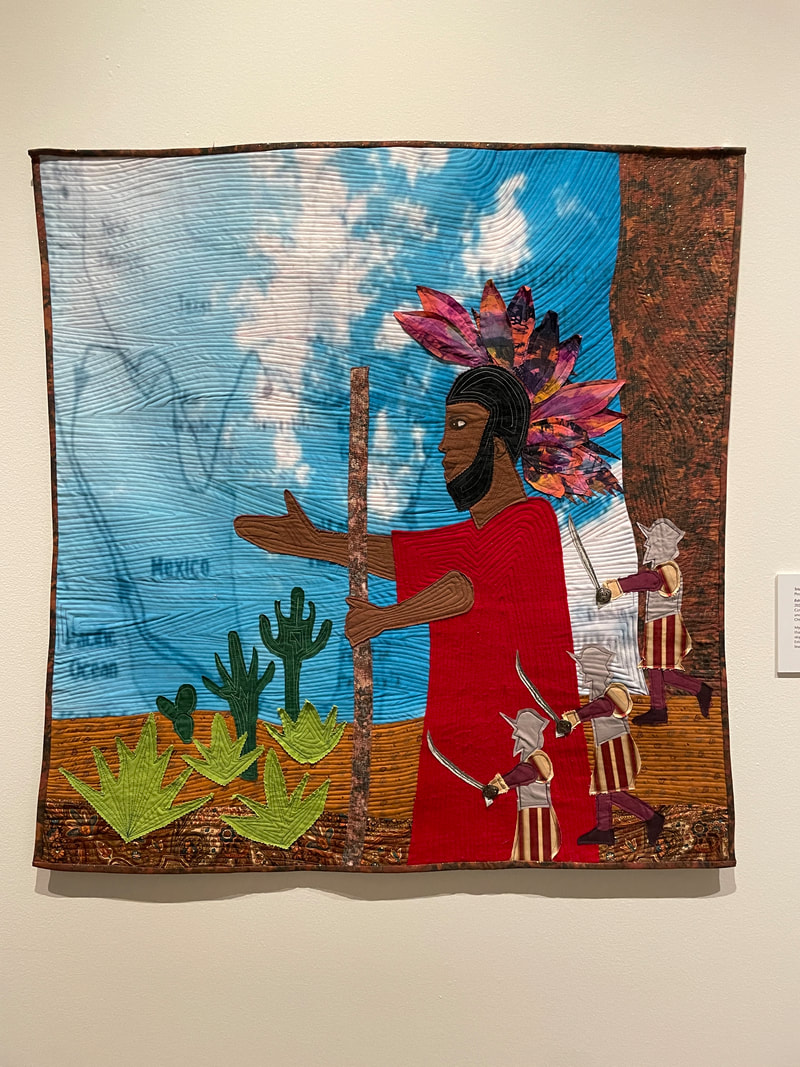
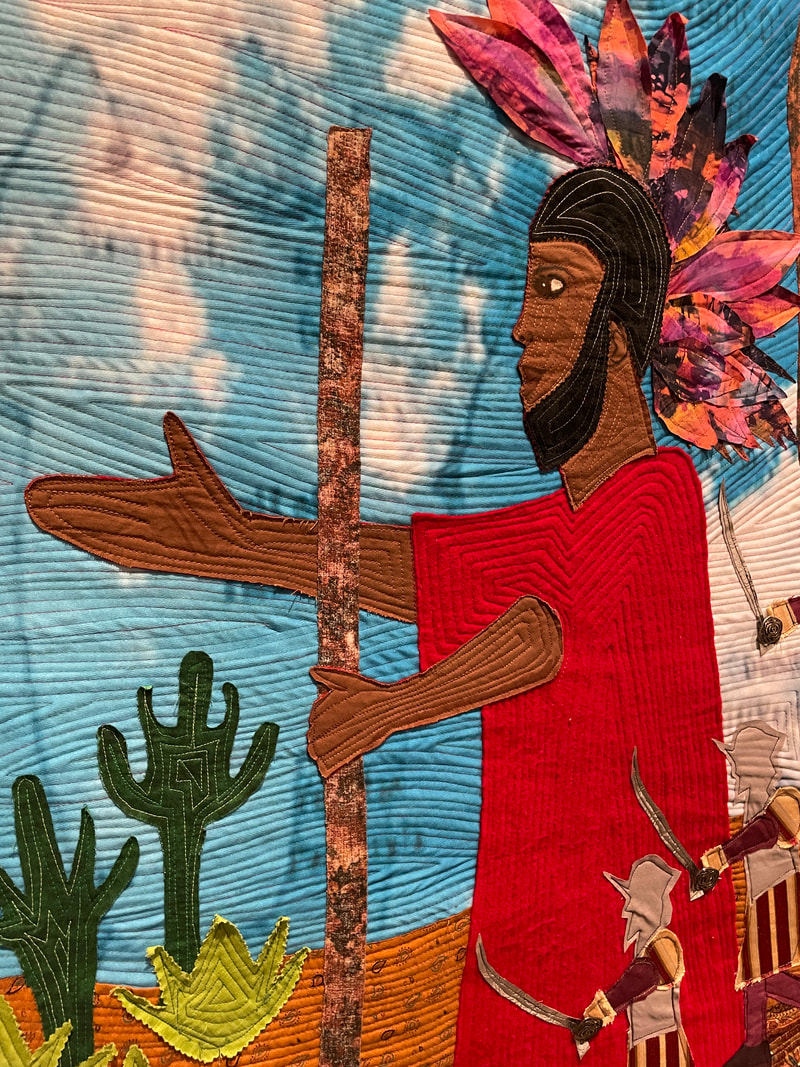
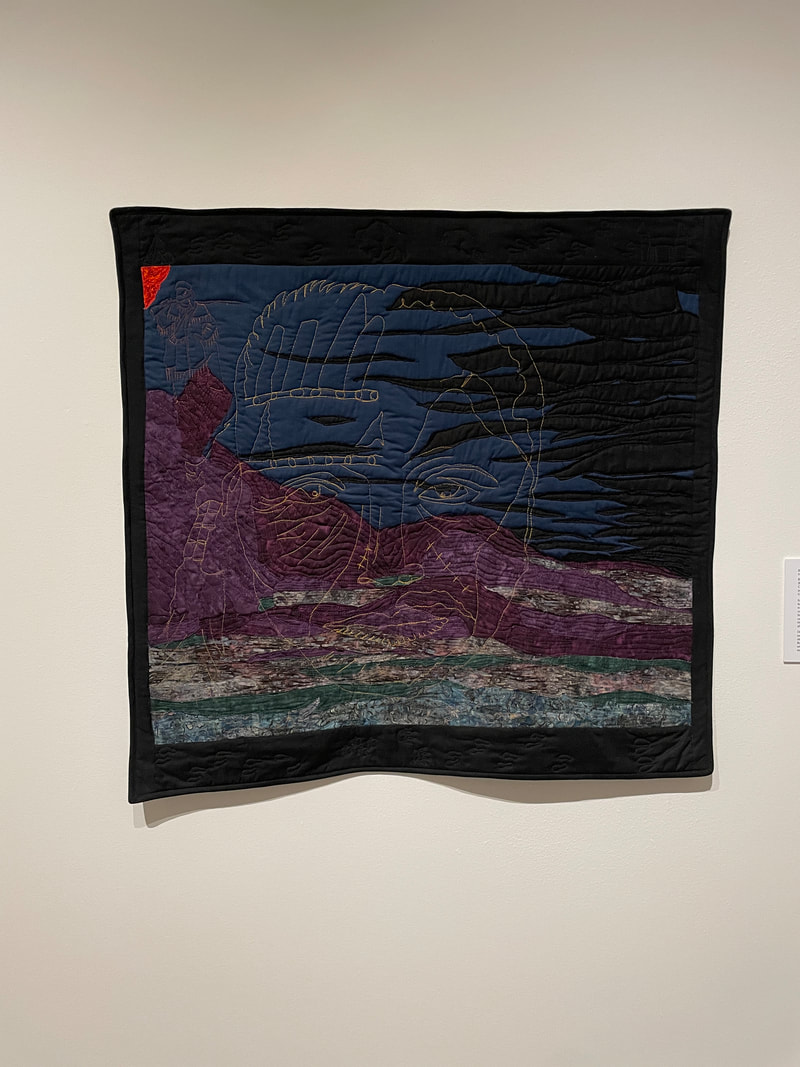
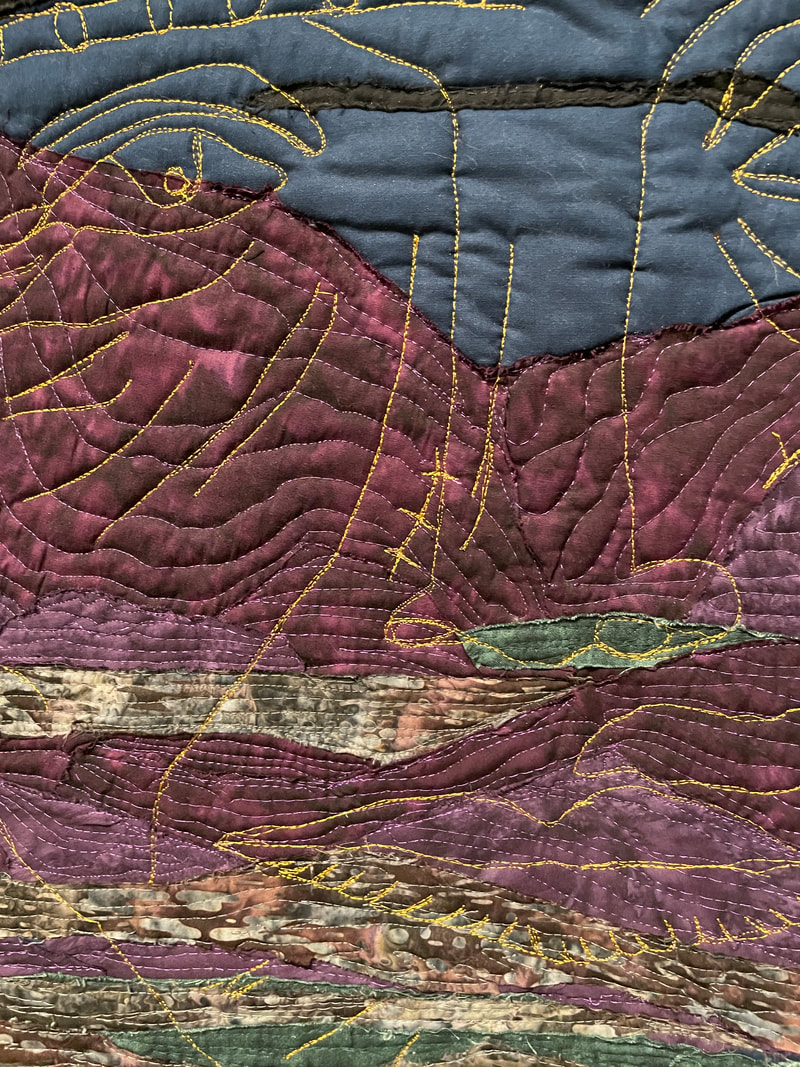
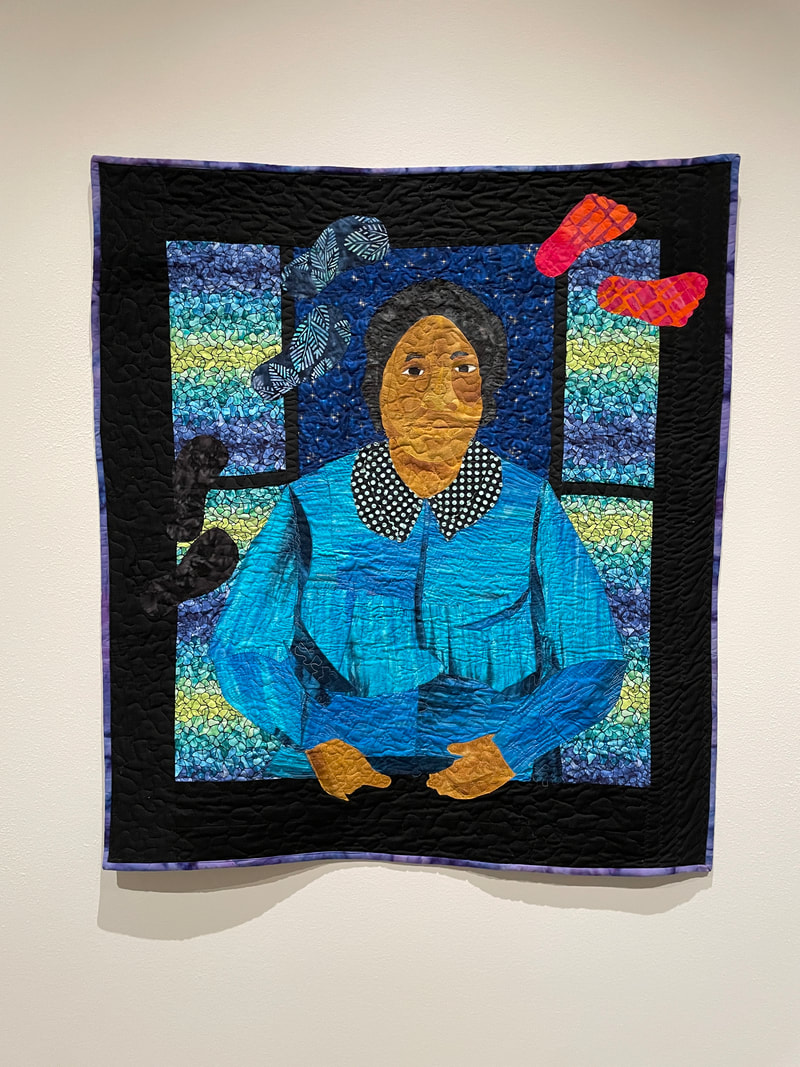
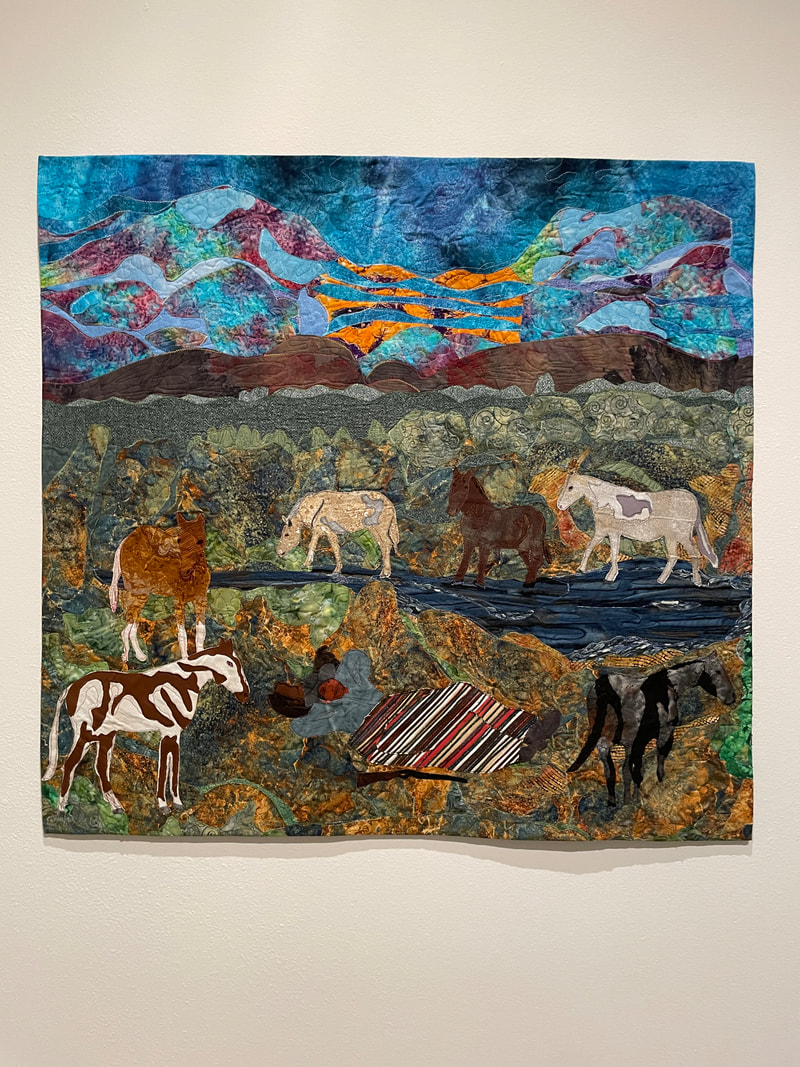
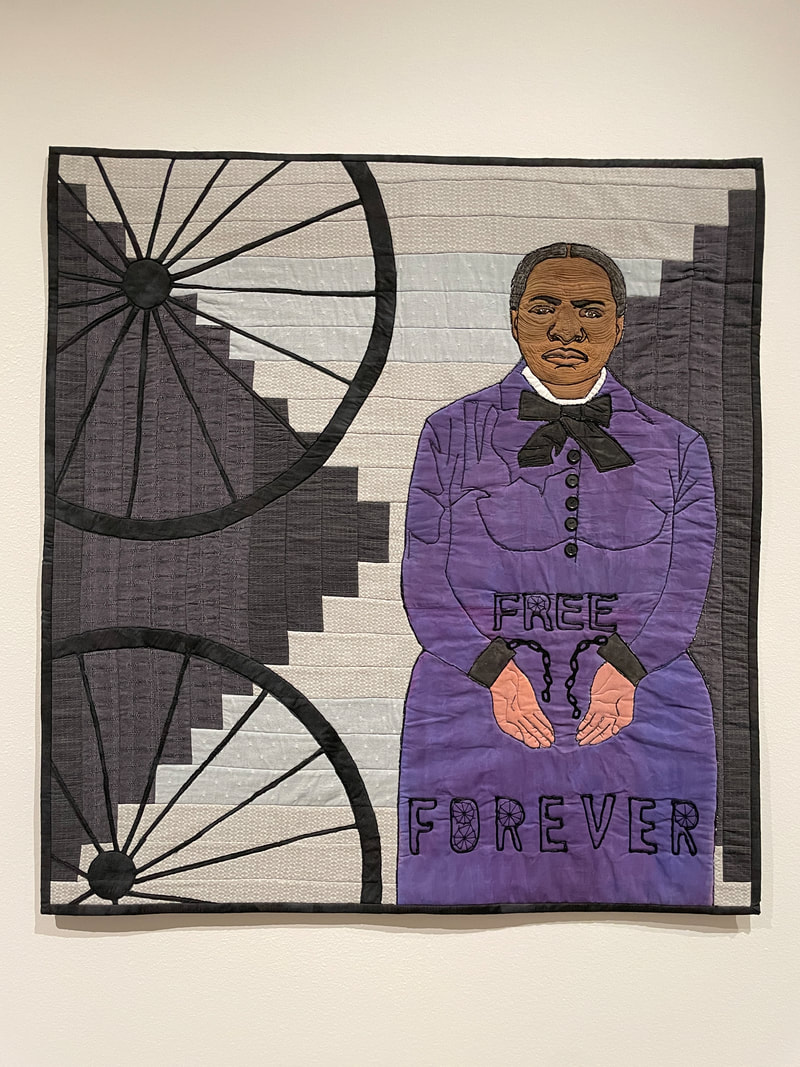
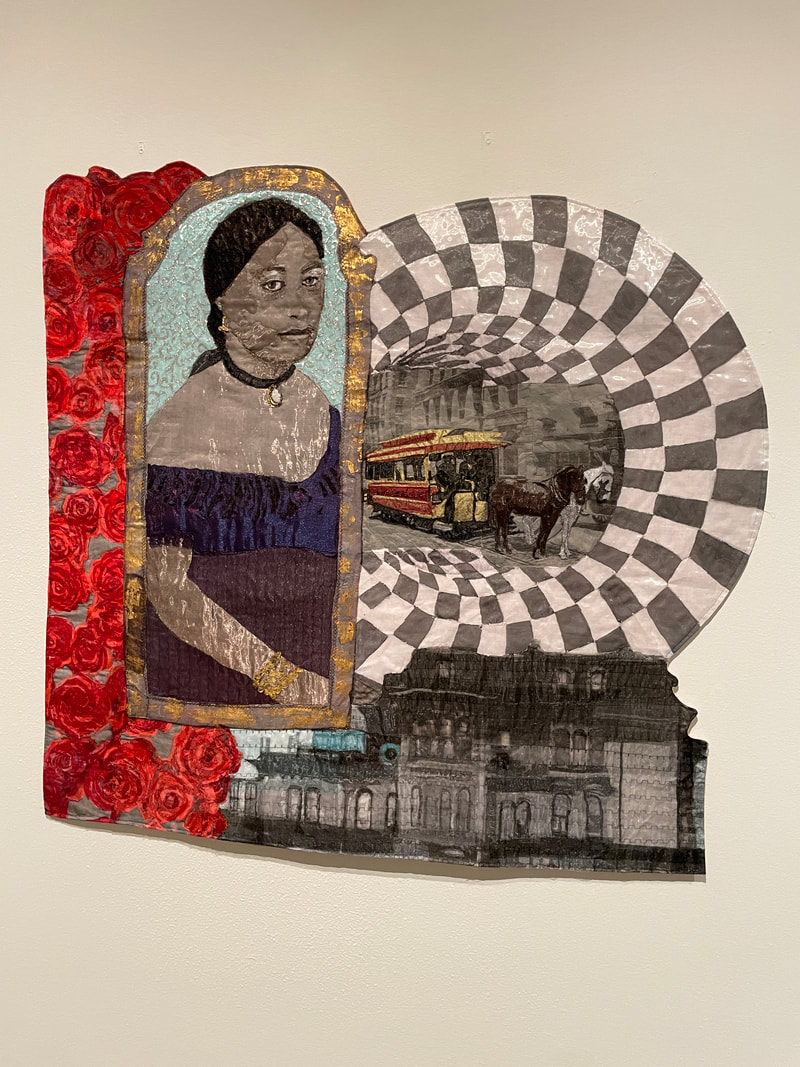
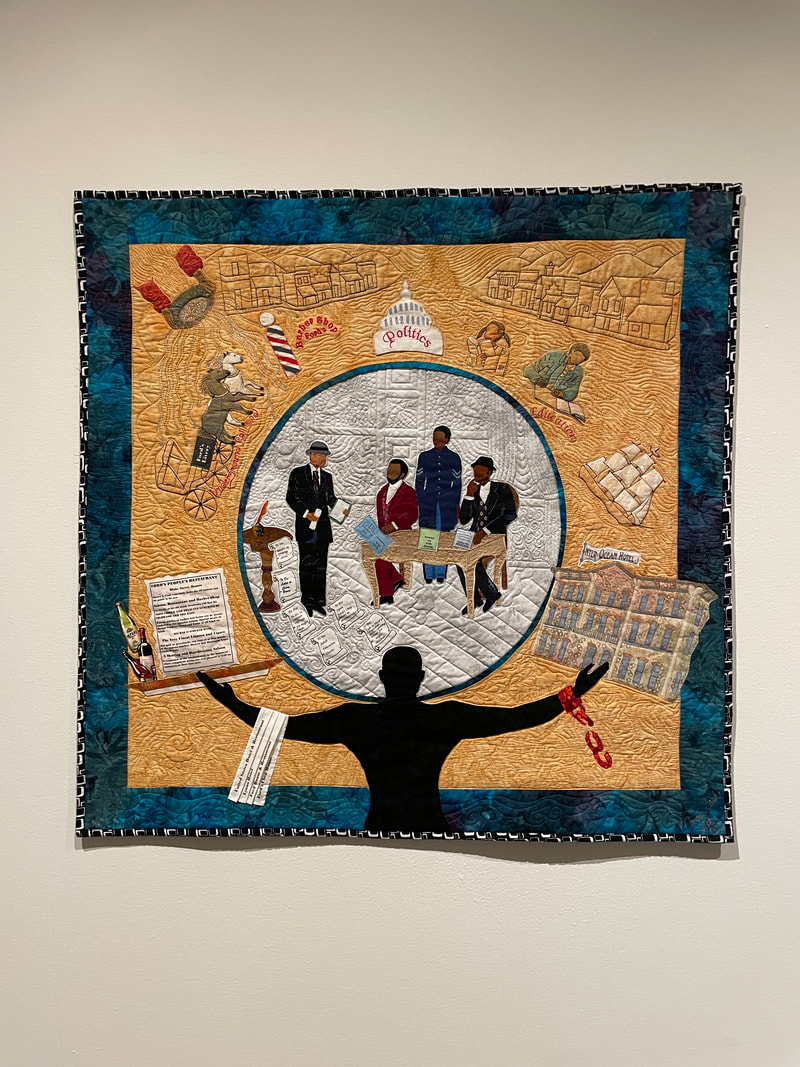
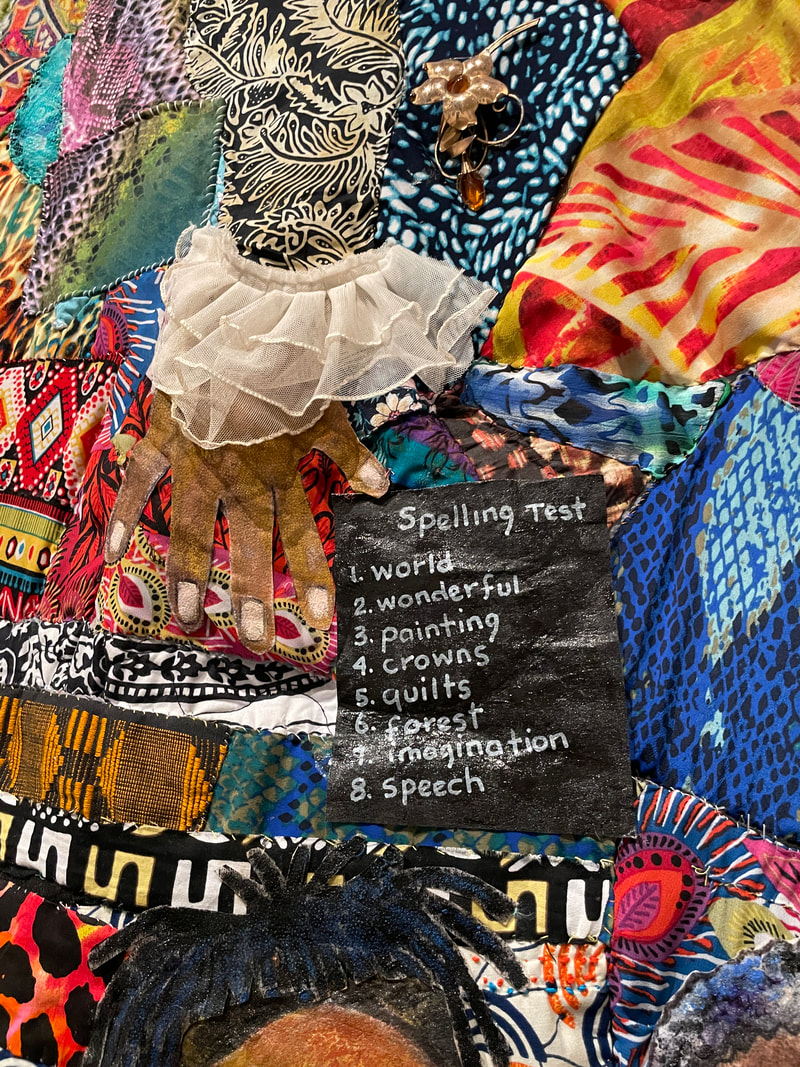
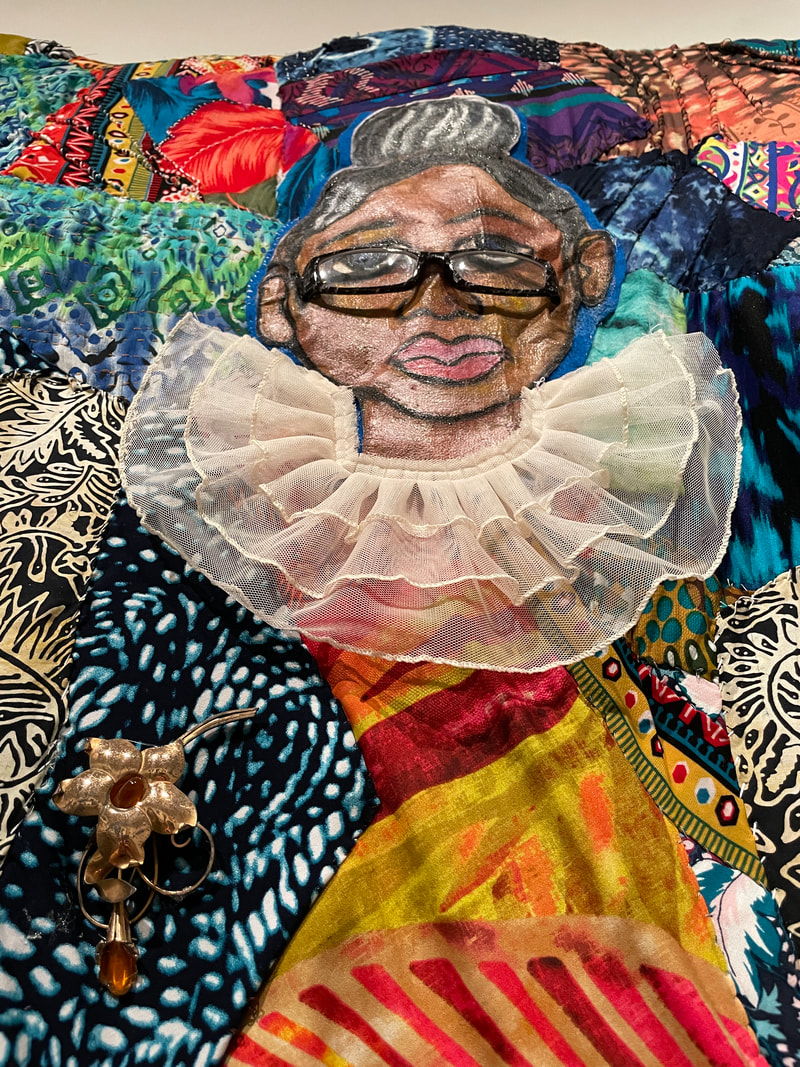
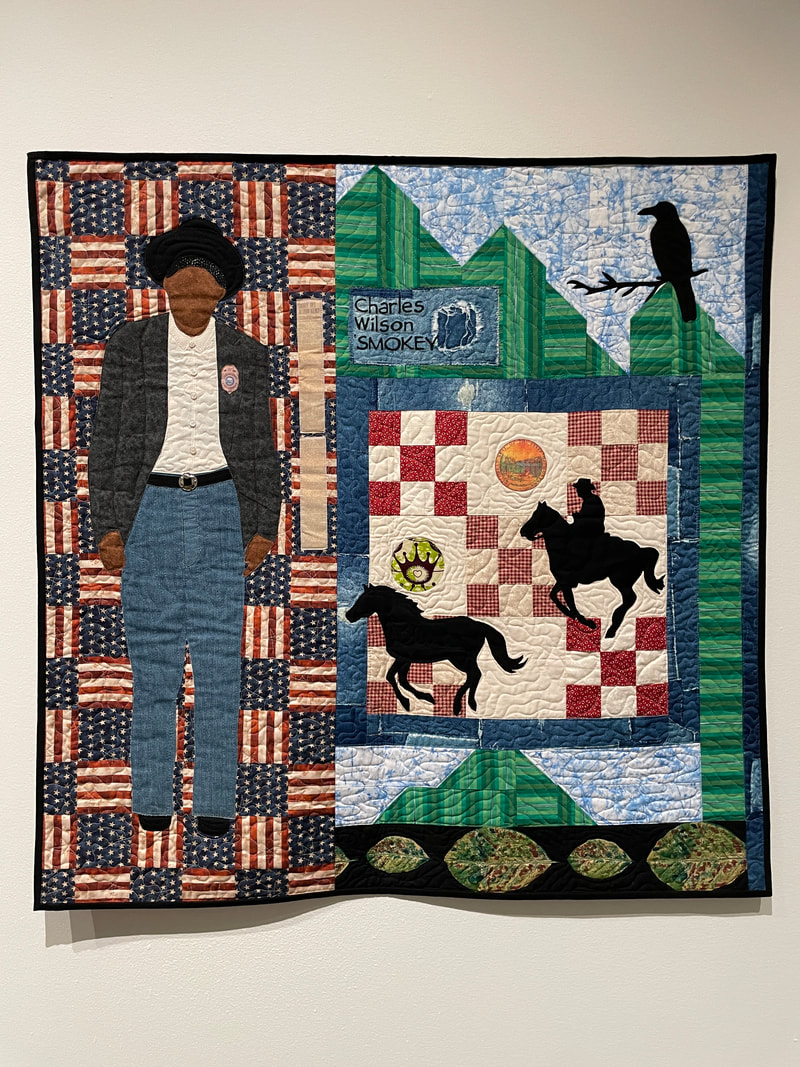
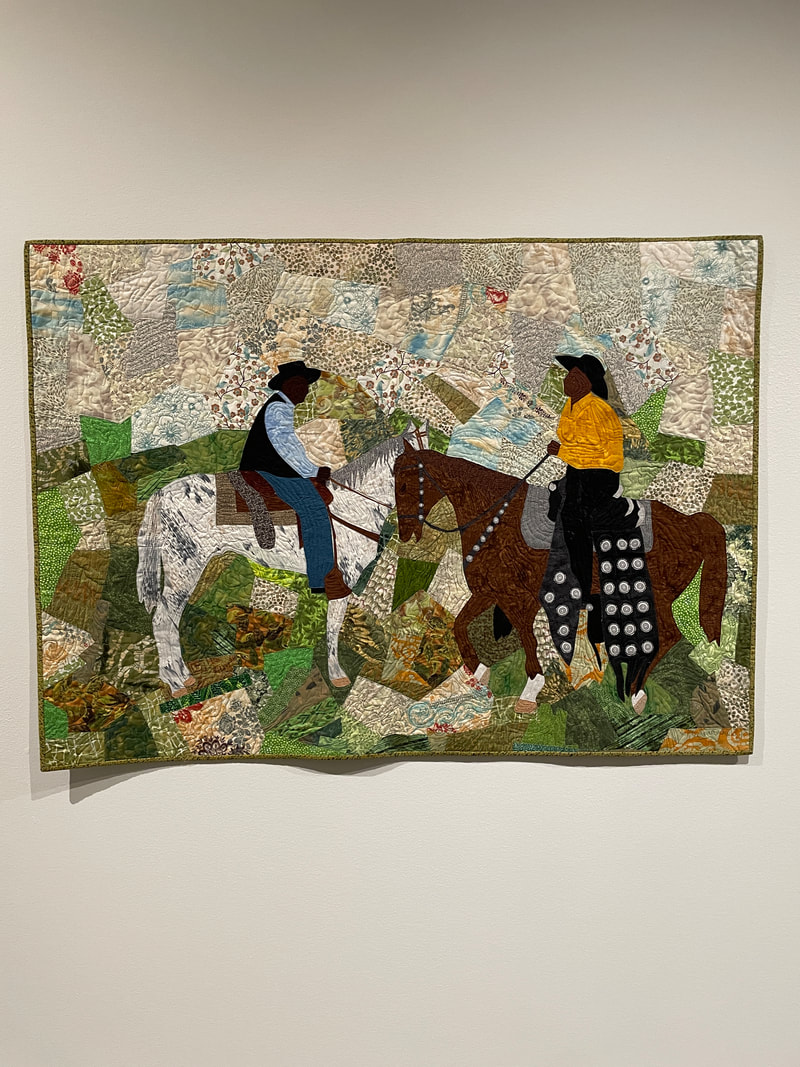
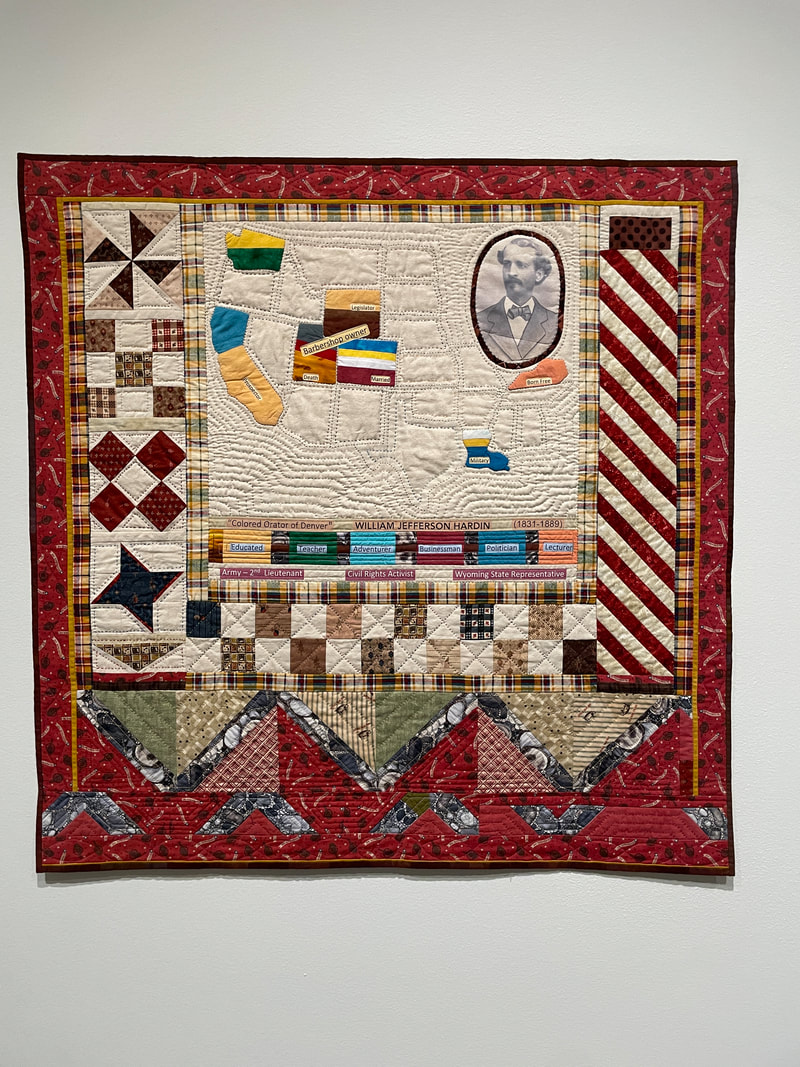
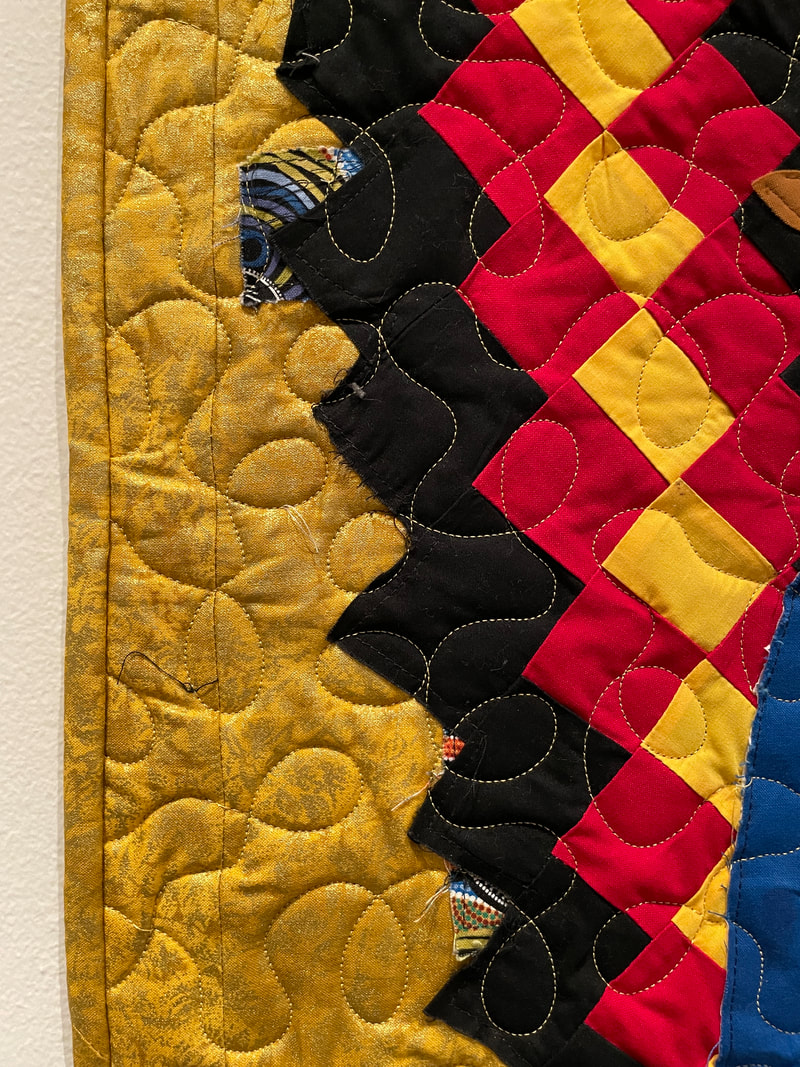
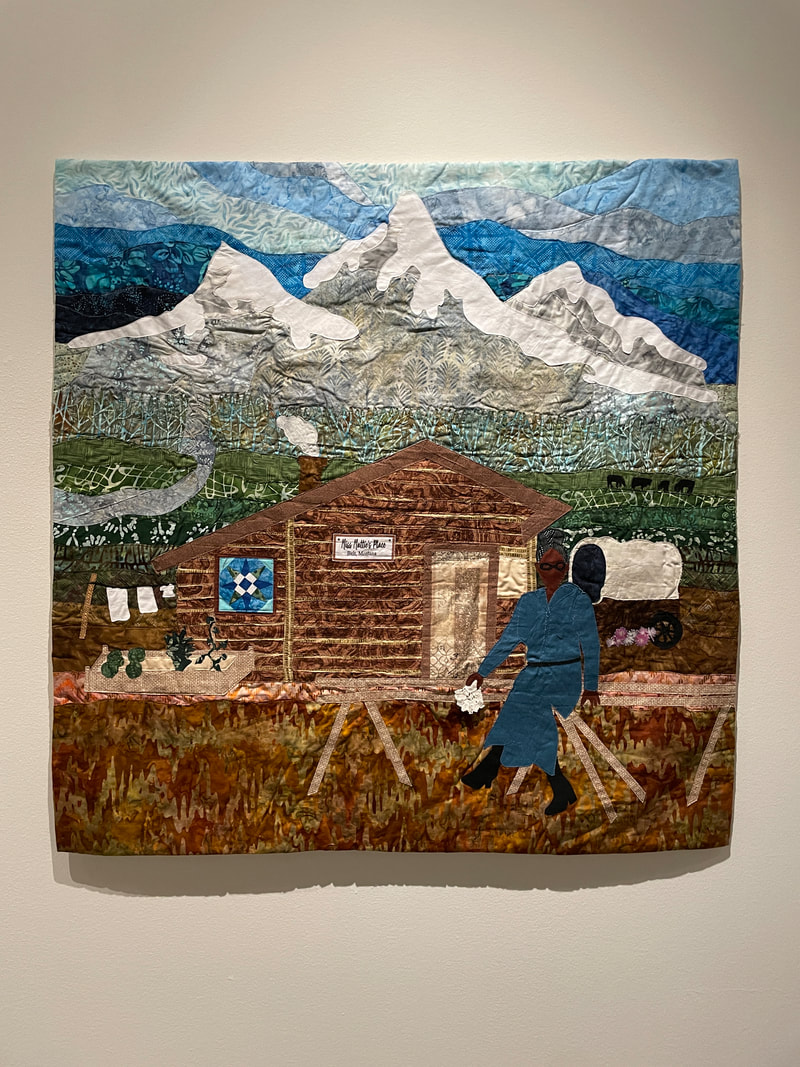
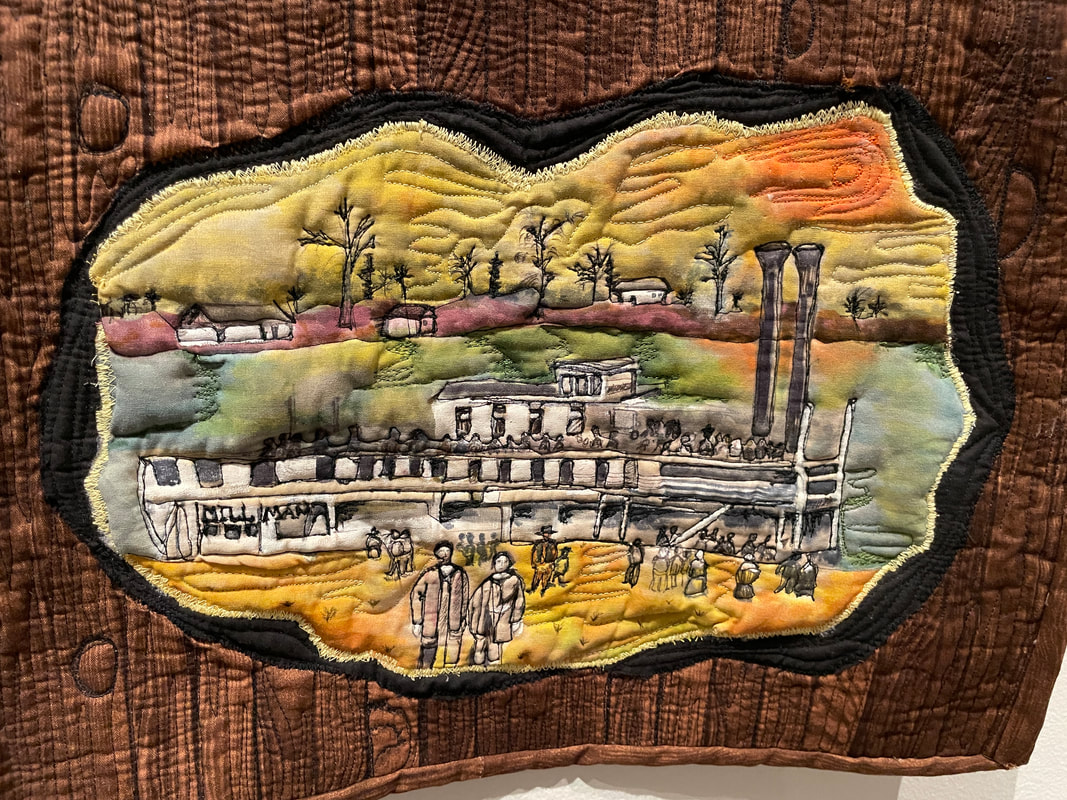
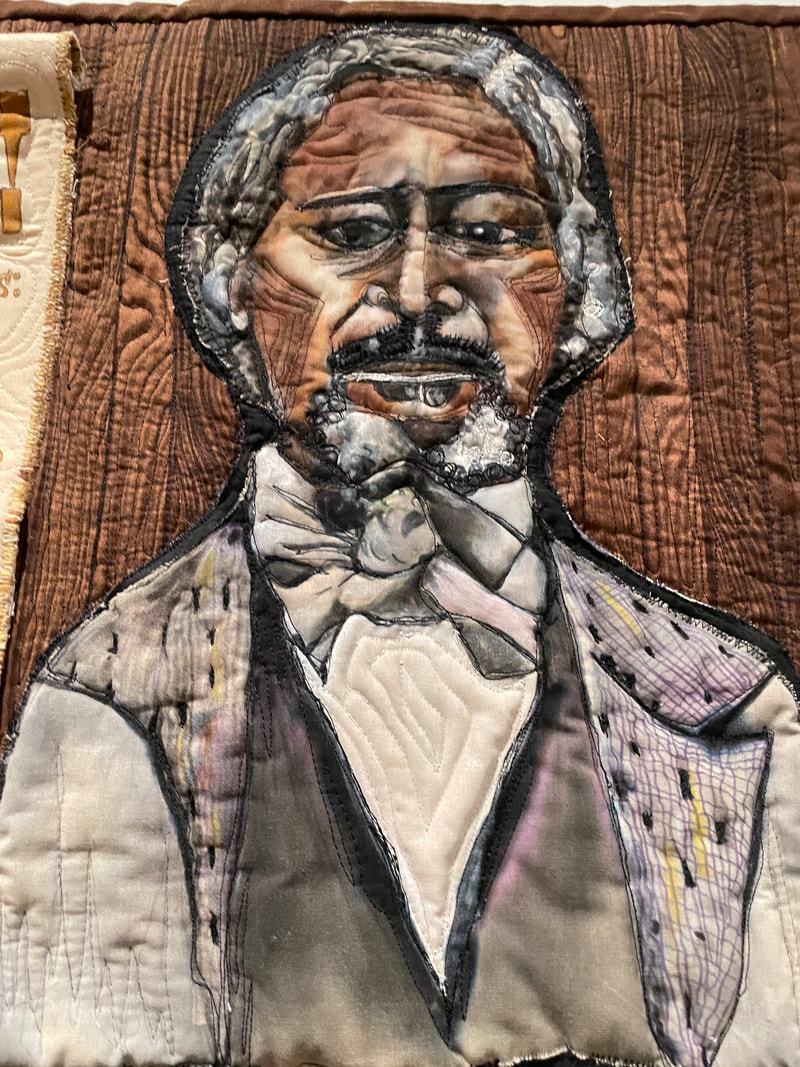
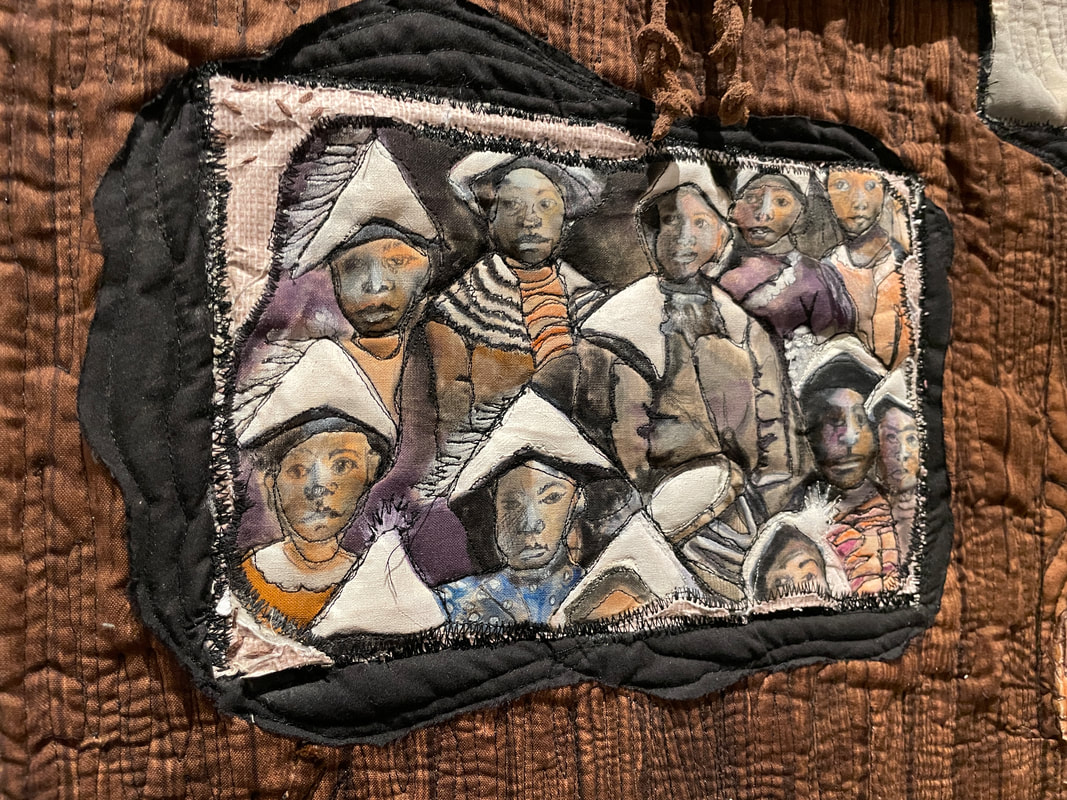
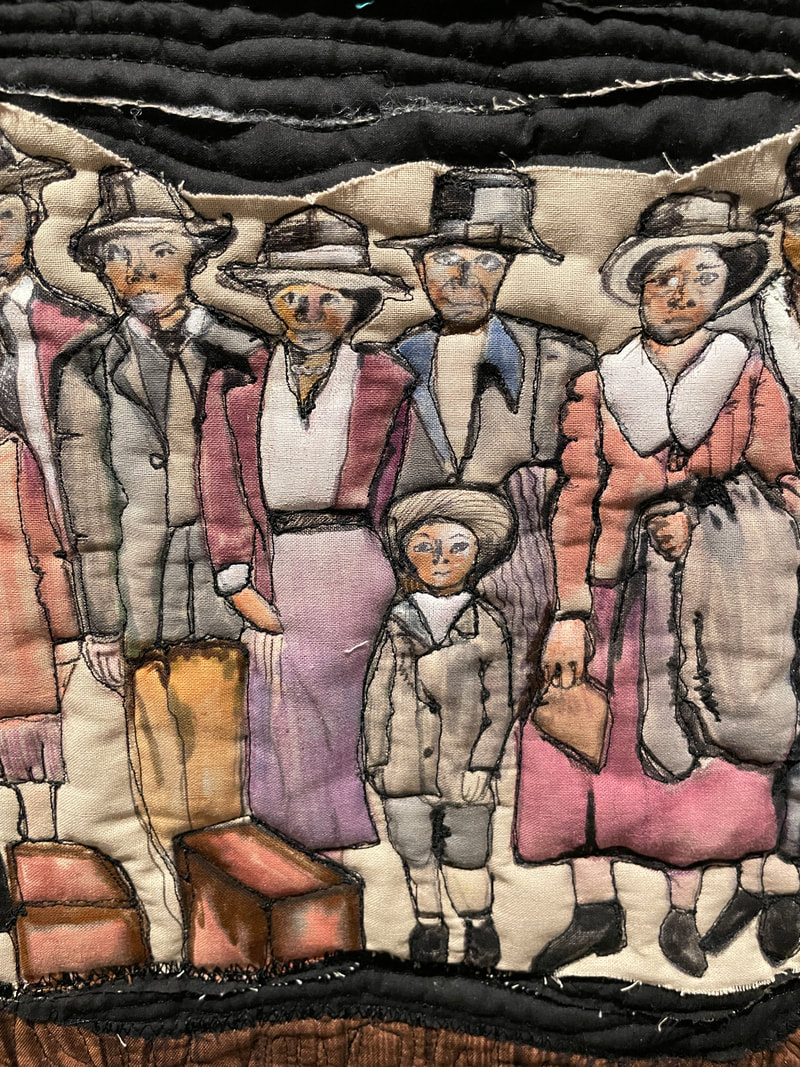
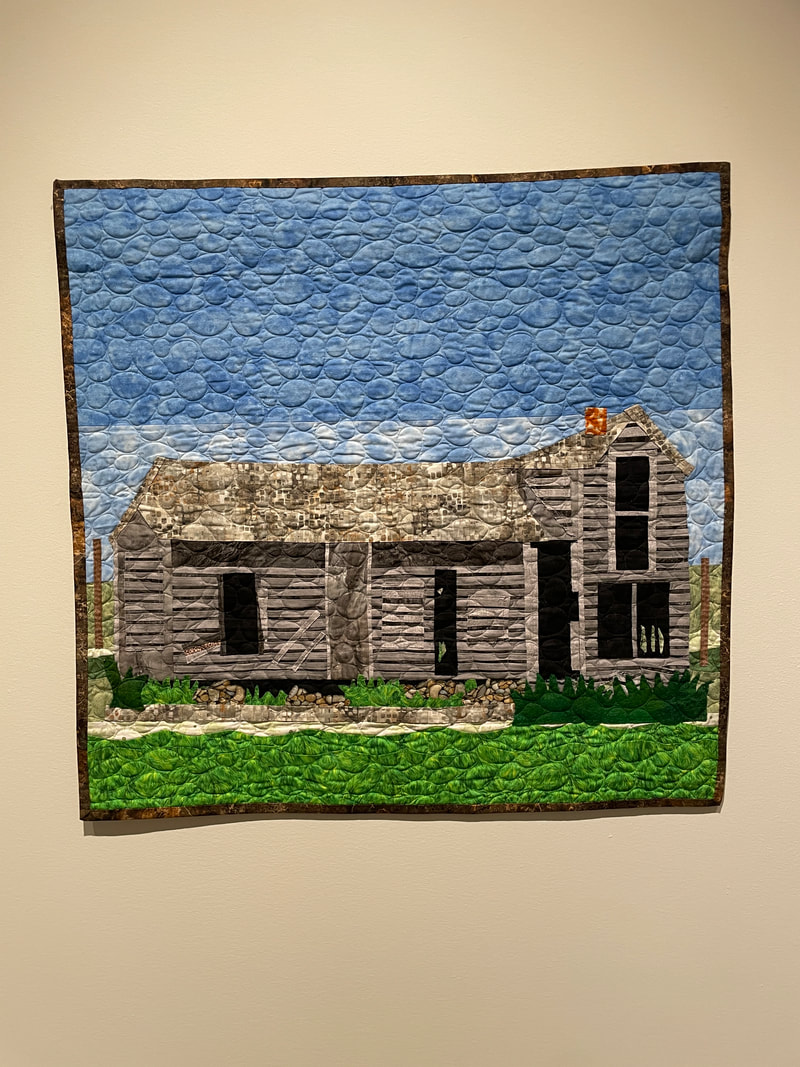
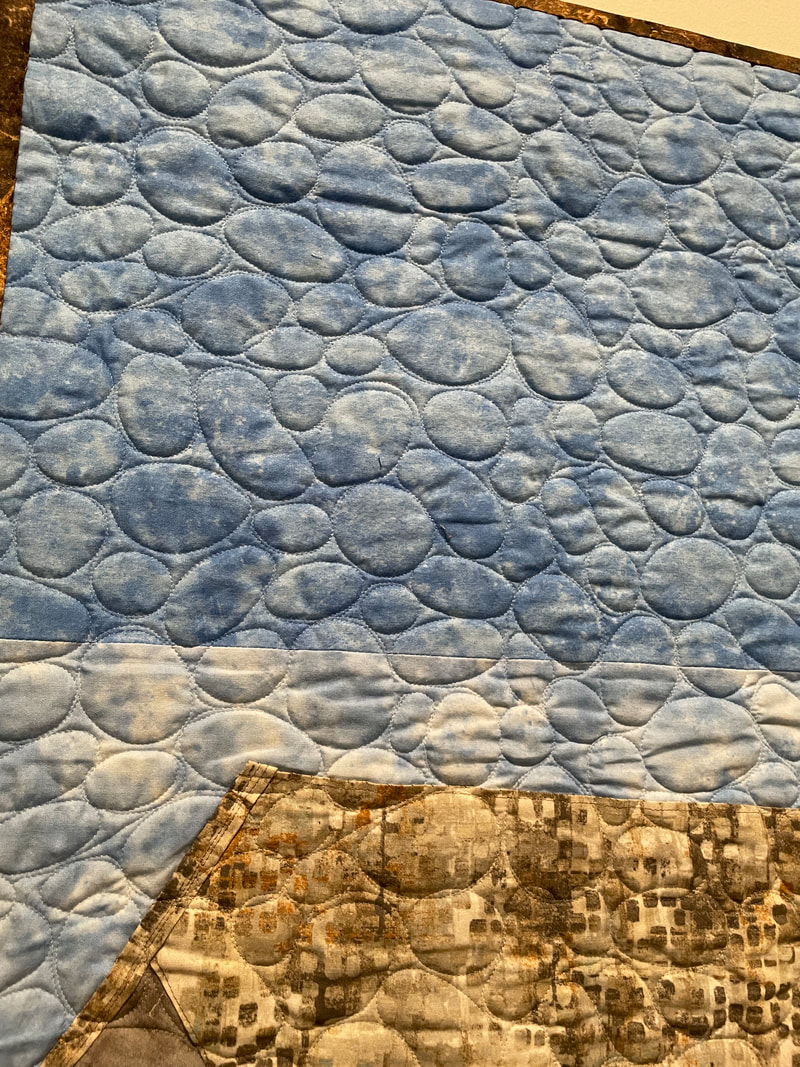
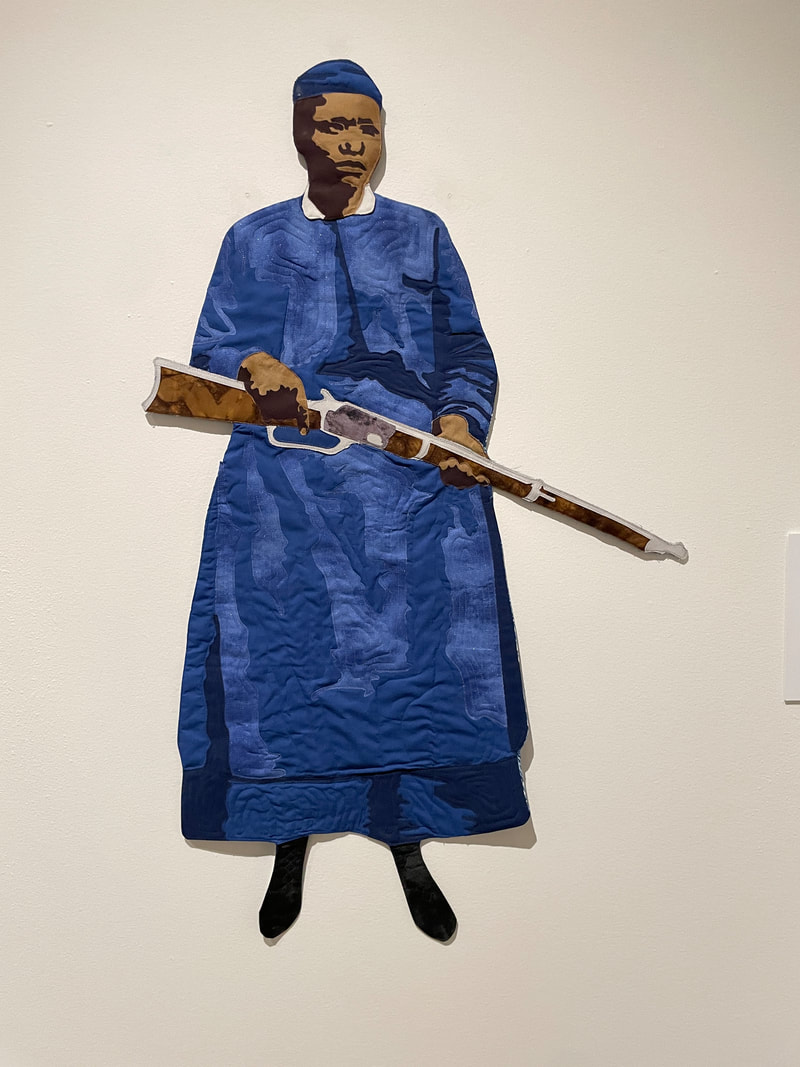
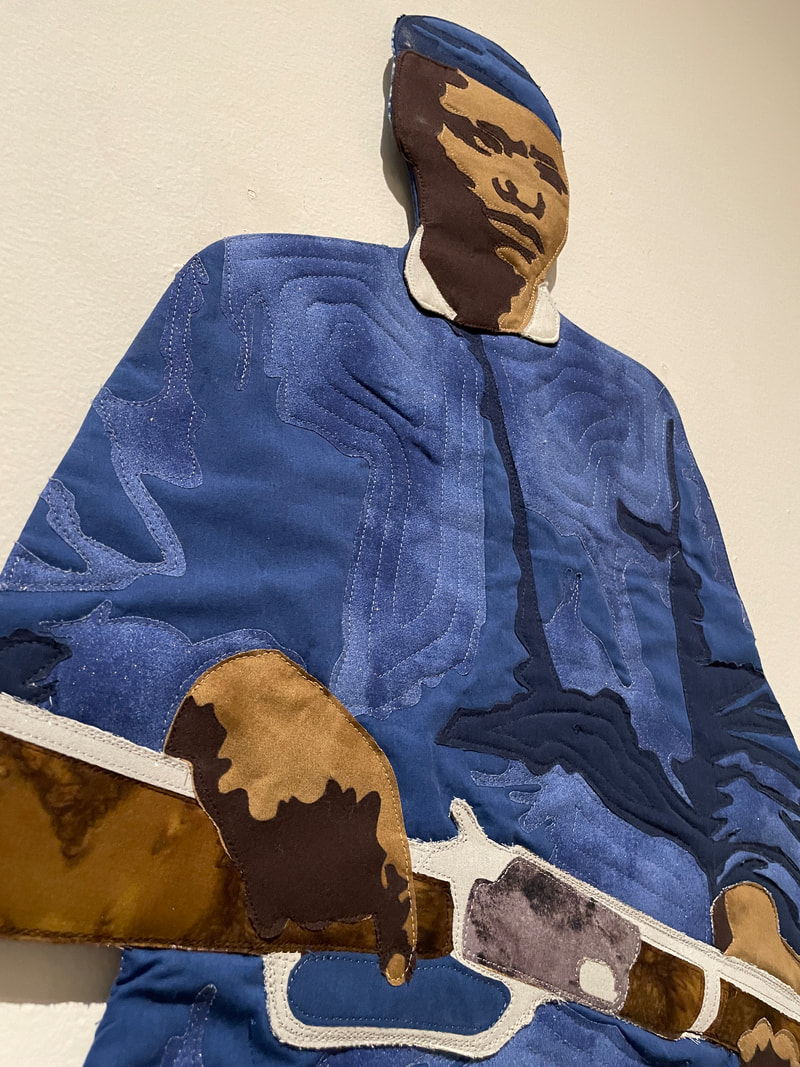
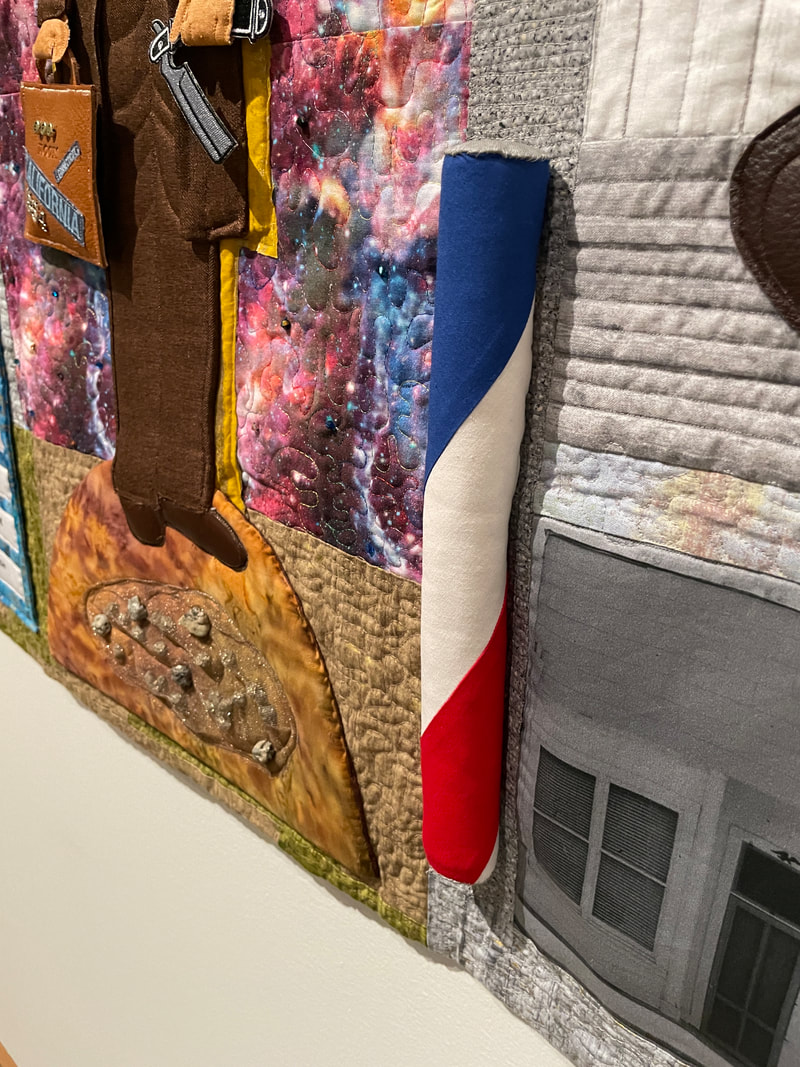
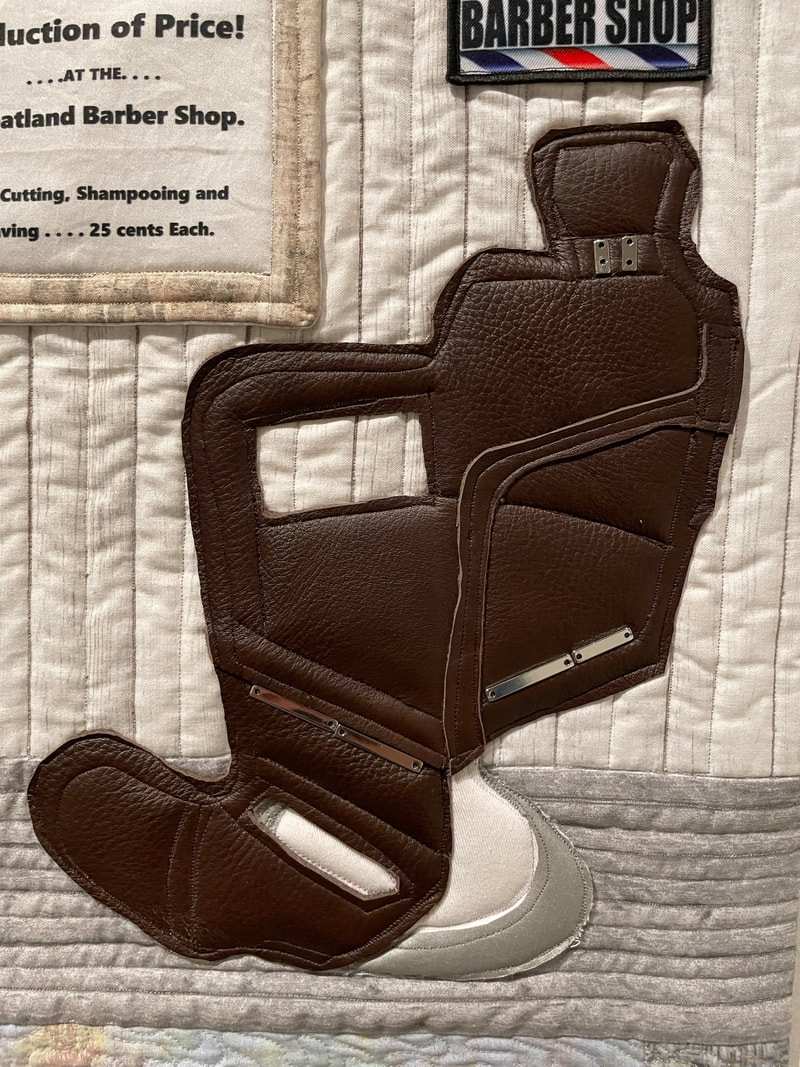
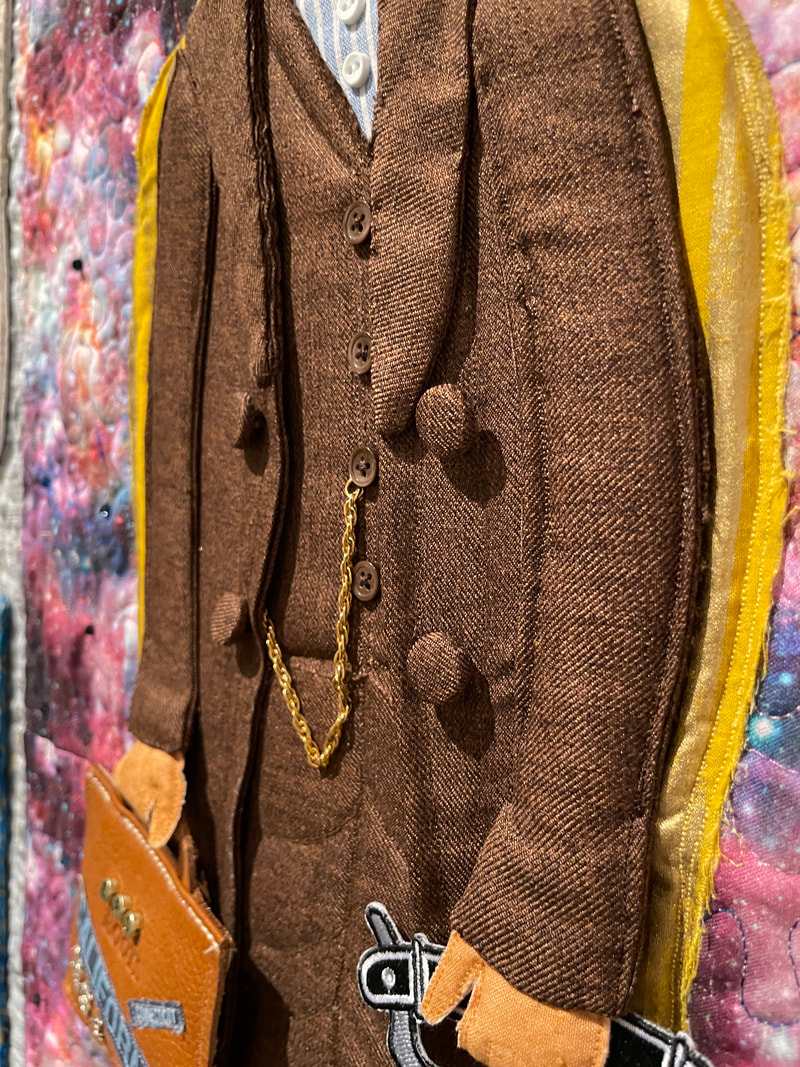
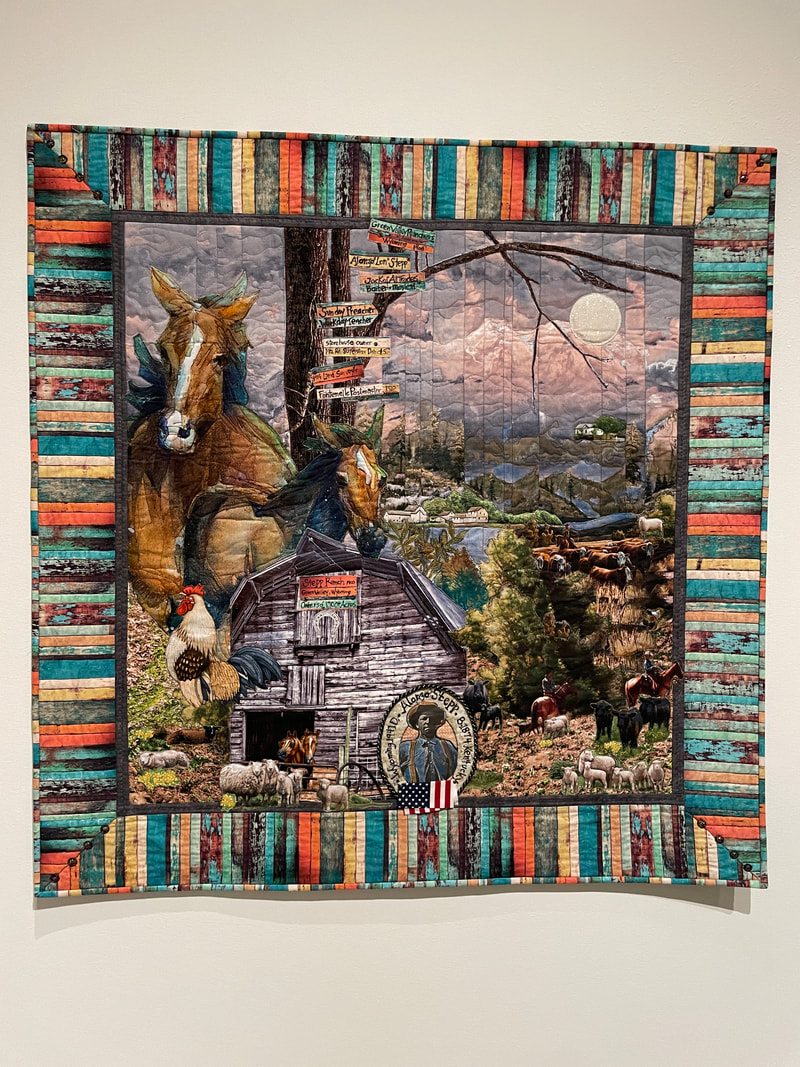
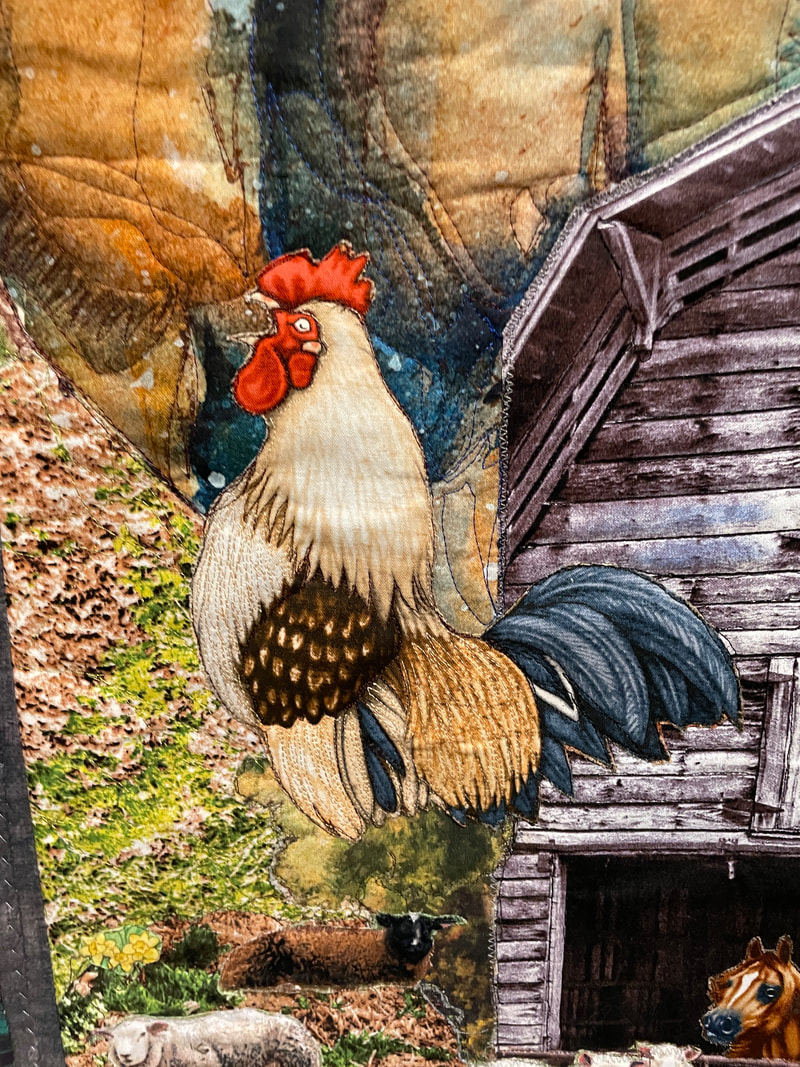
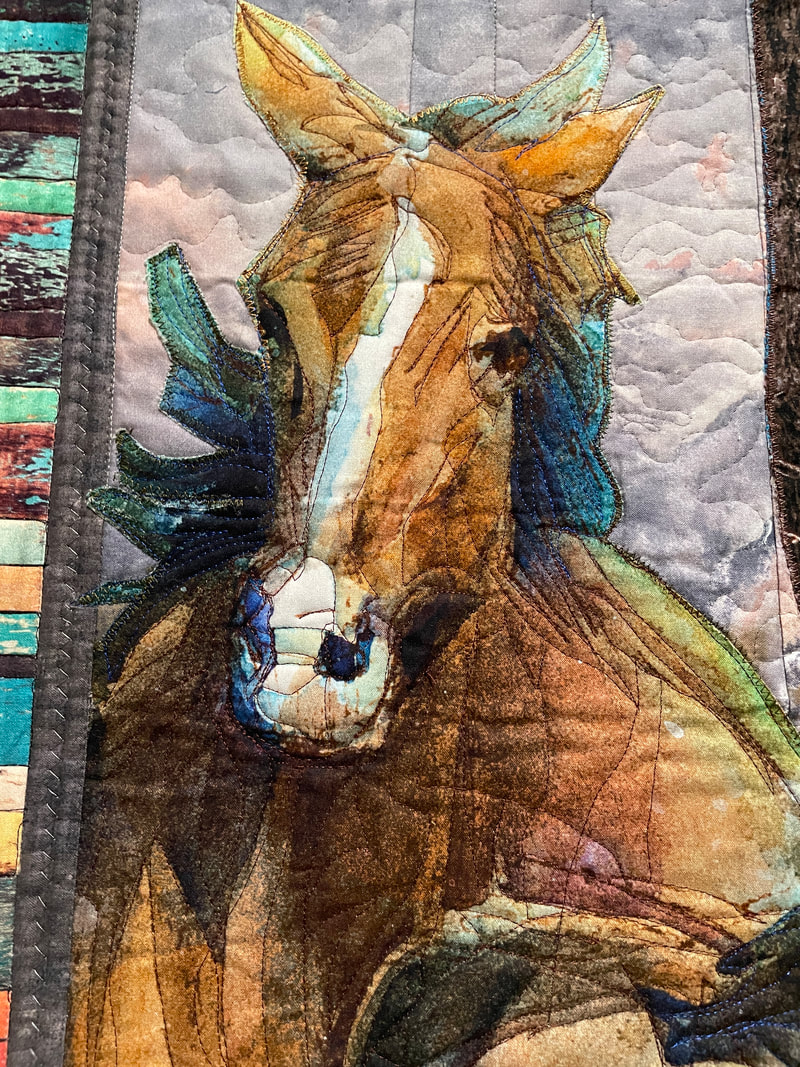
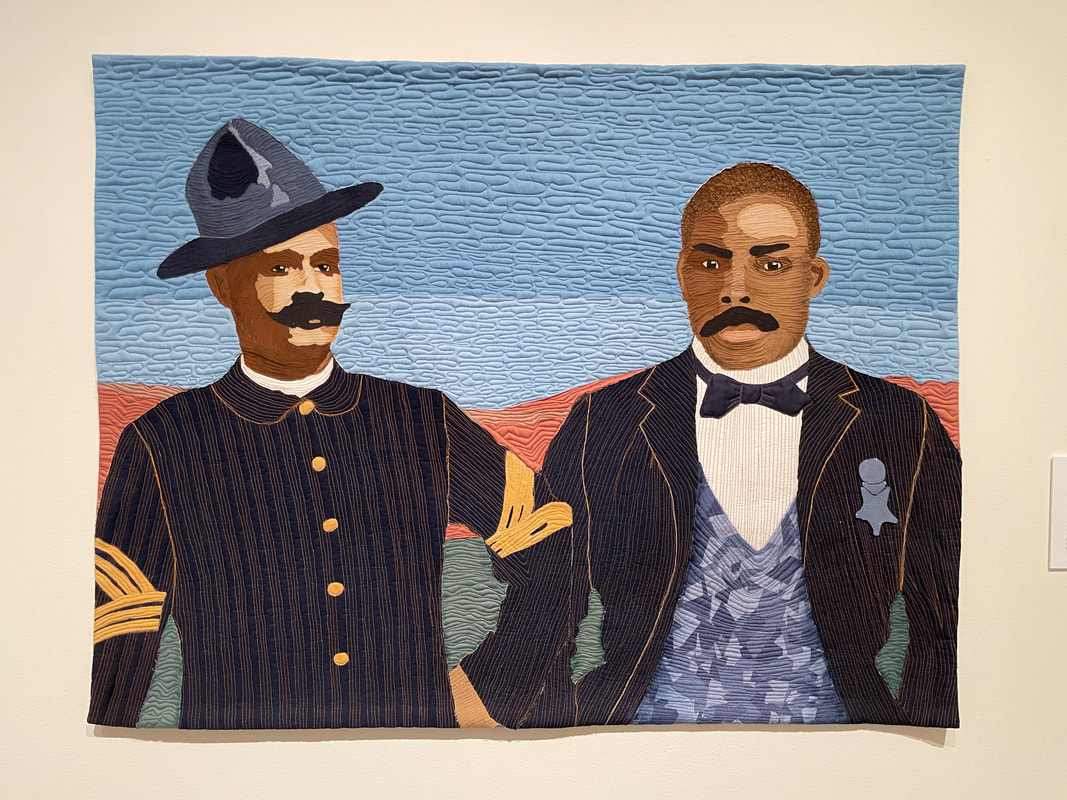
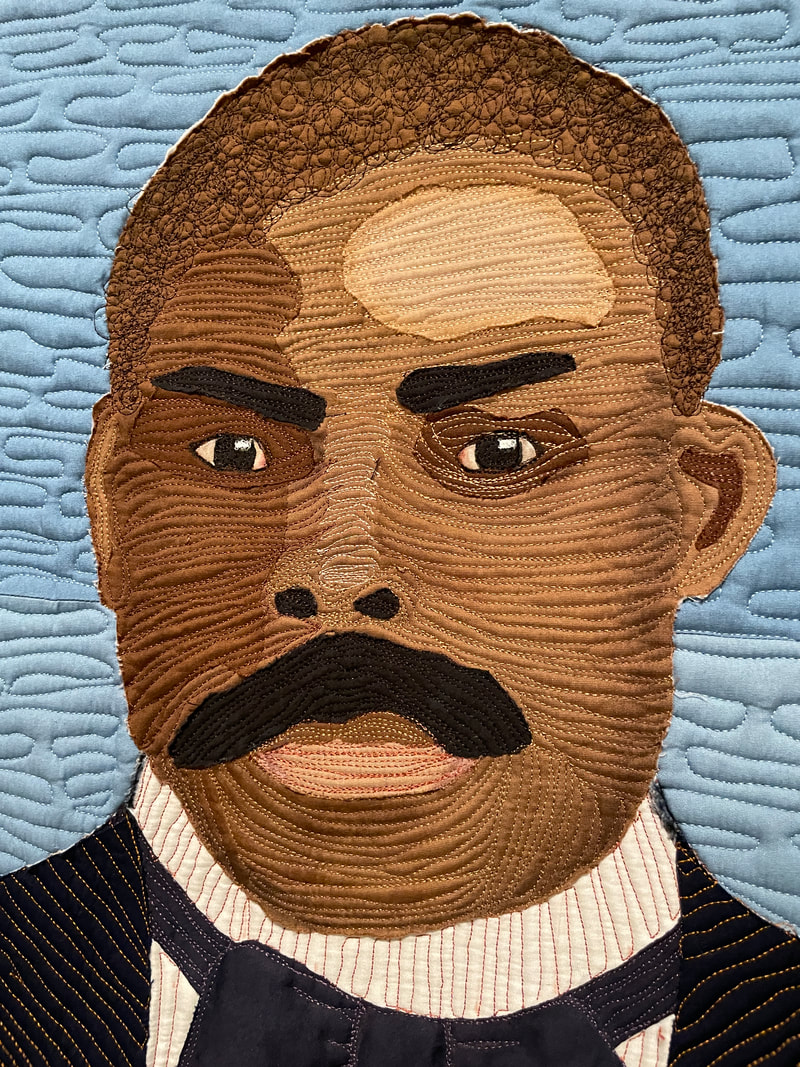
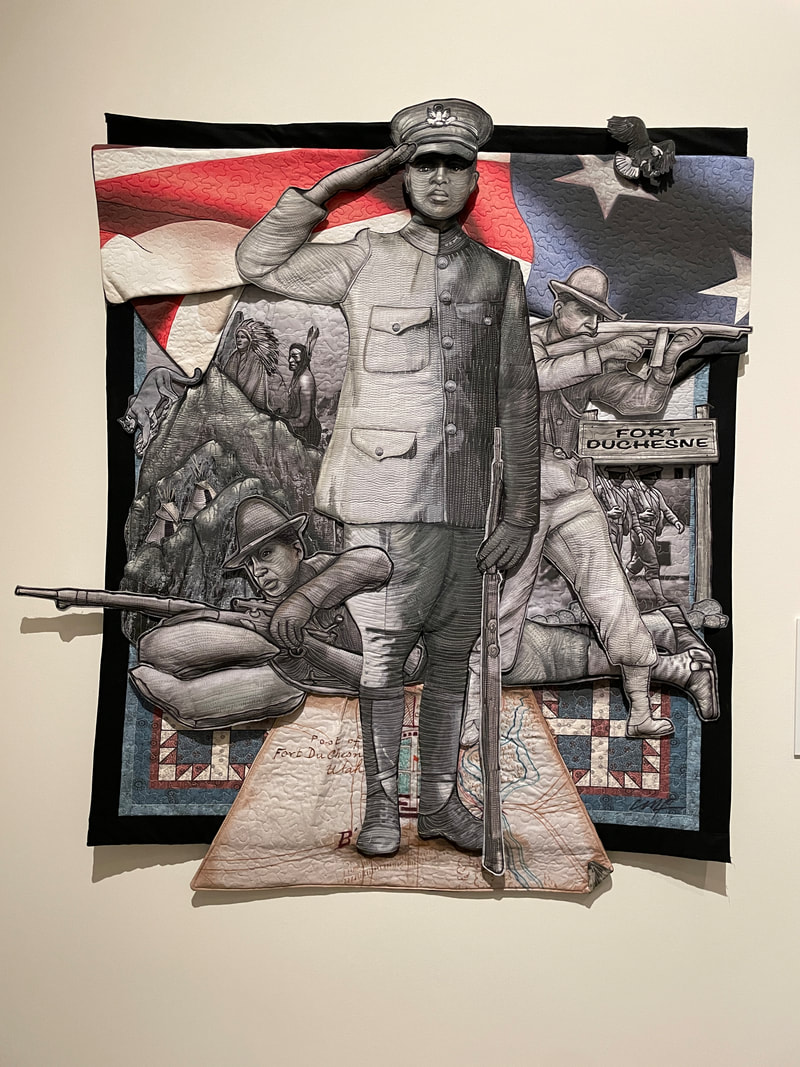
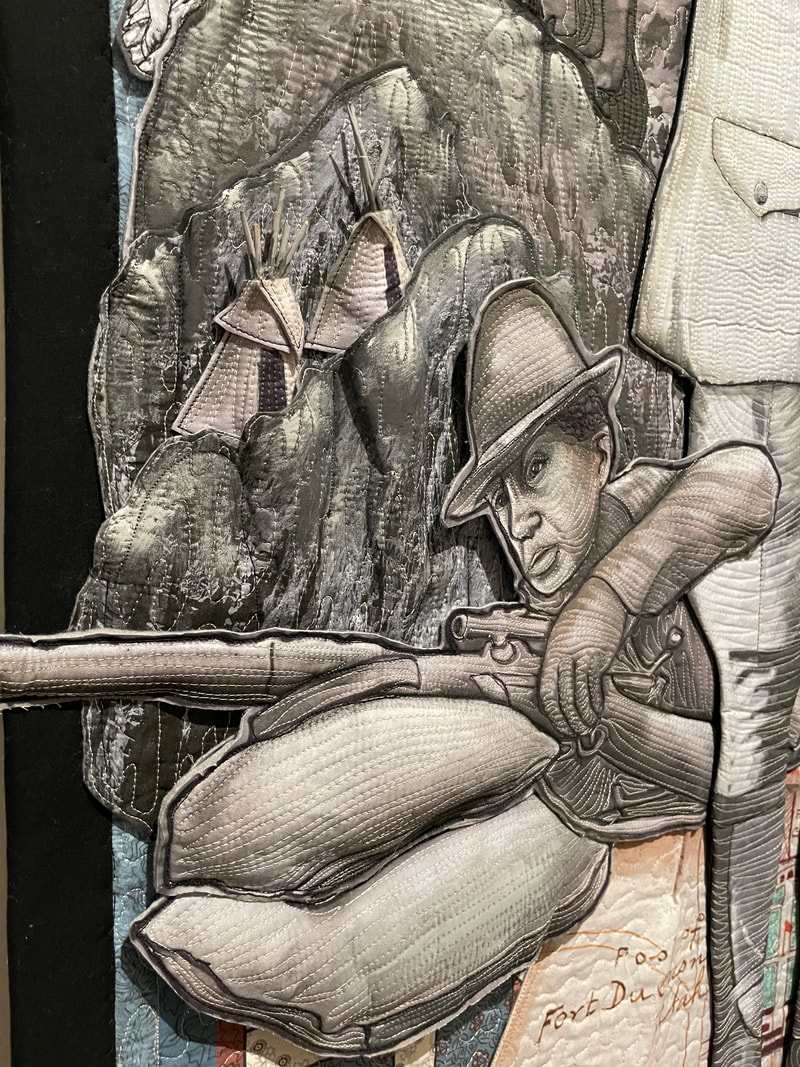
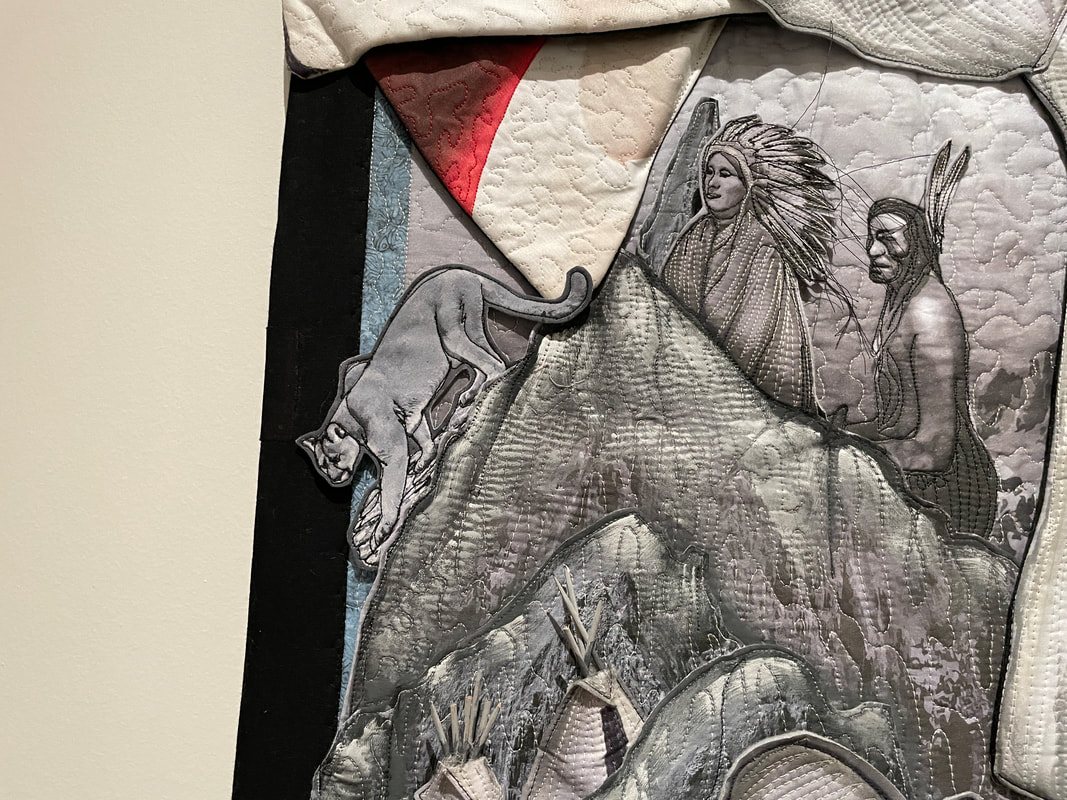
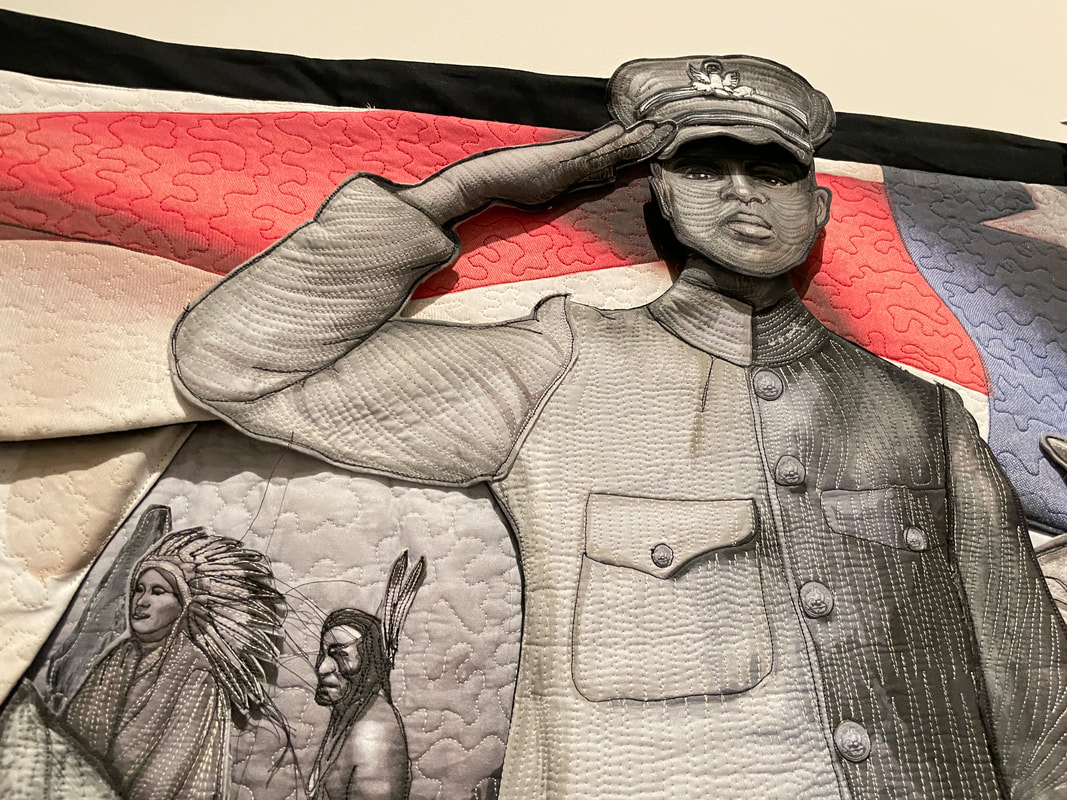
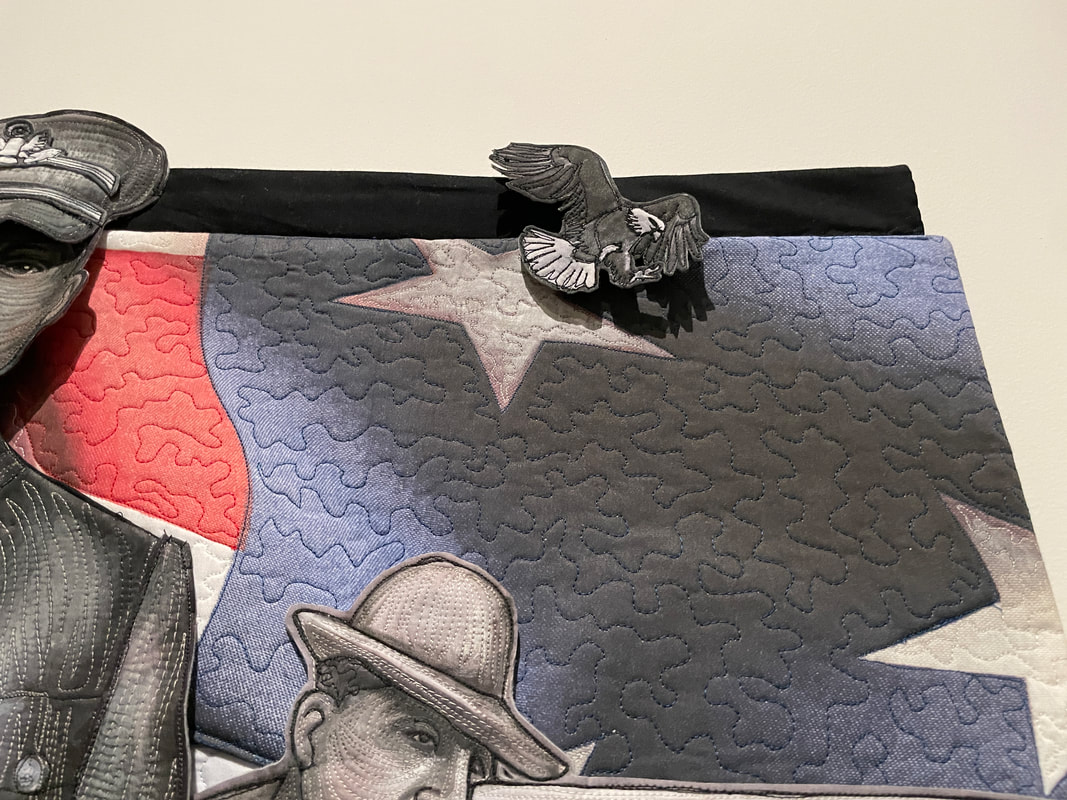
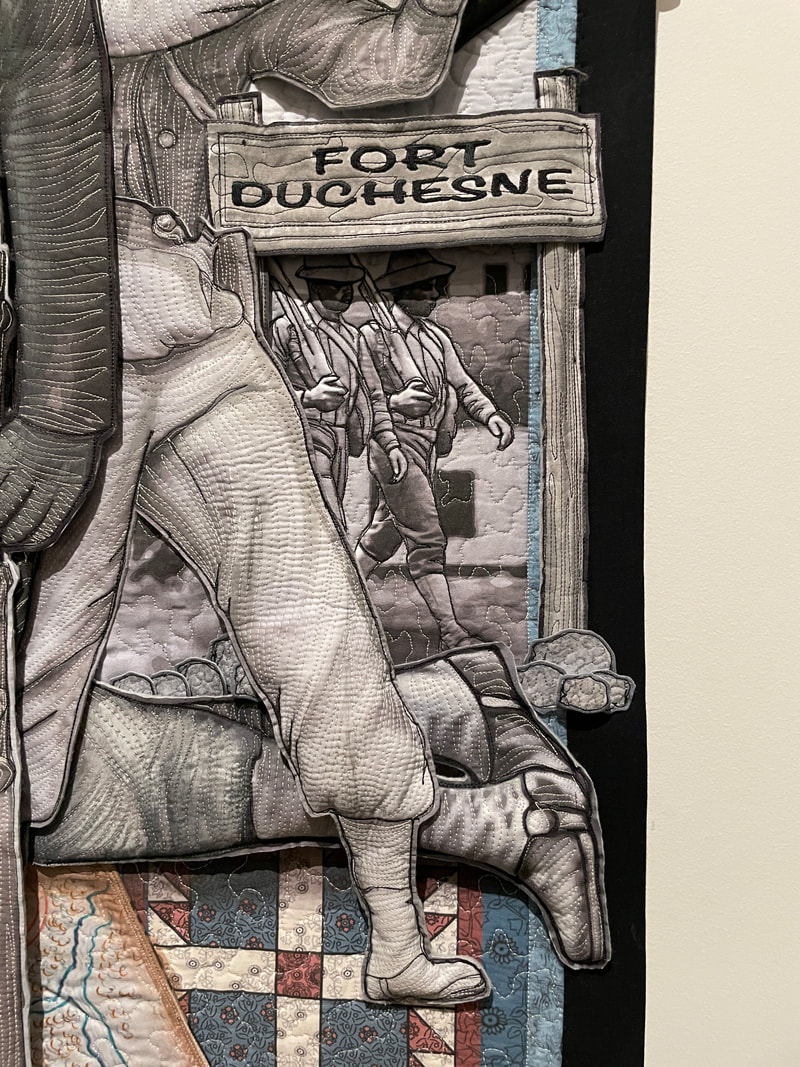
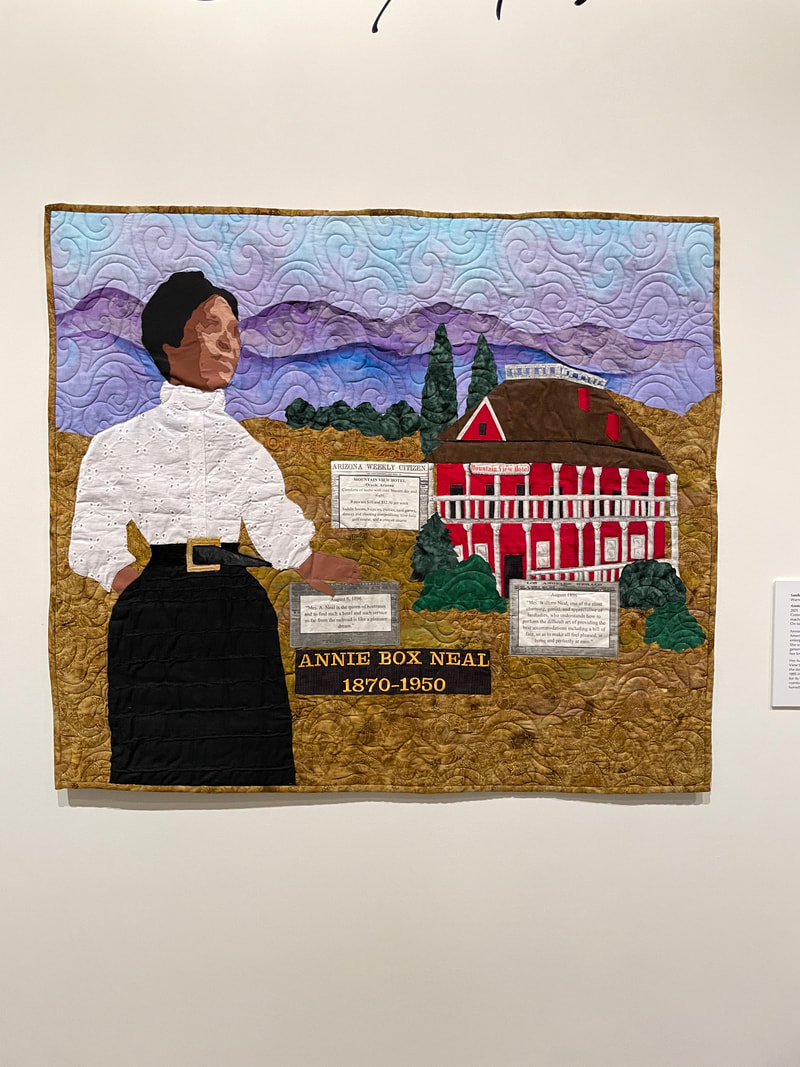
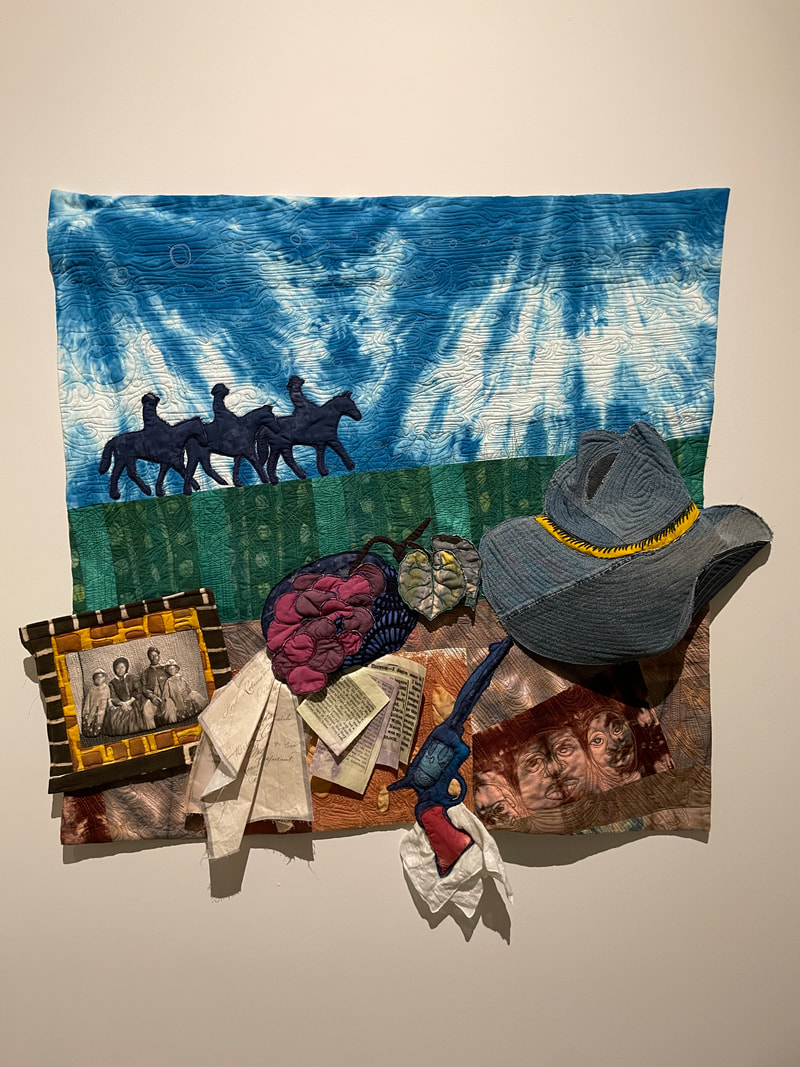
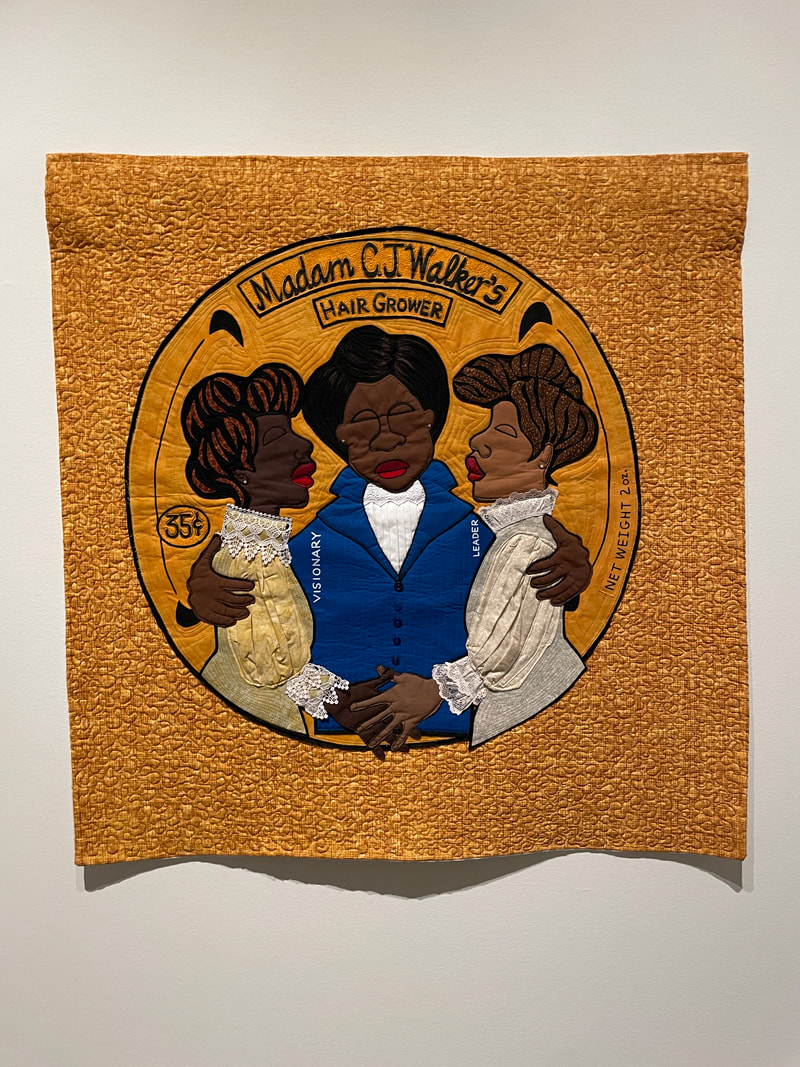
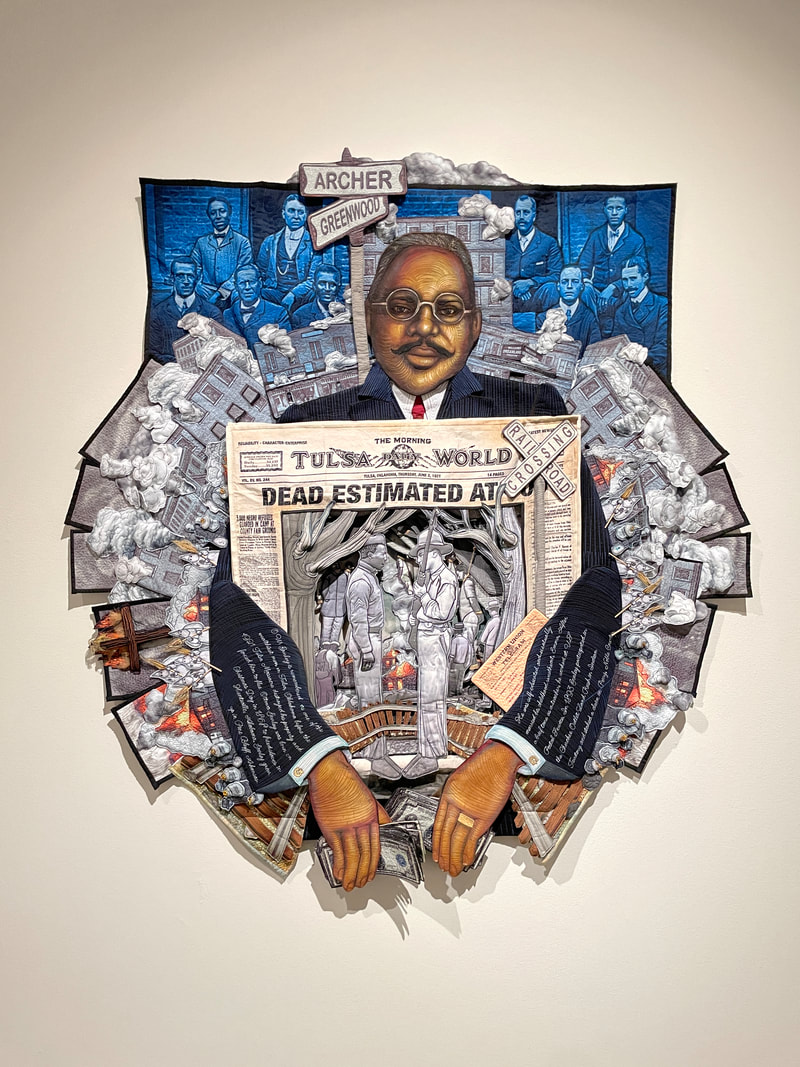
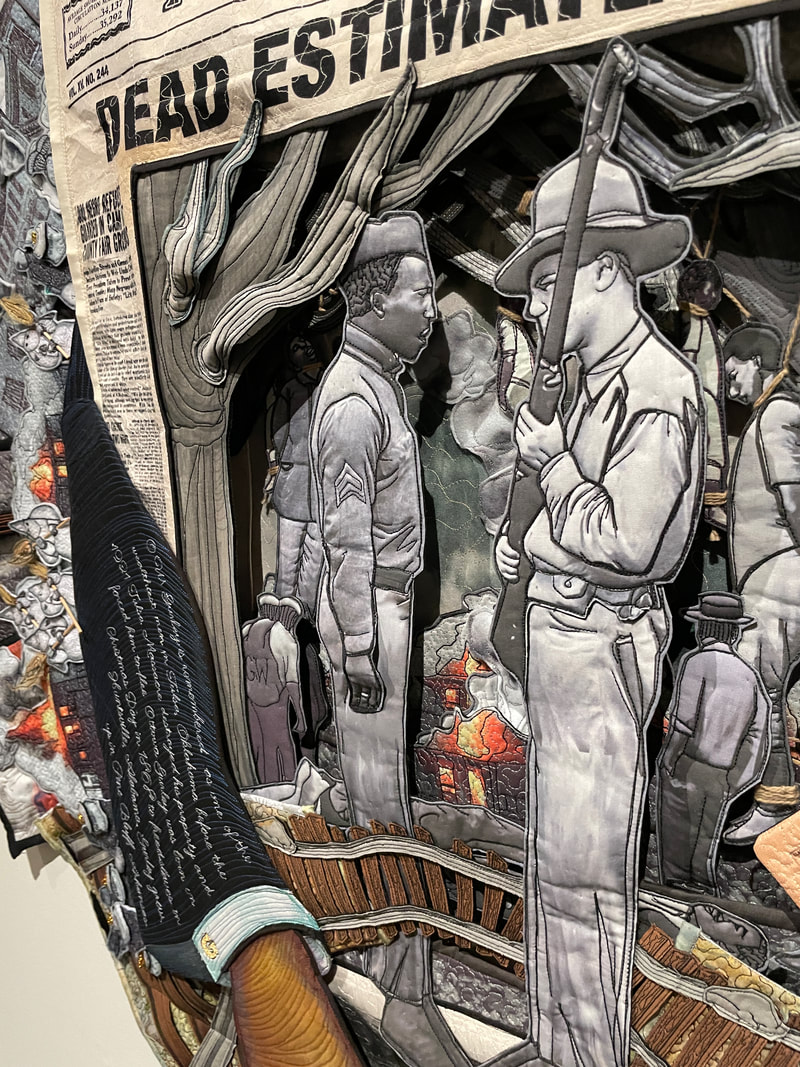
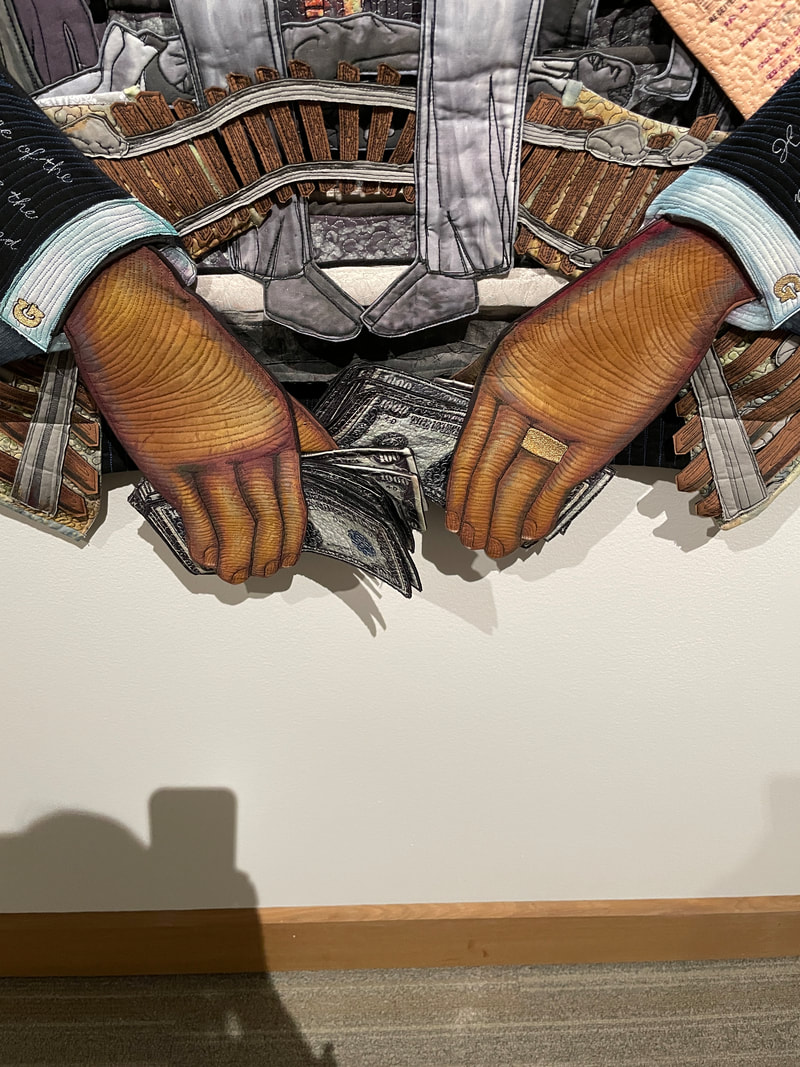
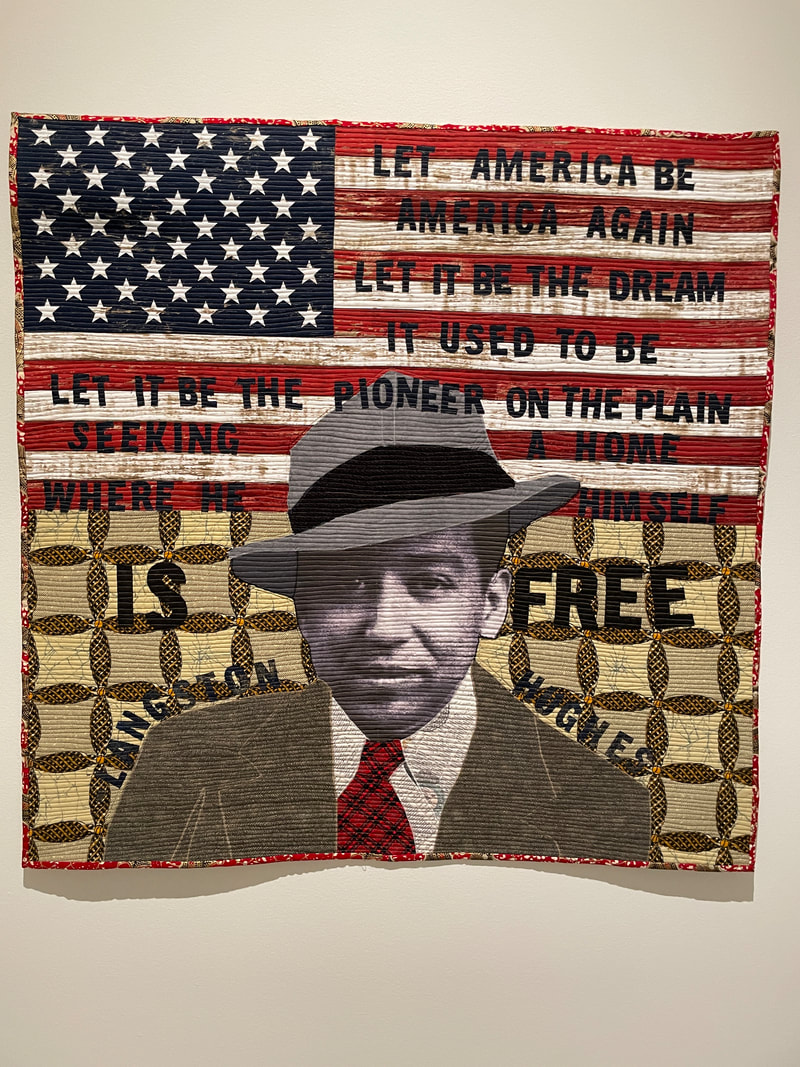
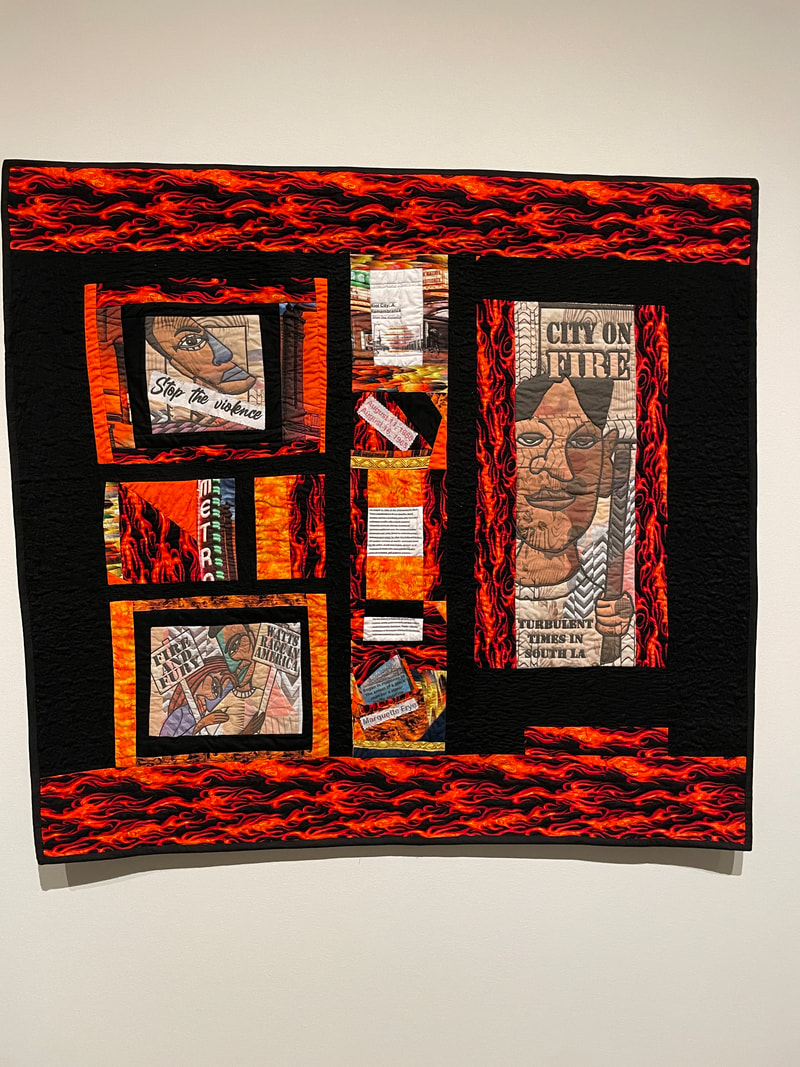
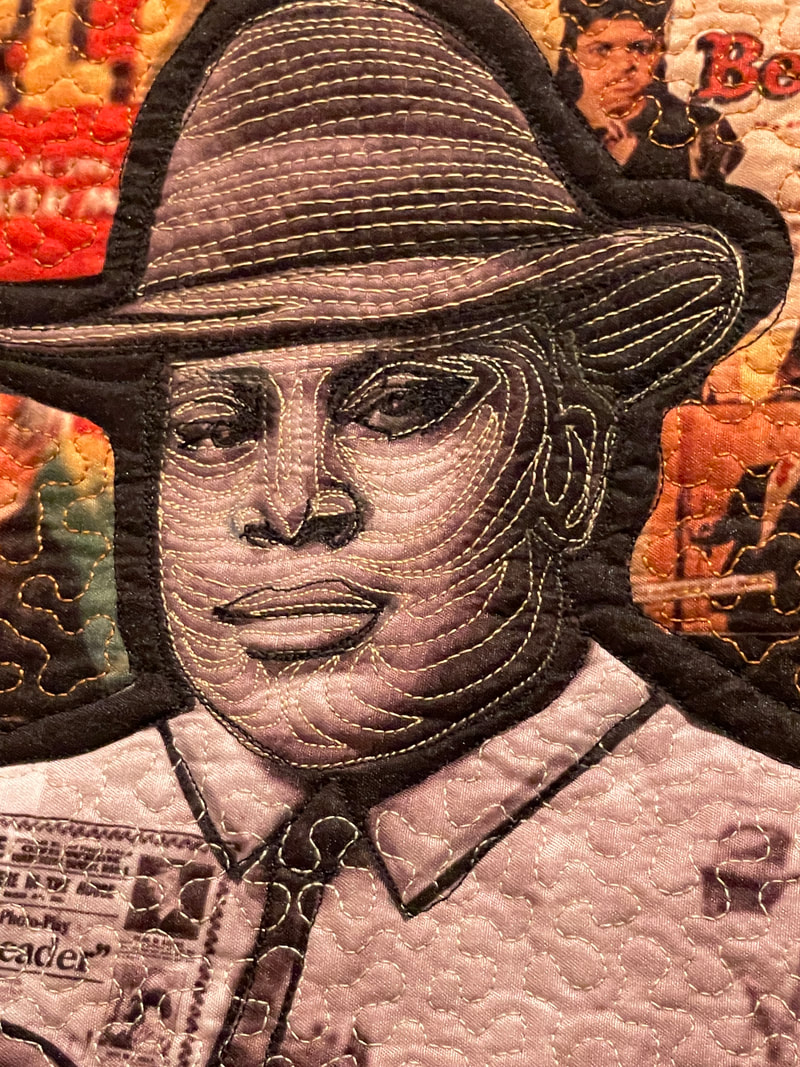
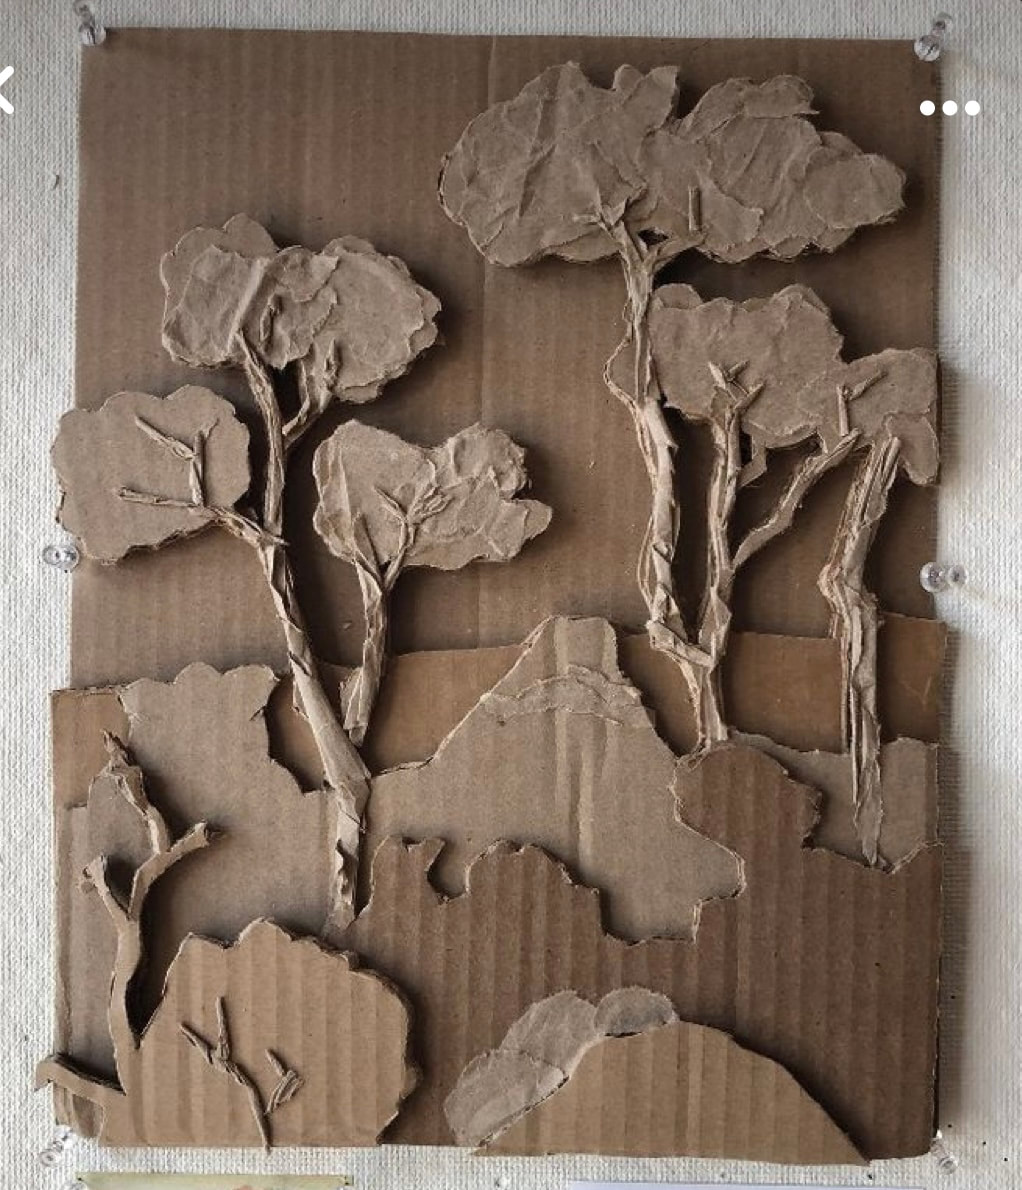
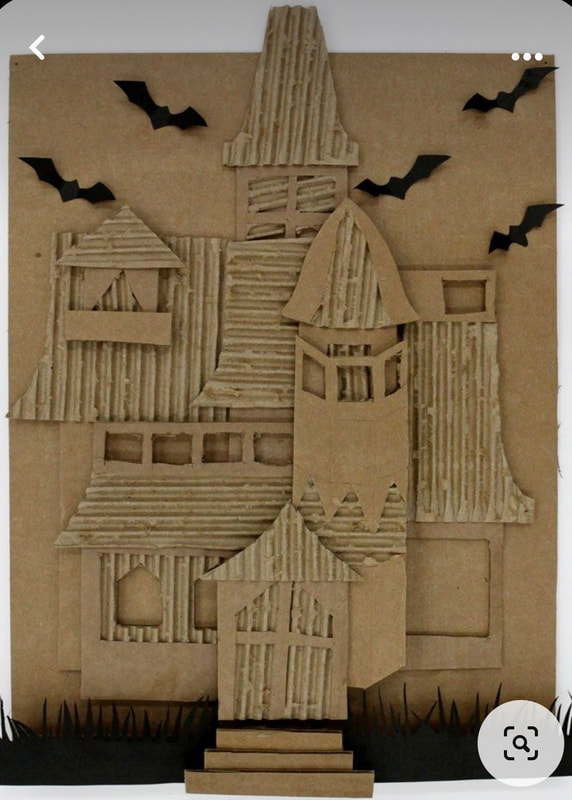
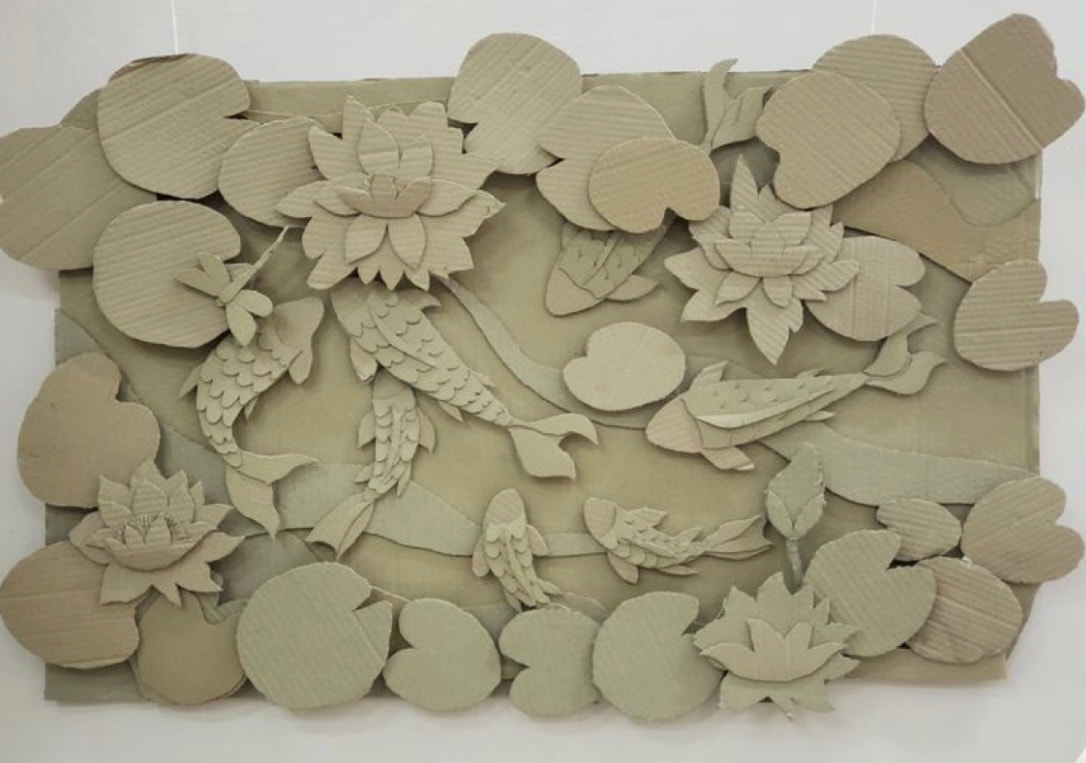
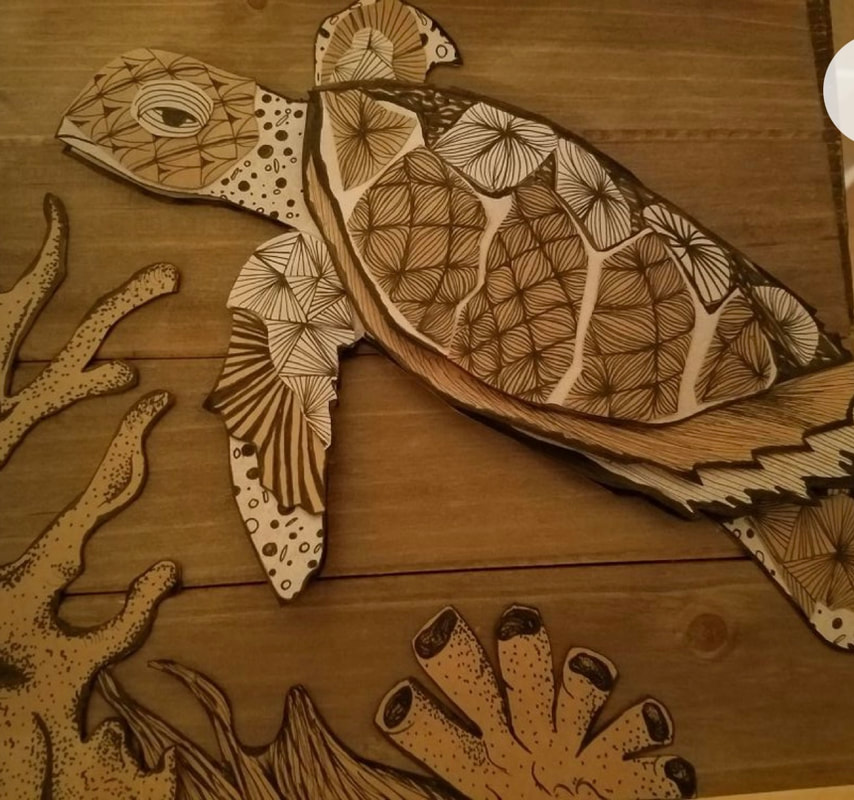
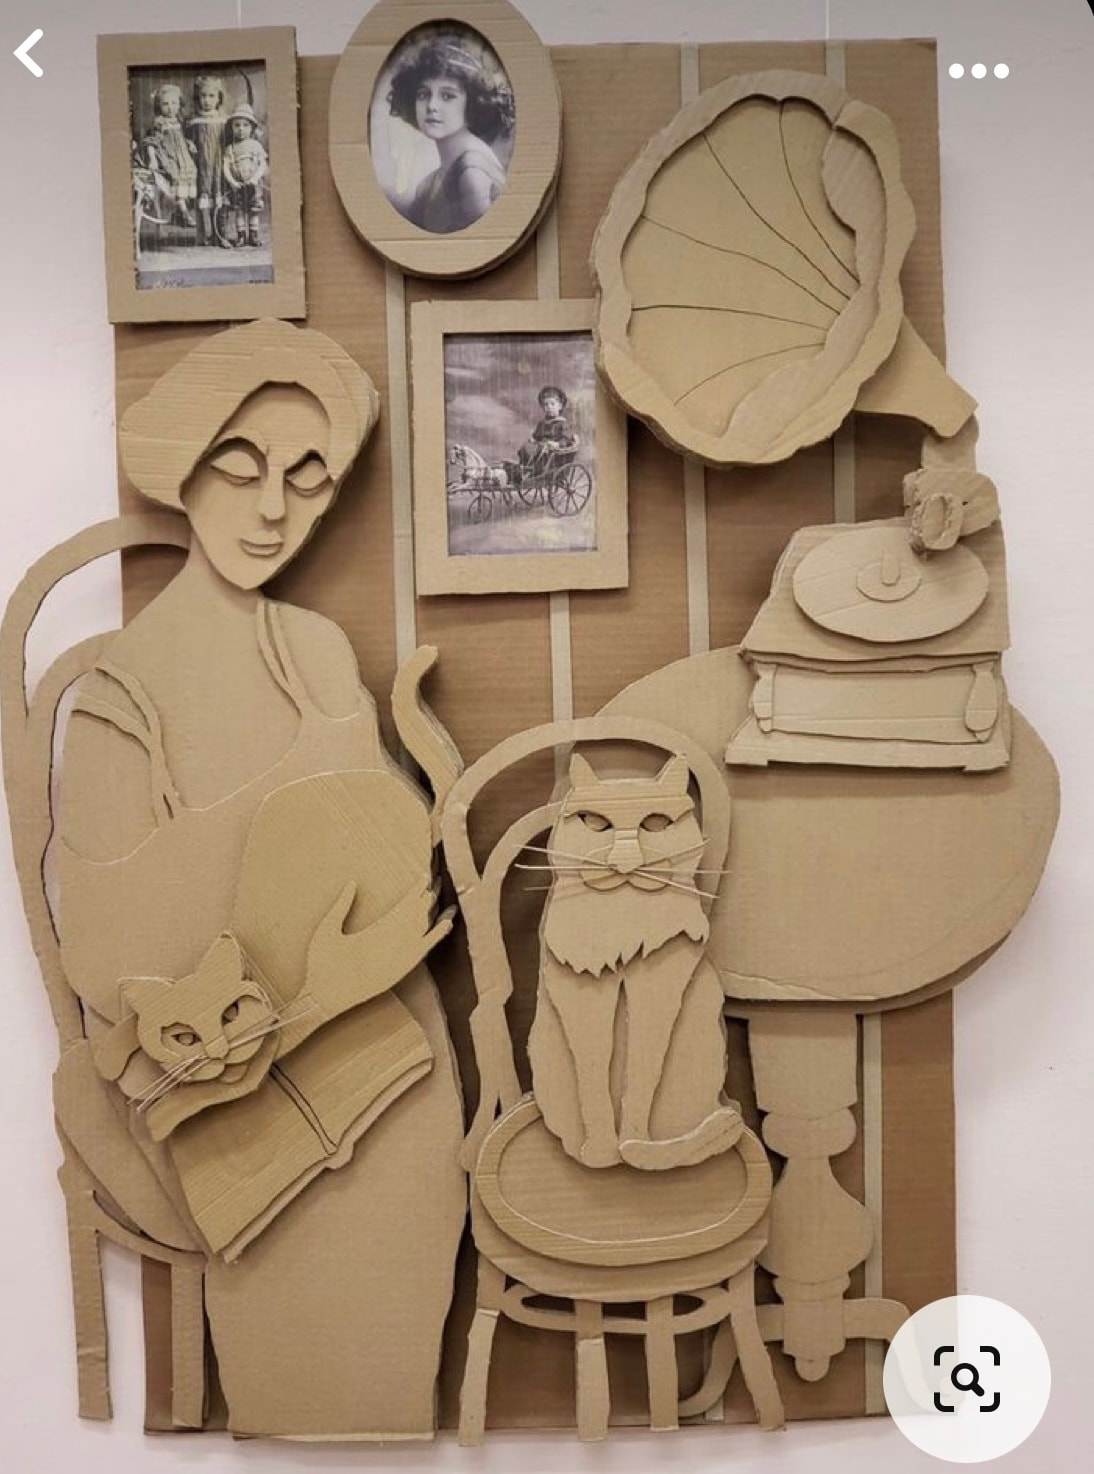
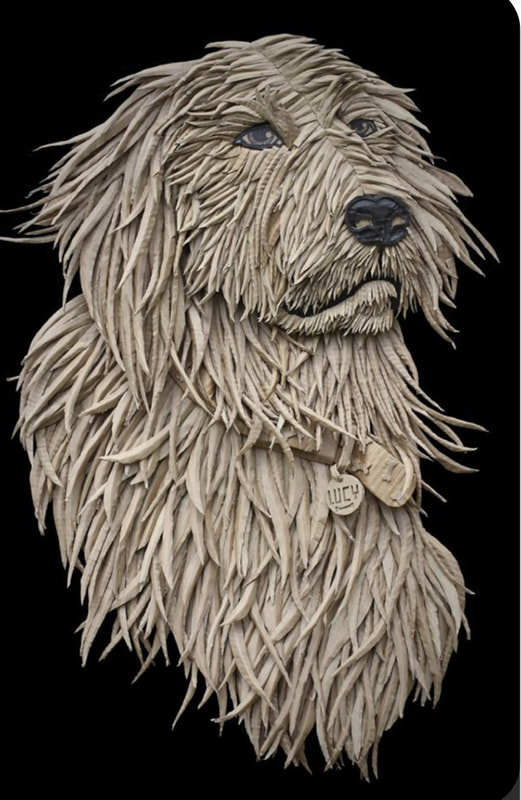
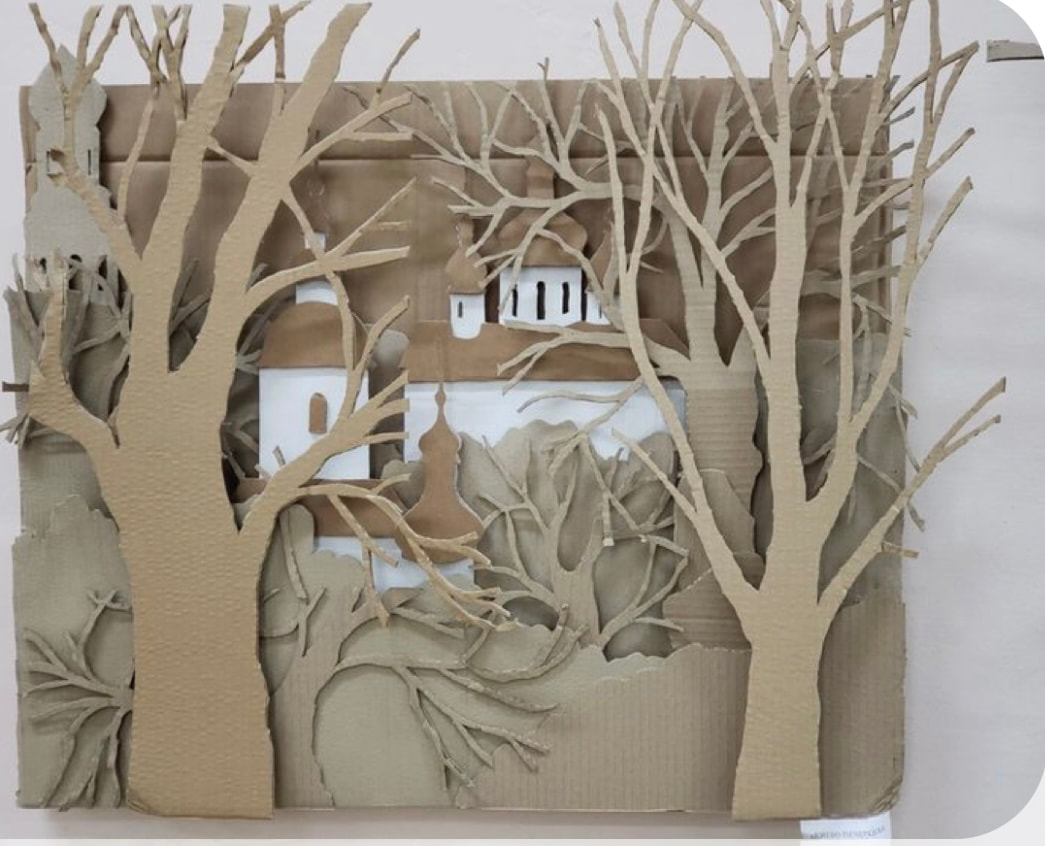
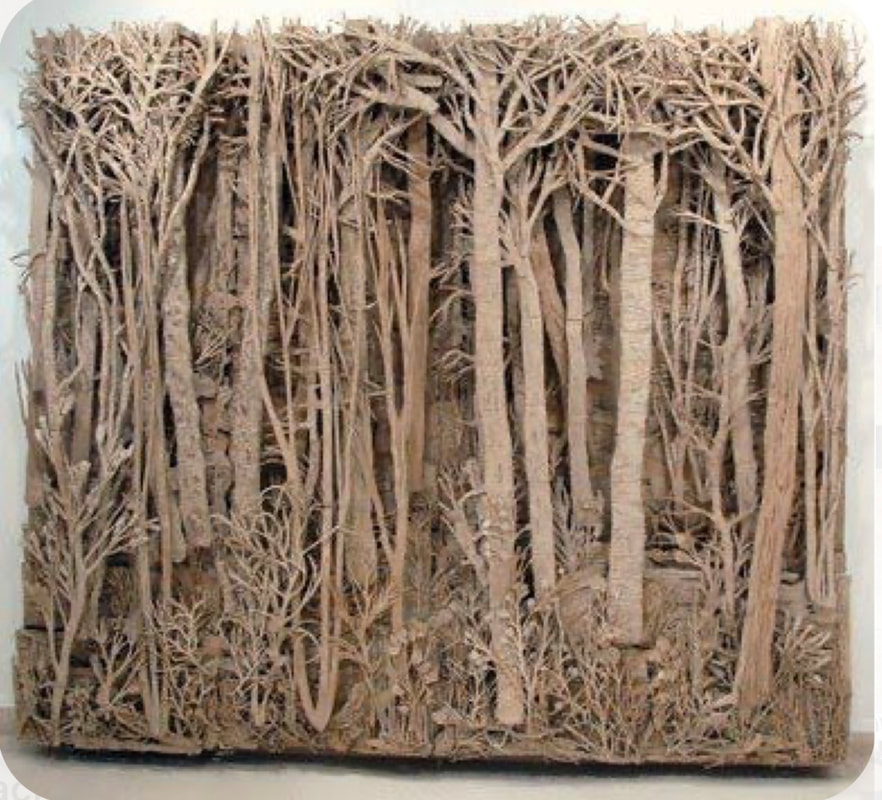
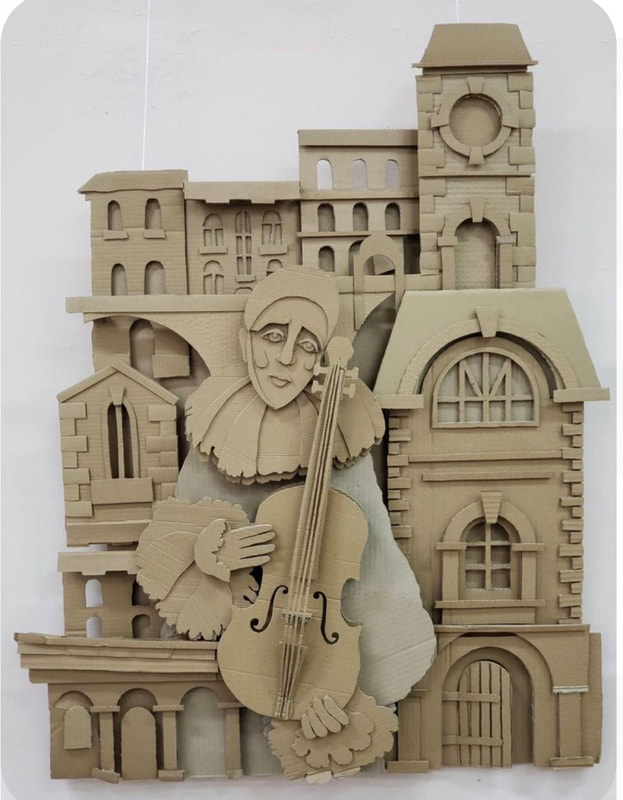
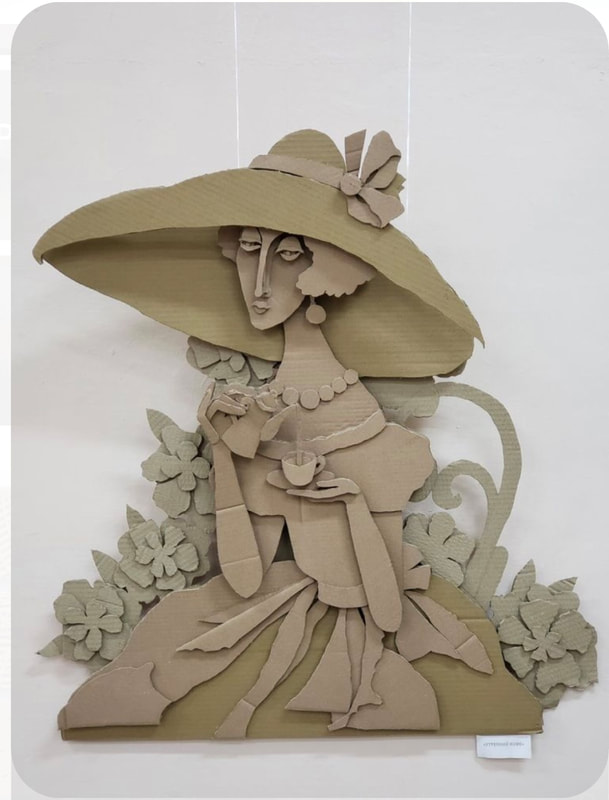
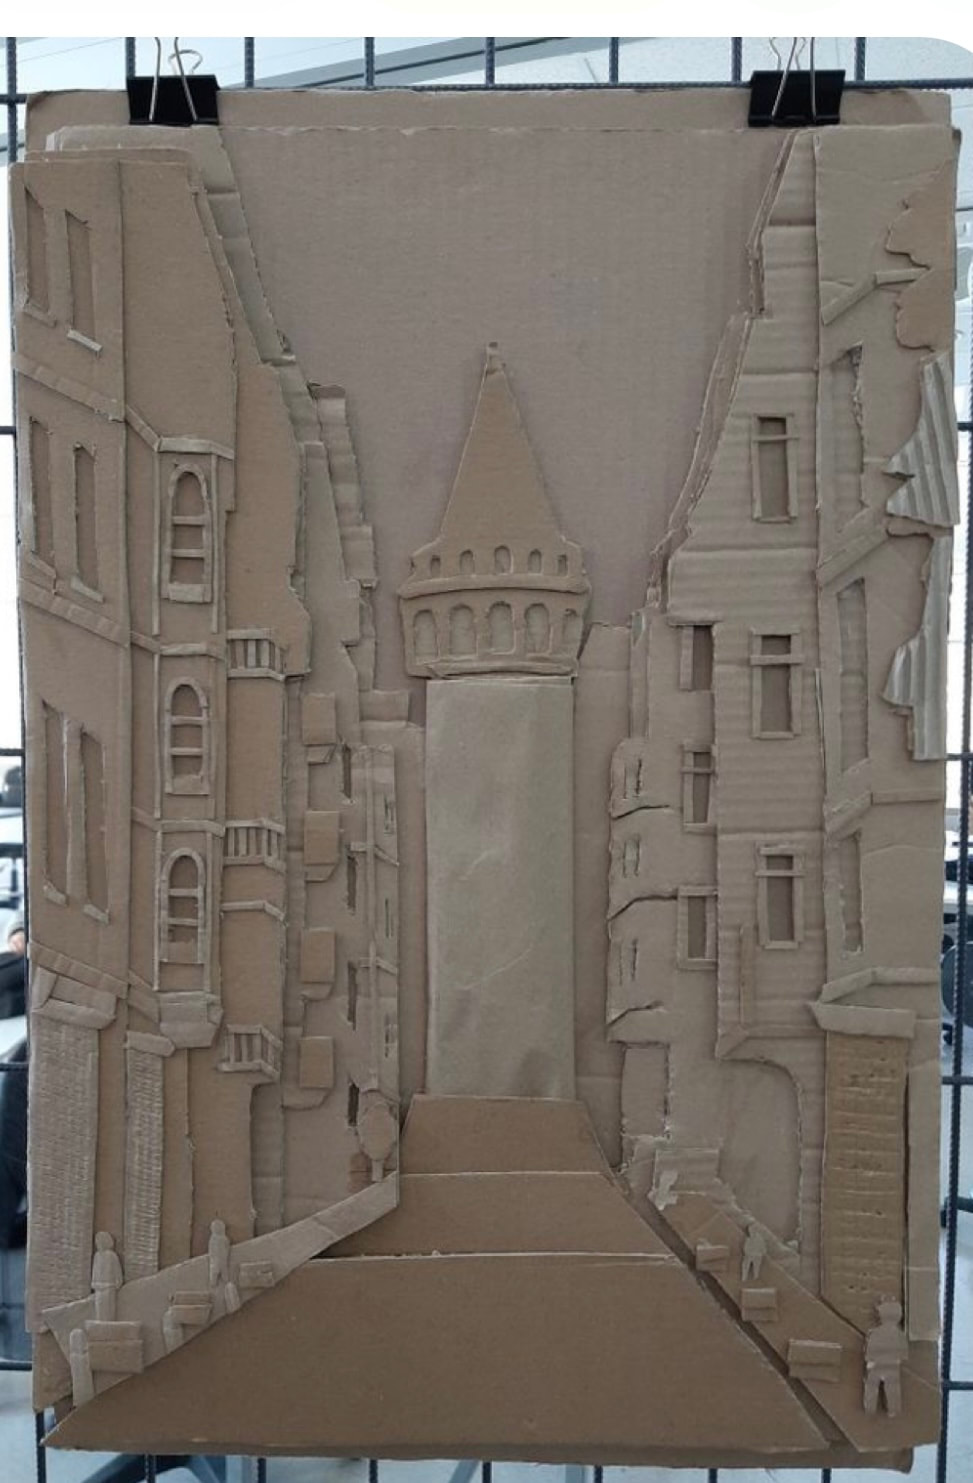
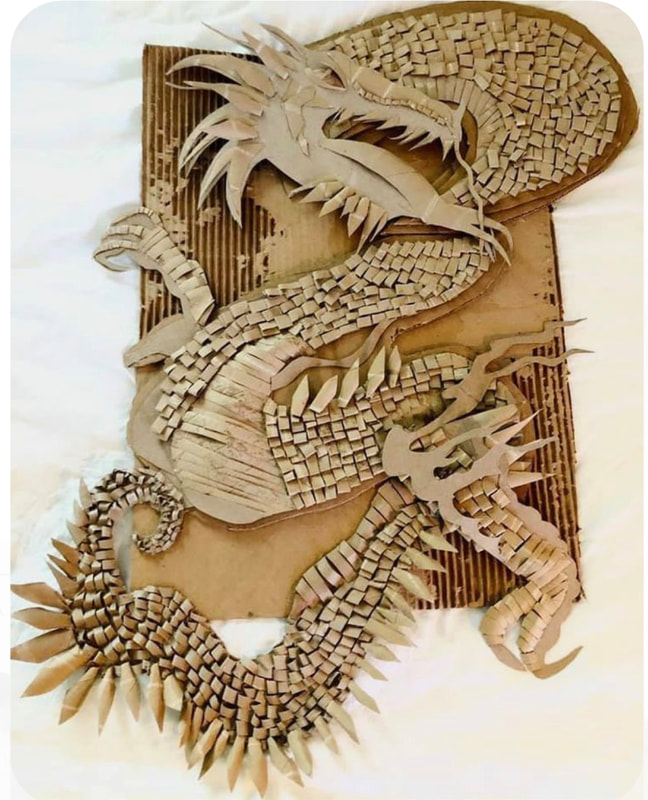
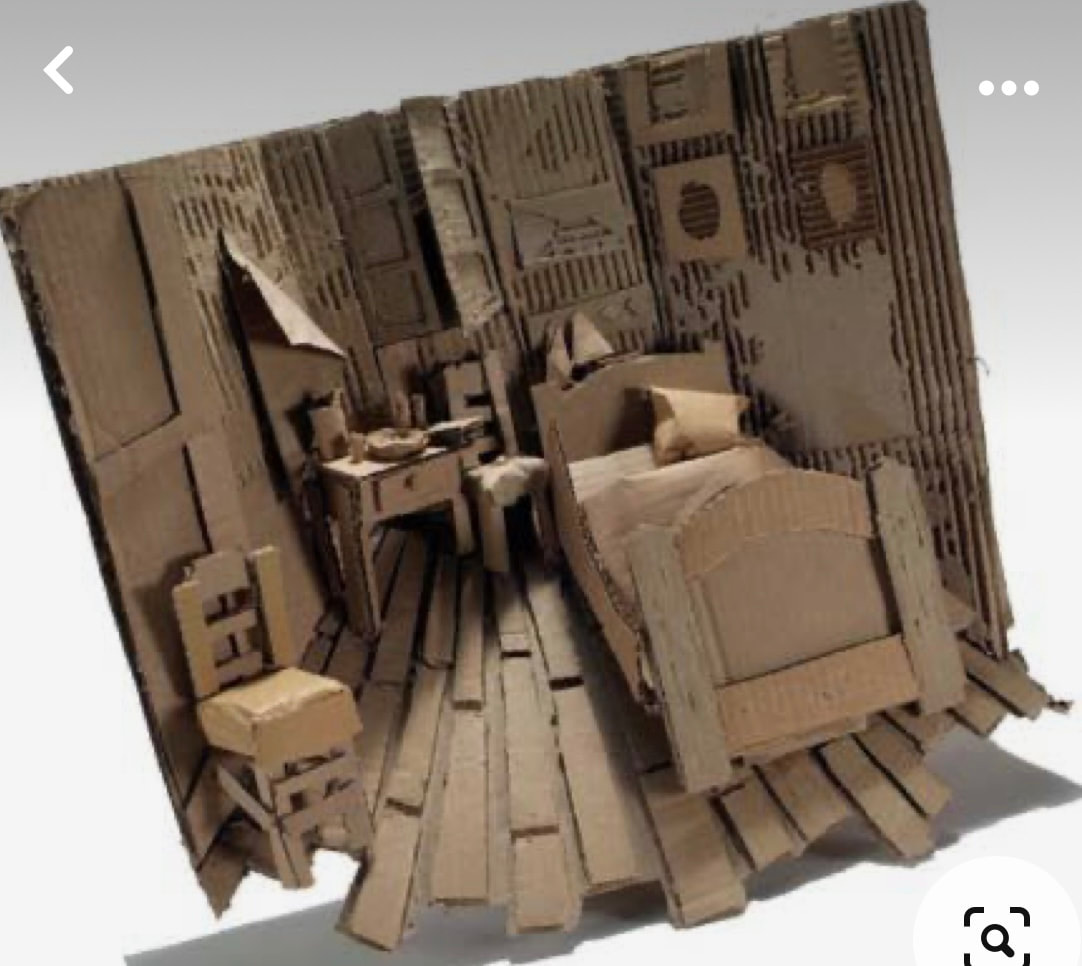
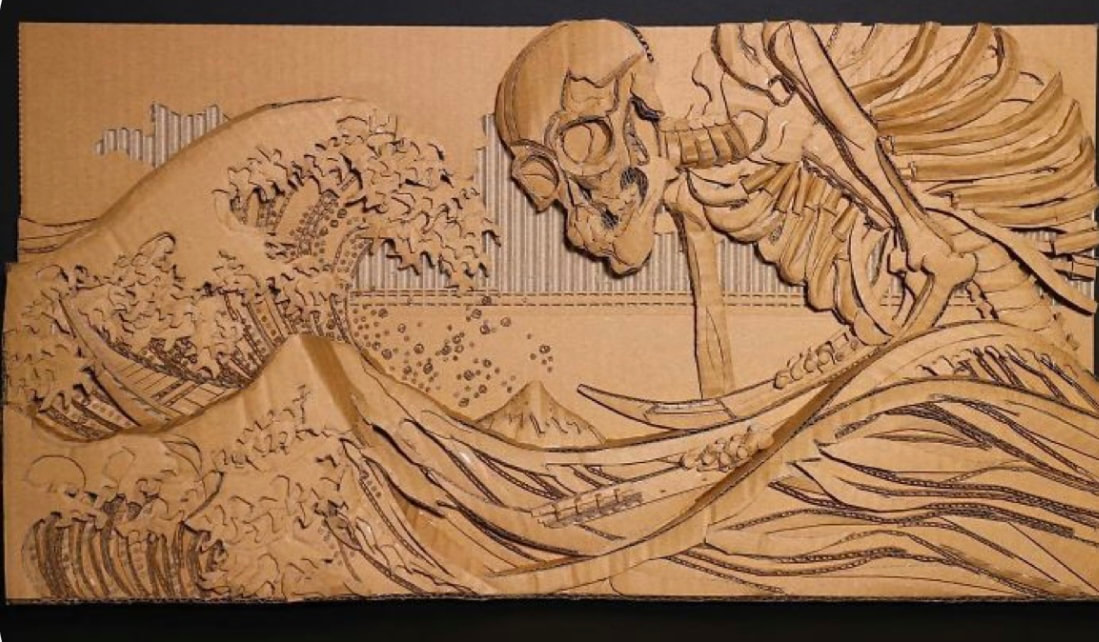
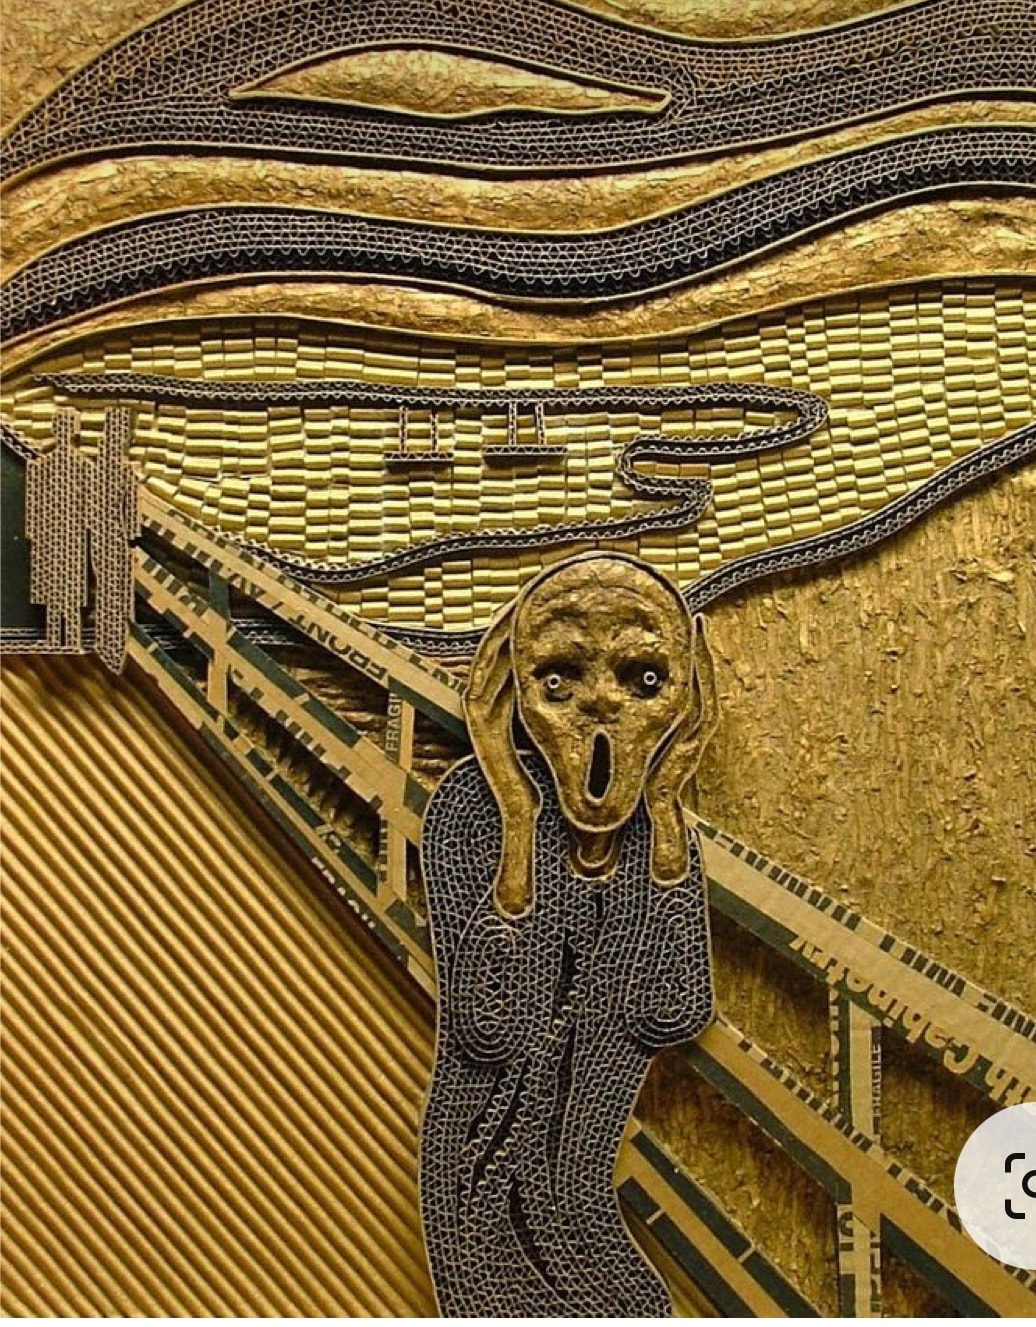
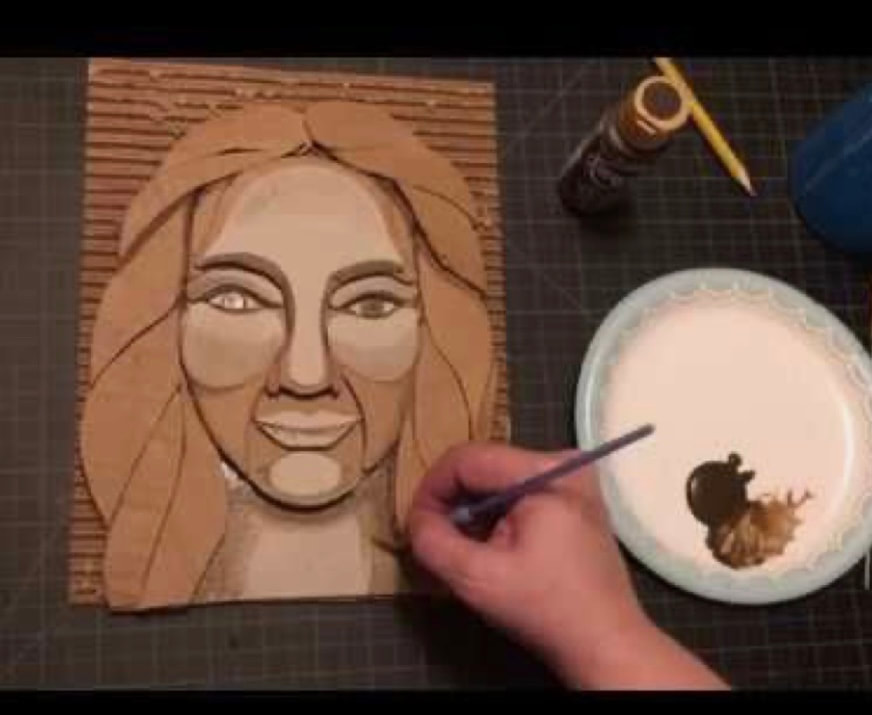
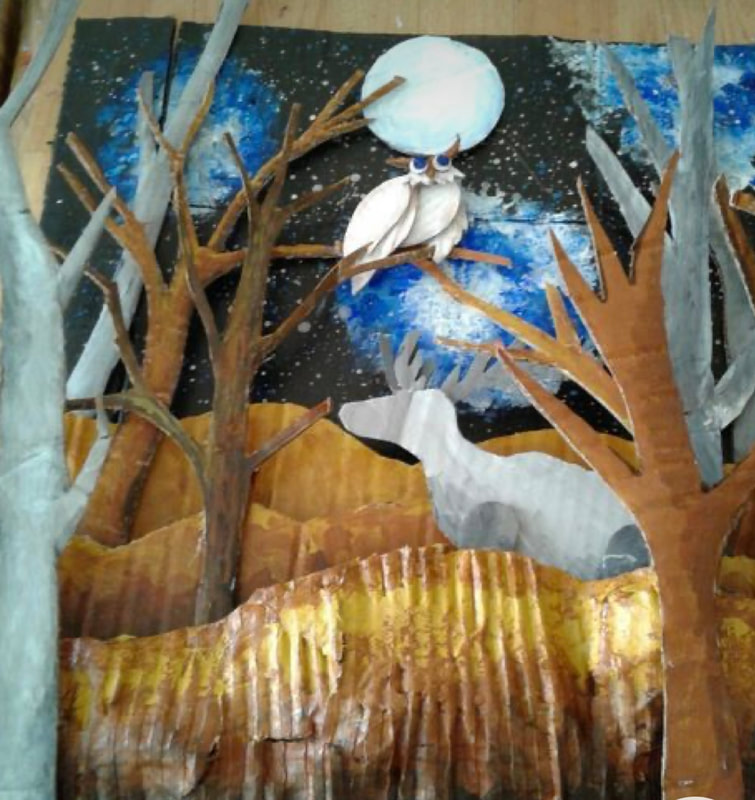
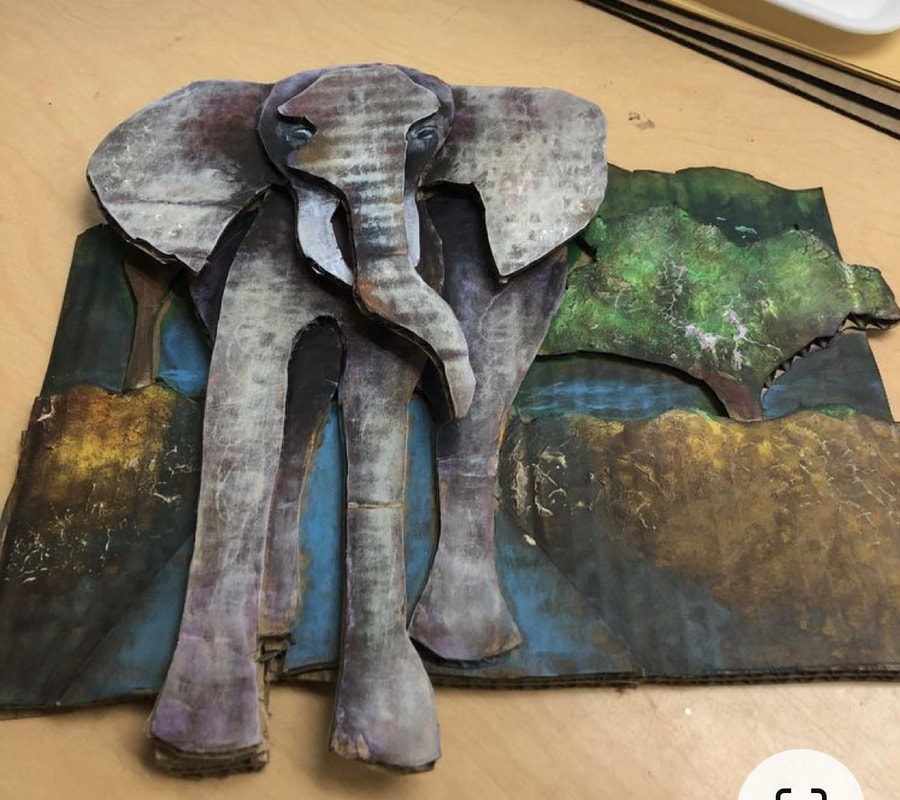
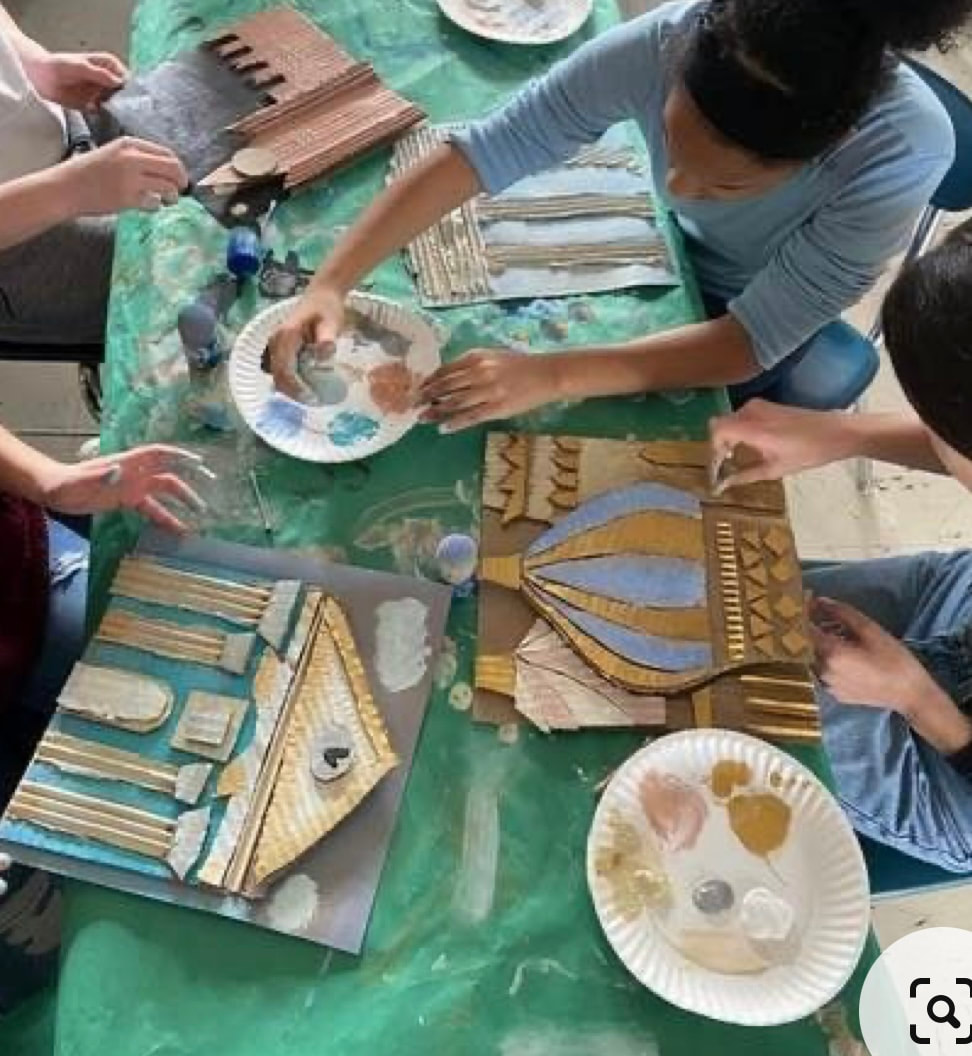
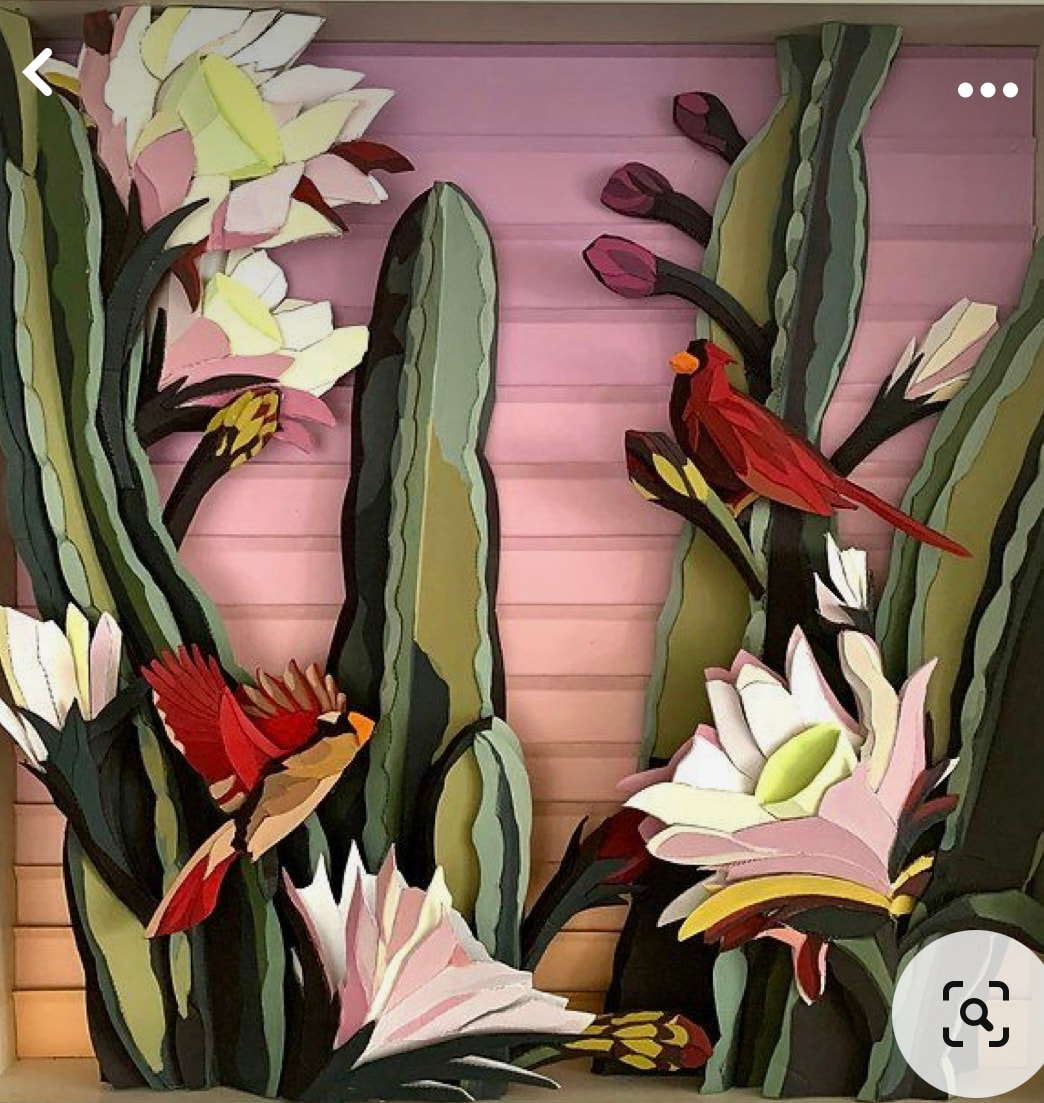
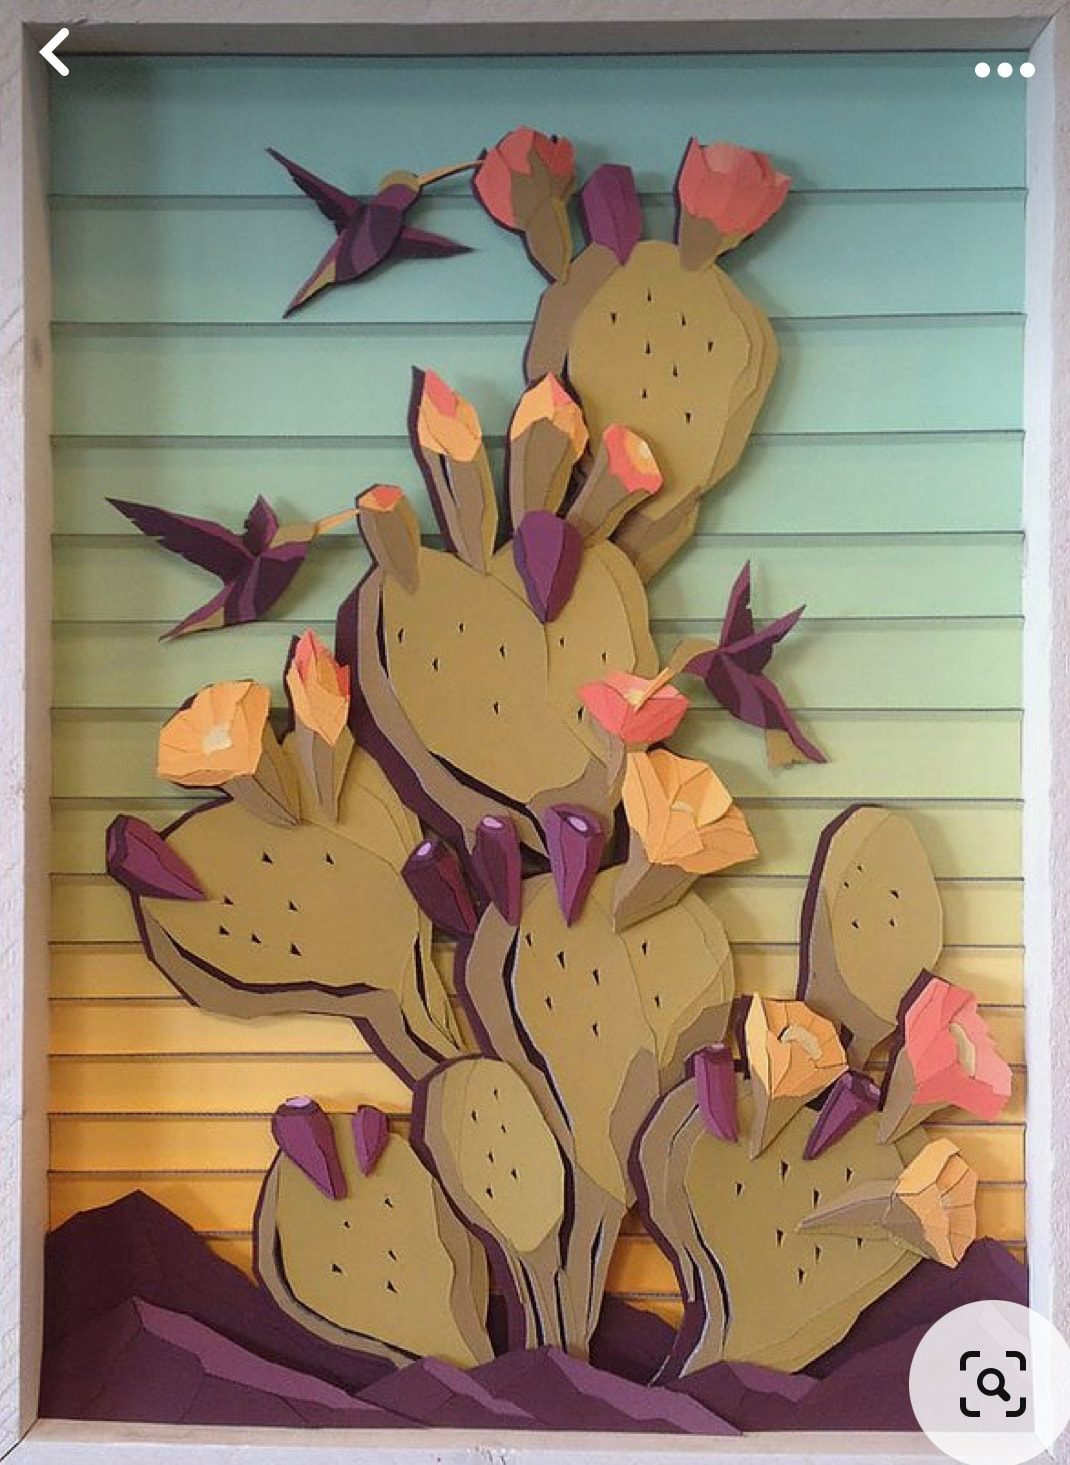
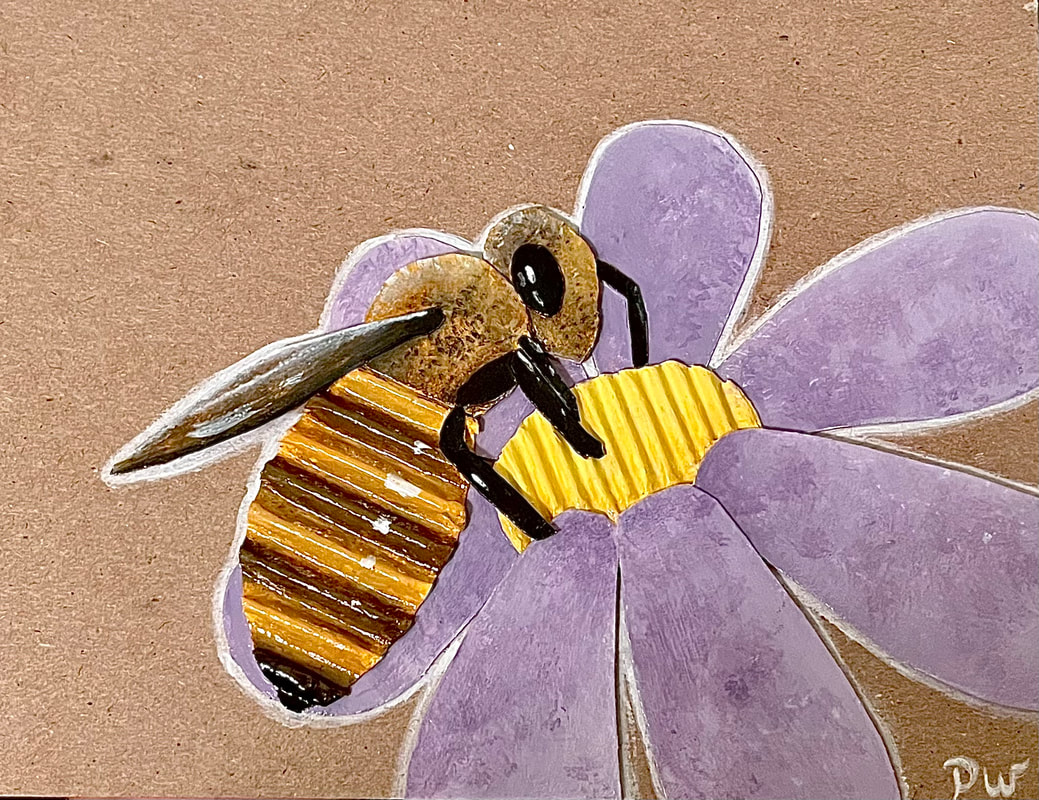
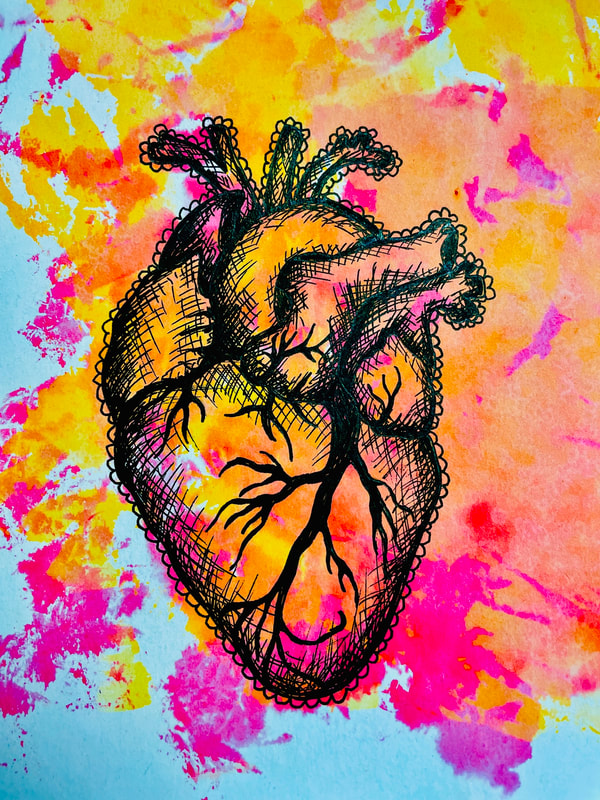
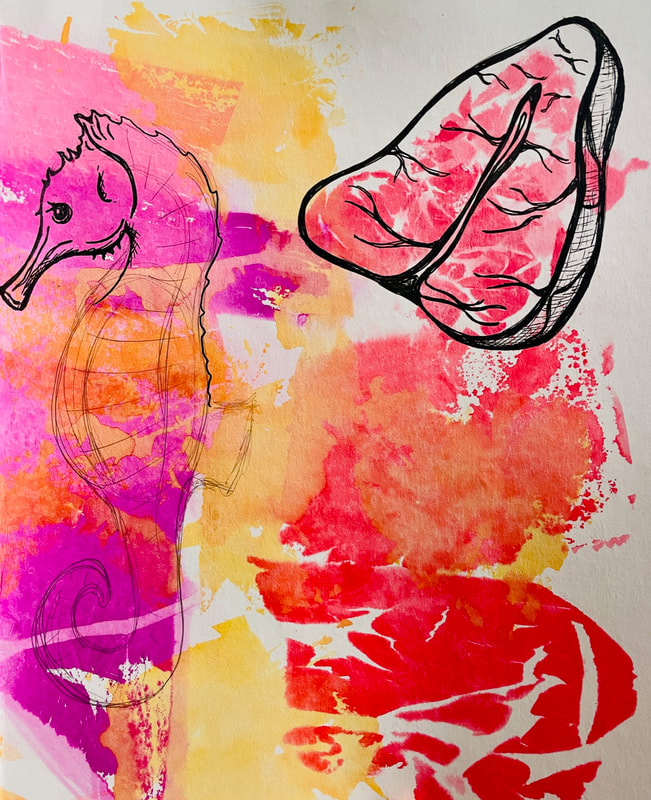
Using our sewing skills from the beginning of the year and our ability to create 3D scenes from our previous project, I want you to design and construct a 3-dimensional quilted scene where some items or areas pop up off of the surface by either sewing pieces on so that they are 3D or using cotton stuffing to make pillow like effects. Below are several examples of quilted scenes. Some have 3D effects while others don't, but for your quilt, I do want 3D areas to be incorporated. Building on our previous project, focusing on folk art and scenes, you will create a shallow relief sculpture made entirely of cardboard and later it will be painted. You will have to think about your scene and how it will be constructed in layers working from the background forward. You may not want to glue them together until they are painted to make the construction and painting parts easier to do up until the last step gluing them all together. Using the colors and textures from your bleeding tissue paper, design stand alone forms using a pen that could be later used for stickers or card designs.
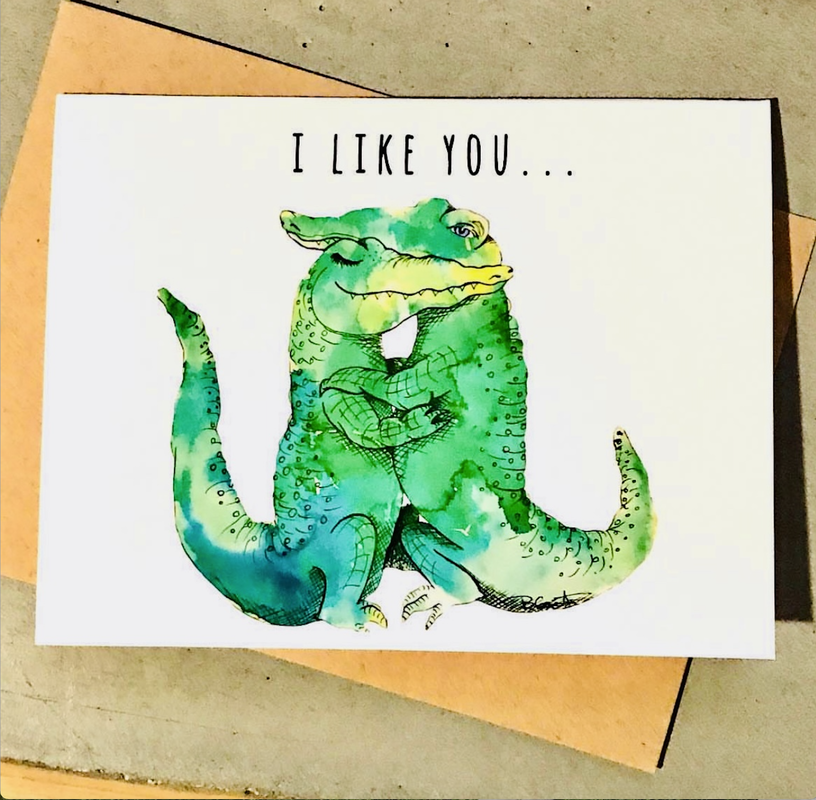
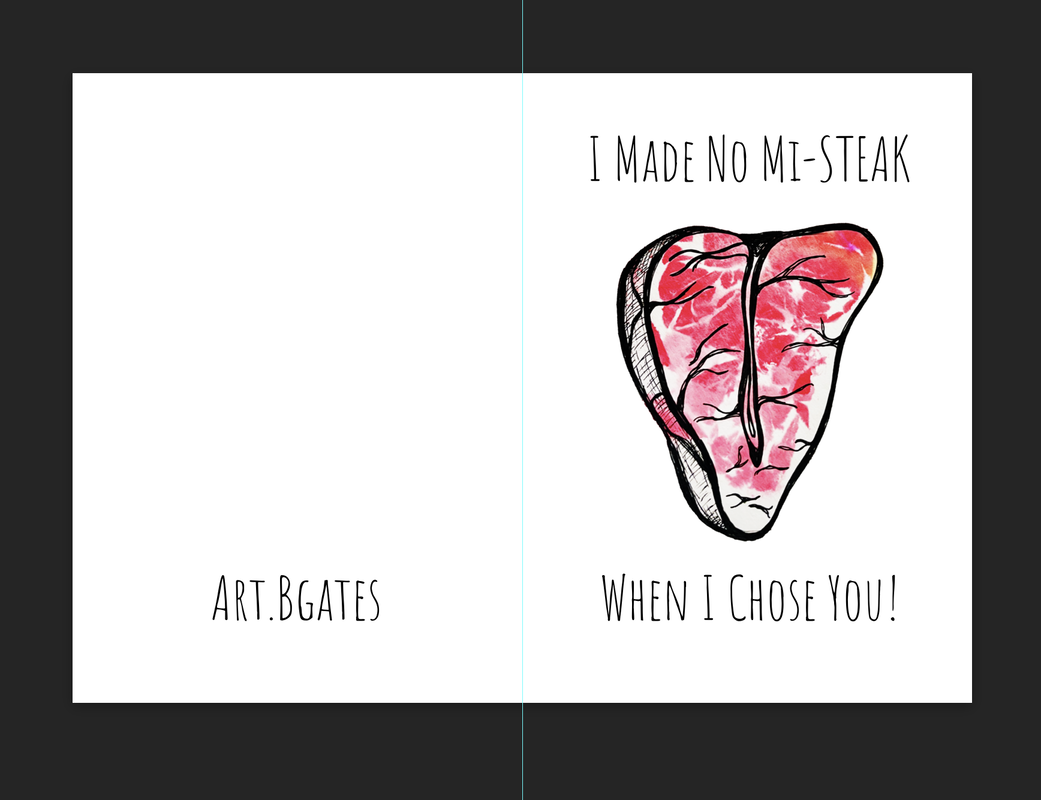
Horizontal Card Layout: -click on the file below to download to your computer. You will open it in Photopea.com. This document will not open on your computers if you don't have the Photoshop application on your school computer. This design is best used for a horizontal (design that is wider going from left to right). The top half will be the back of the card. The bottom half will be the front of the card.
Vertical Card Layout: -click on the file below to download to your computer. You will open the file in Photopea.com. This document will not open on your computers if you do not have Photoshop on them. This design is the one used in the examples above. It's best for tall designs.
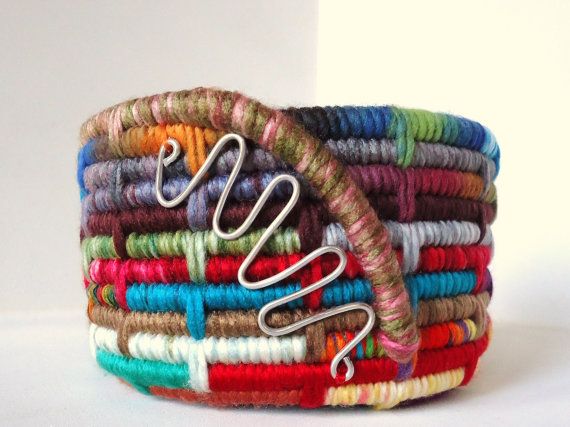
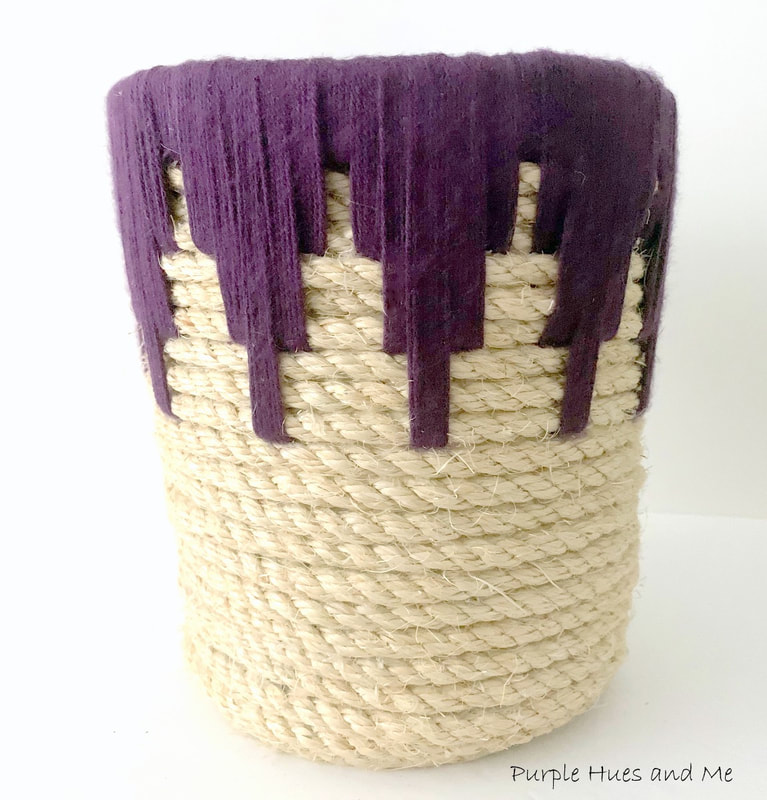
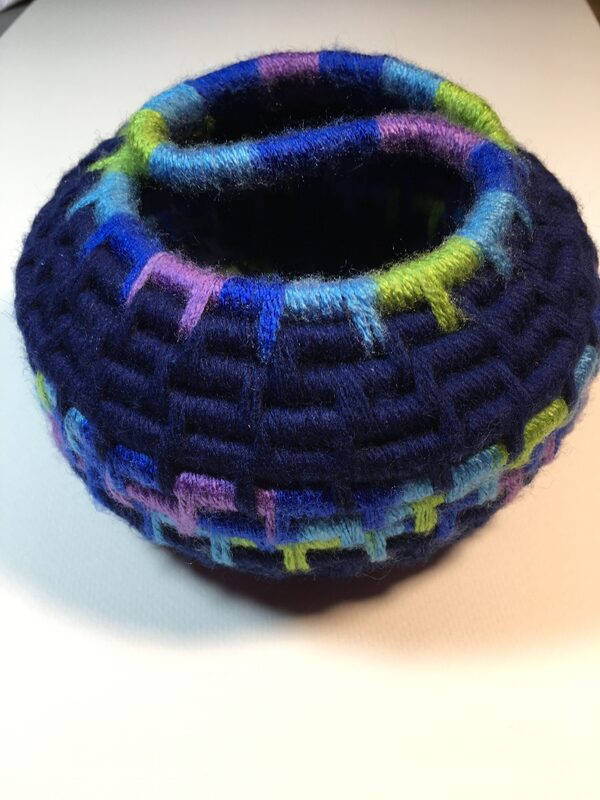
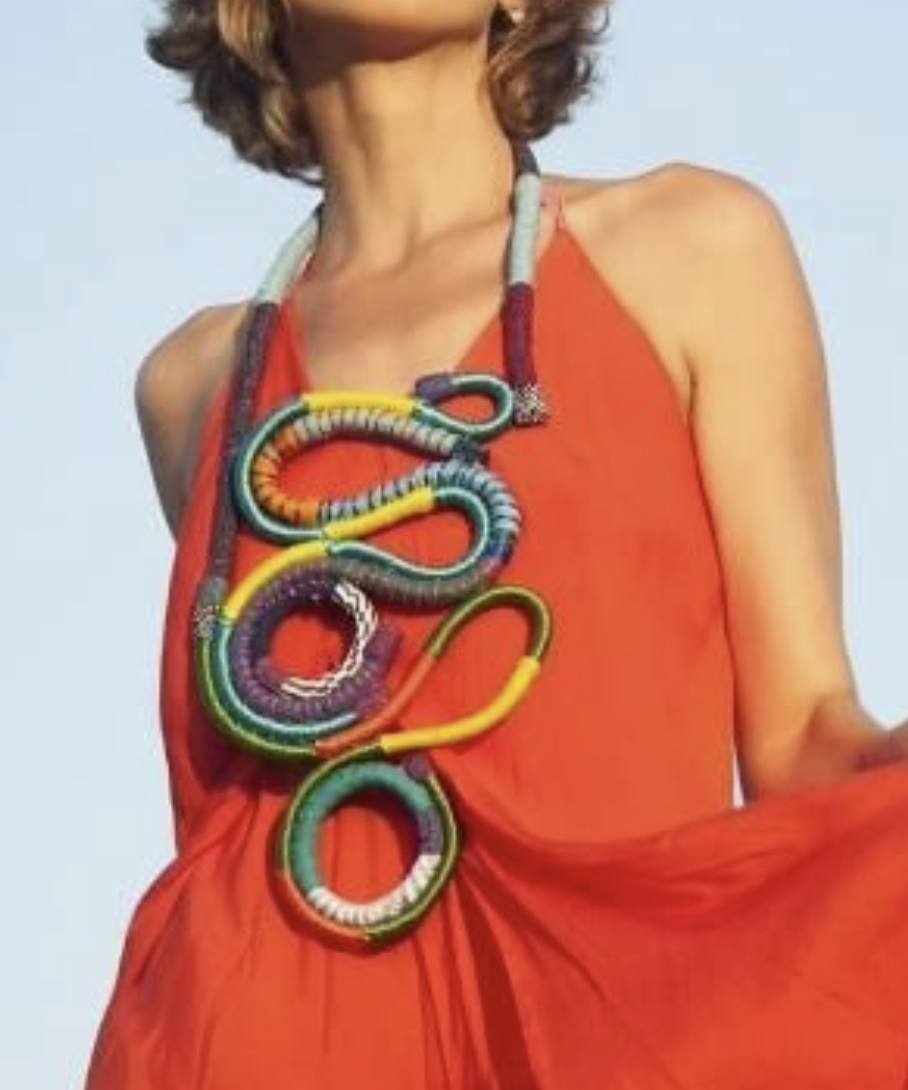
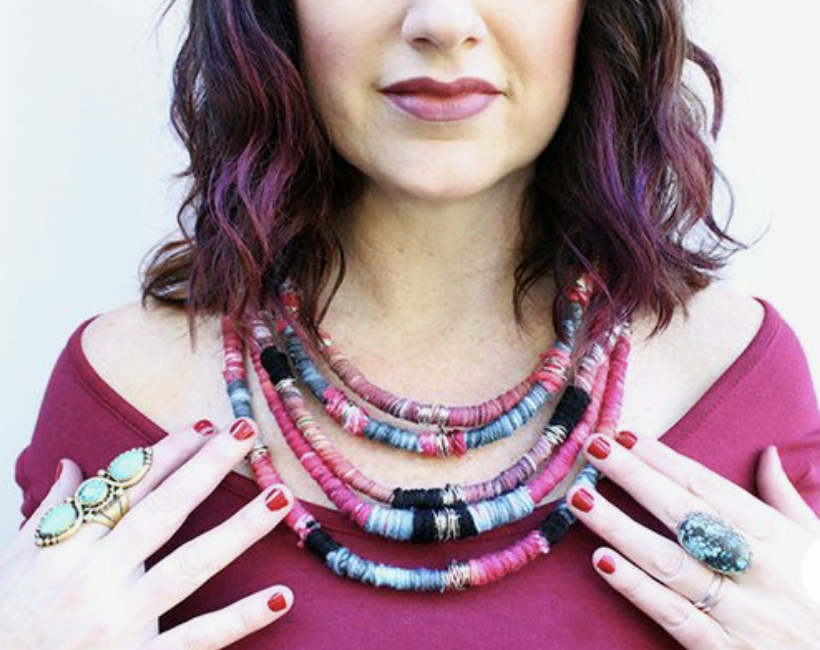
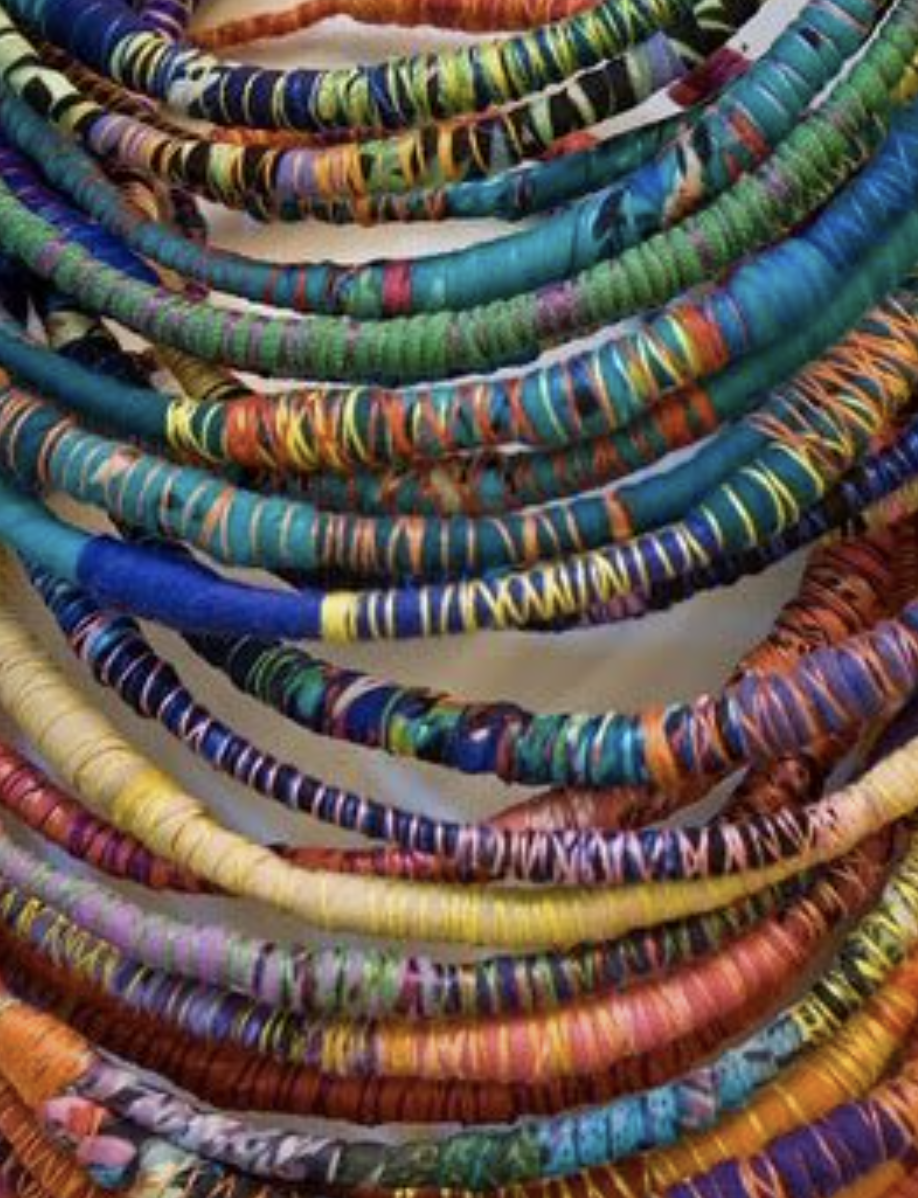
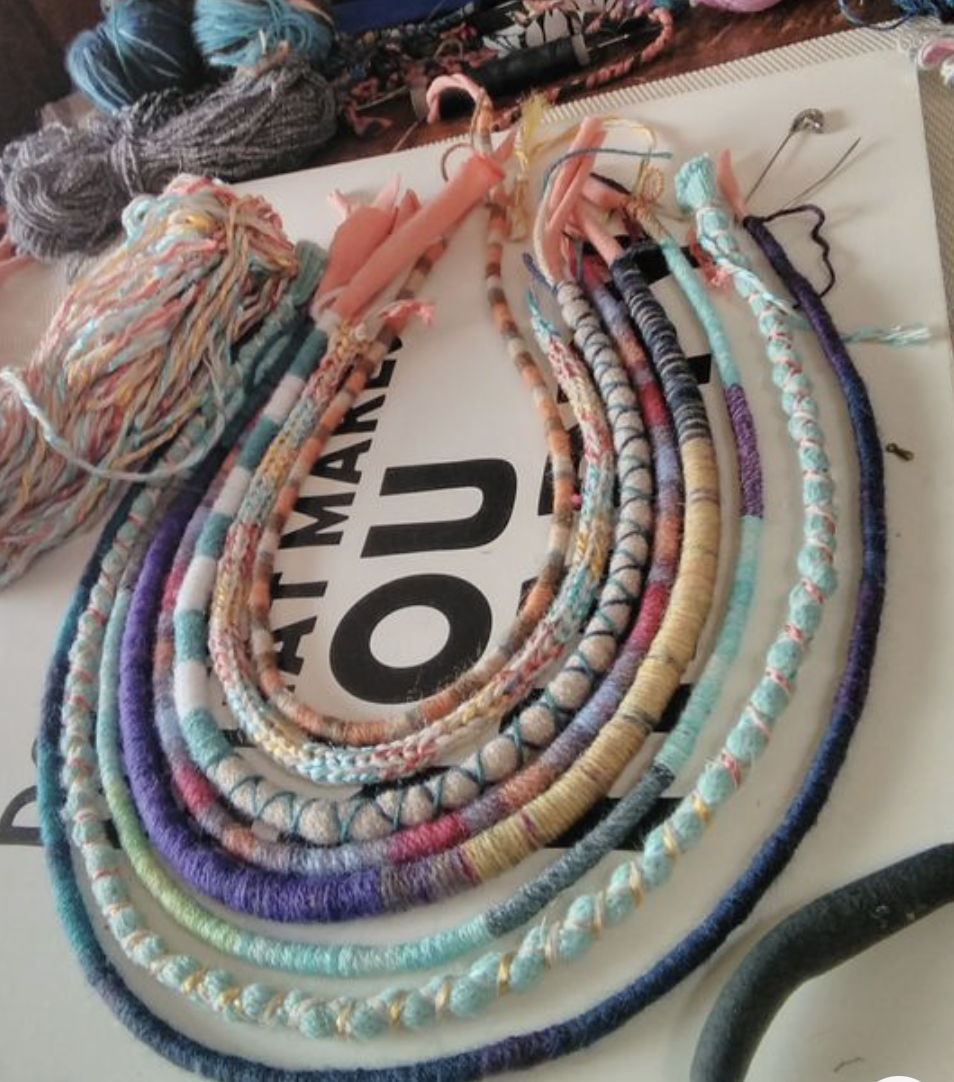
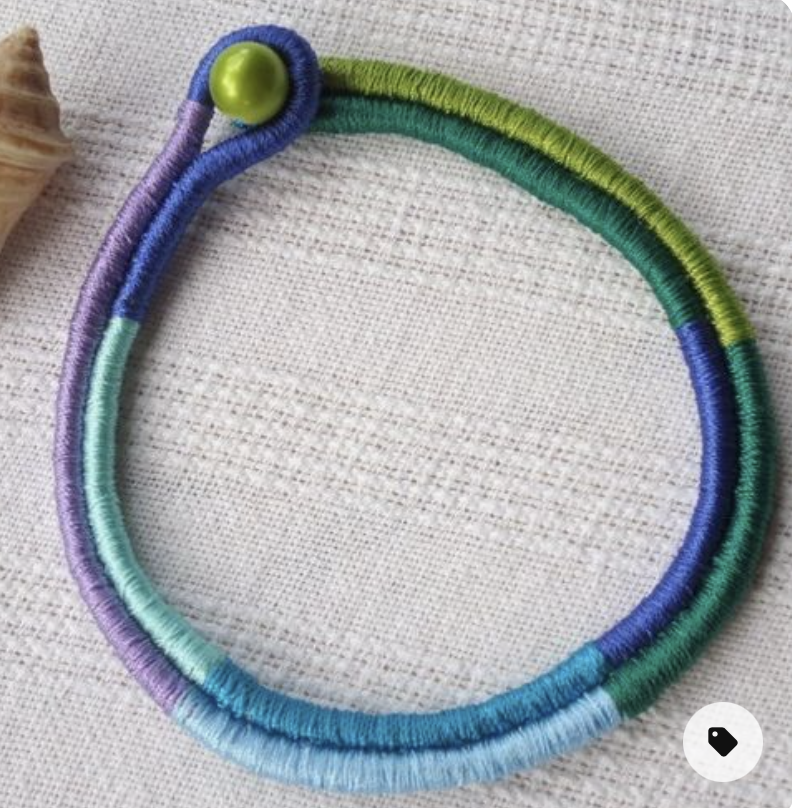
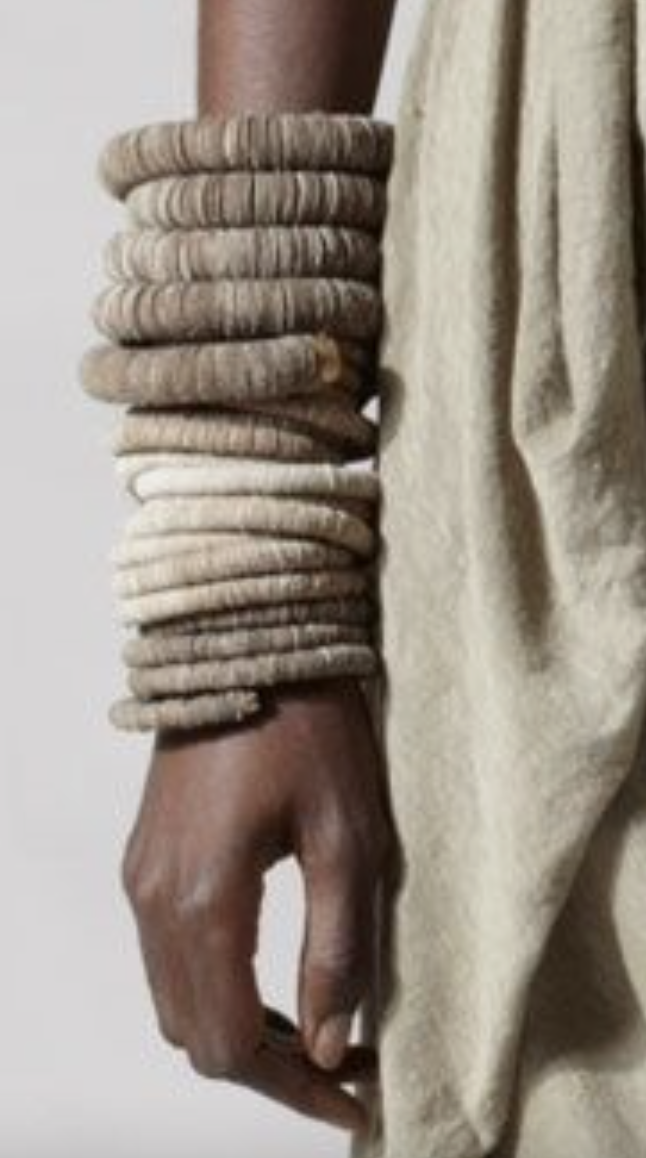
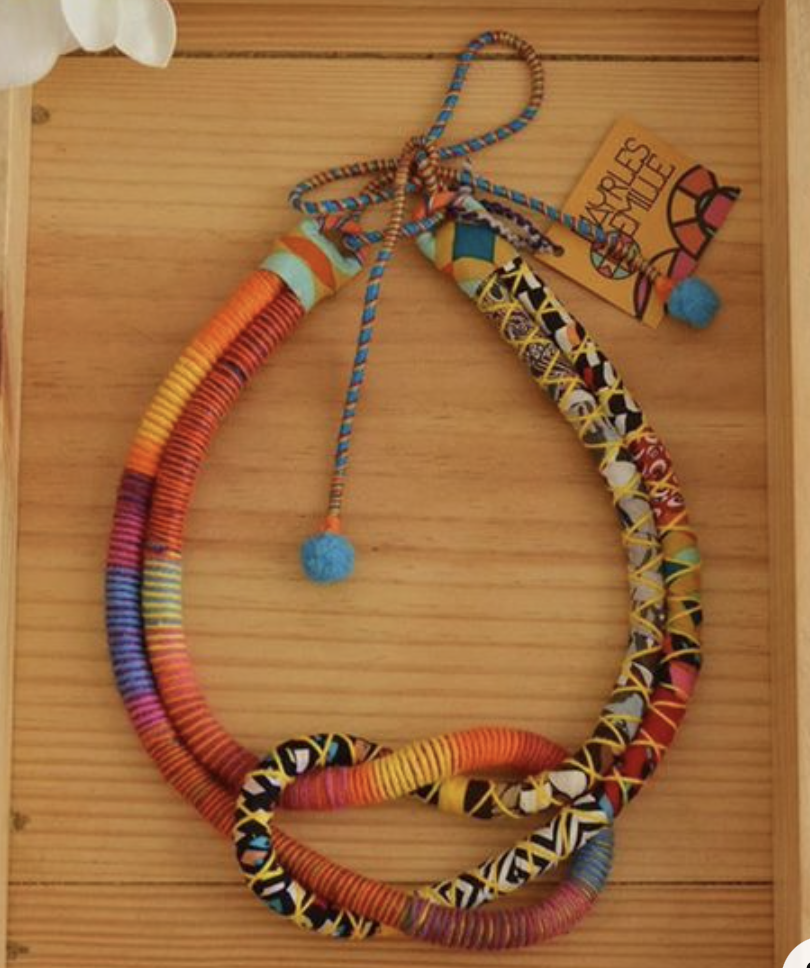
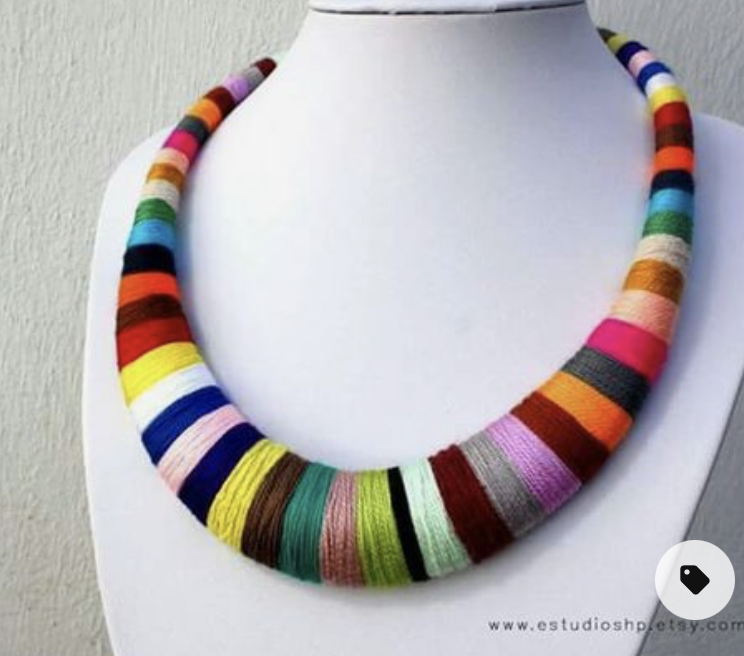
Using a very similar technique as the coiled basket, we will be creating statement jewelry pieces by wrapping scrap fabric with embroidery floss and/or yarn.
|
AuthorWrite something about yourself. No need to be fancy, just an overview. Archives
April 2024
Categories |
||||||||


 RSS Feed
