|
For this year's Student Surreal Art Show the theme is The Shape of Dreams!
Surreal Art explores the subconscious dream world of the artist. Pieces normally incorporate things that realistically could not exist in your normal life. Artists like Salvador Dali or Renee Magritte created works of art with objects that are larger than life, things floating in mid air, people or animals that are directed, enlarged, shrunken, or stretched and disfigured. Consider altering your image to create a captivating dream world. See Surreal Videos explaining the history and techniques of surrealism - Scroll down and watch the videos for more information about surrealism. Check out my Pinterest Board for all mediums HERE. Check out my Pinterest Board for Photography HERE. Artist Statement Each student will need to create a visual artwork that addresses the theme partnered with an Artist Statement. For the Artist Statement students are encouraged to reflect upon their creative processes and to articulate their artistic decisions, we ask students to consider the questions below as they reflect upon their artwork. Students mustlimit their responses to 50-75 words. A few suggested talking points:
0 Comments
Each year we participate in county-wide art shows and this year's Word & Image Show has the theme "I Am Enough". You will create an artwork representing your interpretation of this theme.
For your final project of the year you will be taking a series of 10 photos showing a sustained investigation of the topic of your choice.
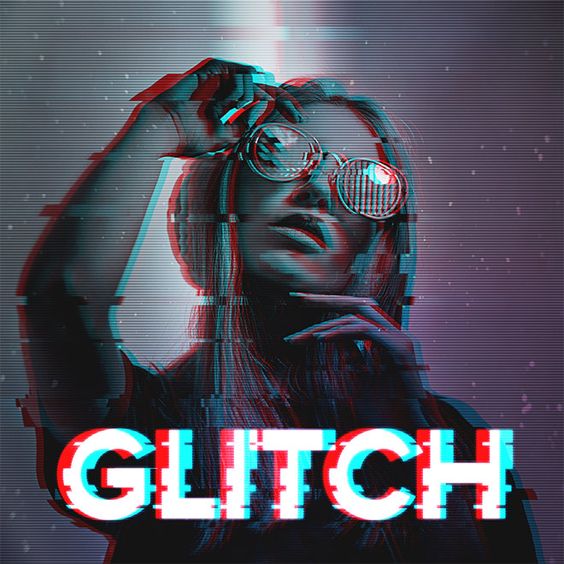
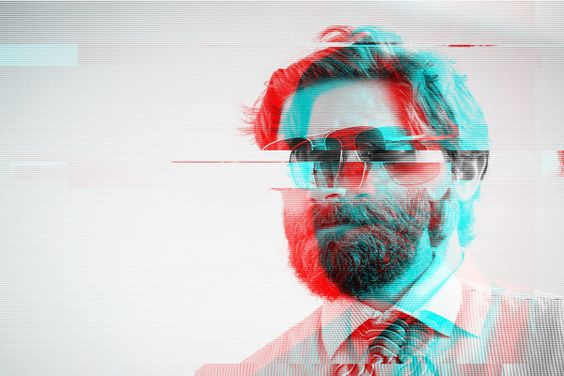
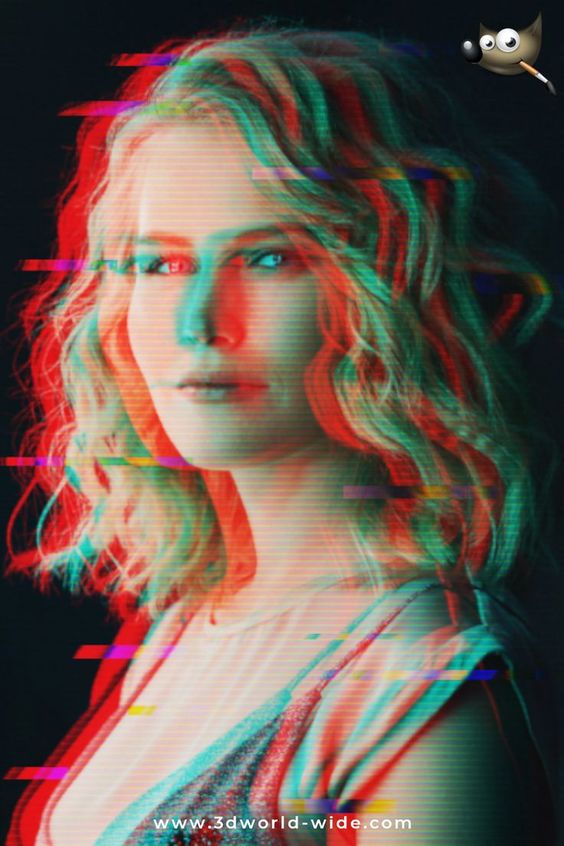
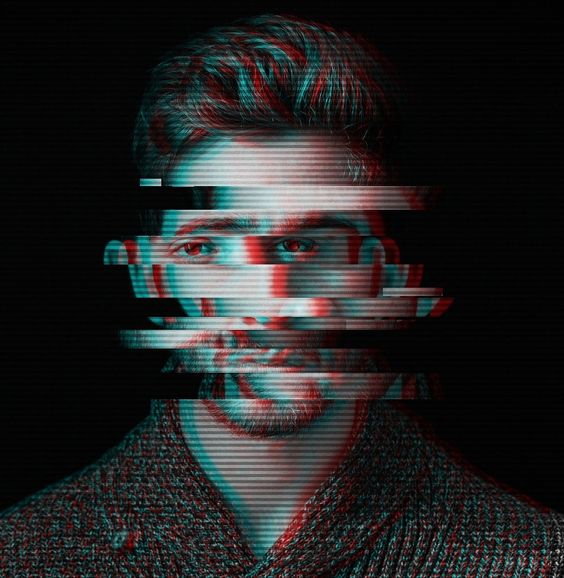
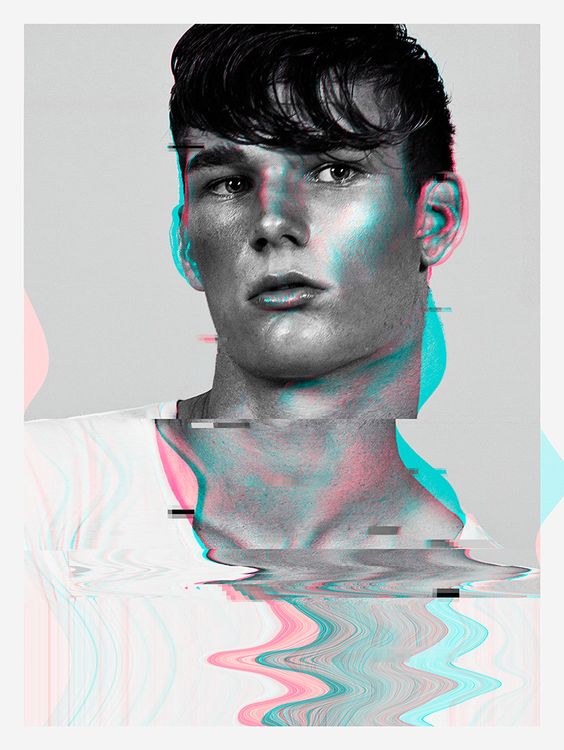
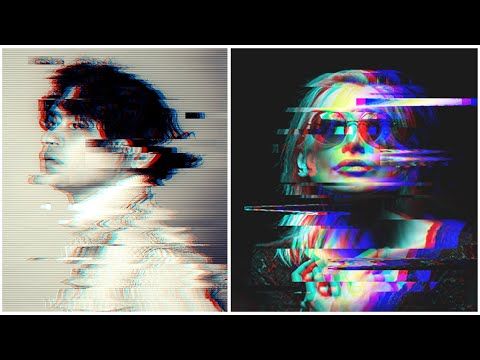
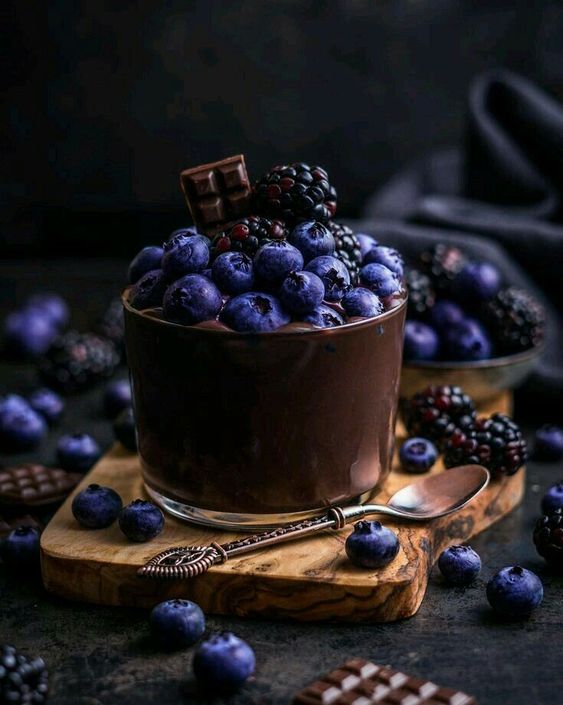
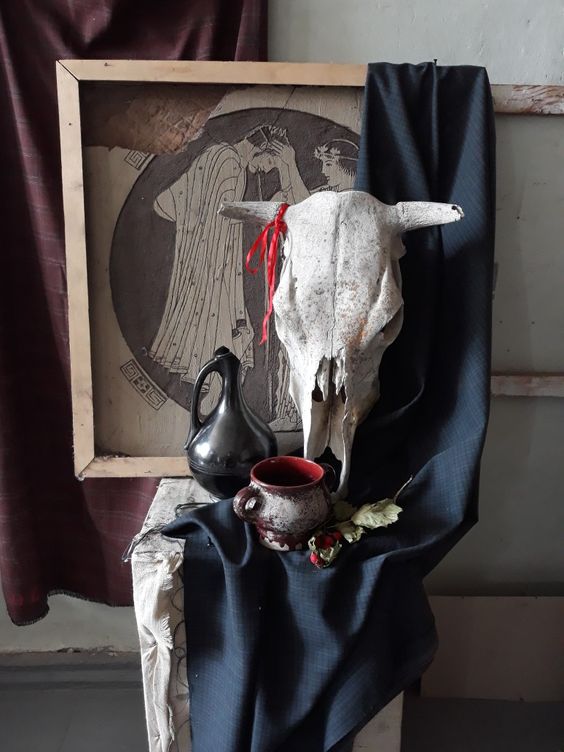
The Glitch effect is a modern day technique to make portraits or any image look like it's experience technical difficulties and glitching on the screen. For this project I want you to take a portrait of yourself or a friend in a highly stylized pose. Not just a candid shot of friends smiling in the hallways at school. Think about the technique we're using and how technology might play a role in what you or your friend are wearing or how they're posing so that the image compliments the technique. Click HERE to follow this tutorial or look one up with steps that you can follow more easily. ***You do not have to include text in your final design as is shown in the tutorial. A Still Life is an arrangement of objects on a surface. These objects are often grouped together and arranged thoughtfully to best showcase each object and the creative combination. Still Life arrangements can have a theme whether it's a color scheme, object specific like food items or children's toys, or simply look good together combining interesting colors, textures, and sheens. Lighting is also an important factor with still life arrangements. Think of soft accent lights lighting up the back of the arrangement giving a halo effect to your objects or lighting up the backdrop to accent the silhouette of your objects. You can even prop objects up on different planes using boxes under a fabric covering getting some height to certain areas. Working with ONE PARTNER or by yourself, you will plan out a still life design. You will be in charge of all the choices that go into creating an interesting still life arrangement: choosing fabrics, objects, surface space, lighting, theme, mood, etc. Mrs. Gates will provide some still life objects and fabrics but you can also bring items in for your arrangement. Click HERE for more examples! For the 4th marking period you will be taking a series of 5 photos showing a sustained investigation about a topic that interests you every 2 weeks. Week 1 - Select a topic that interests you and RESEARCH that topic in order to create a series of 10 photos that look like they go together based on your theme. Find at least two artists (could be photographers or traditional media like drawing or paintings, etc.) that work in the style or theme that you're interested in. Create either a digital or tangible sketchbook showcasing these artists and some personal notes about what you want to do. You cannot simply copy these artists, but use them as inspiration. Week 2 - Take your 5 Photos and EDIT them!
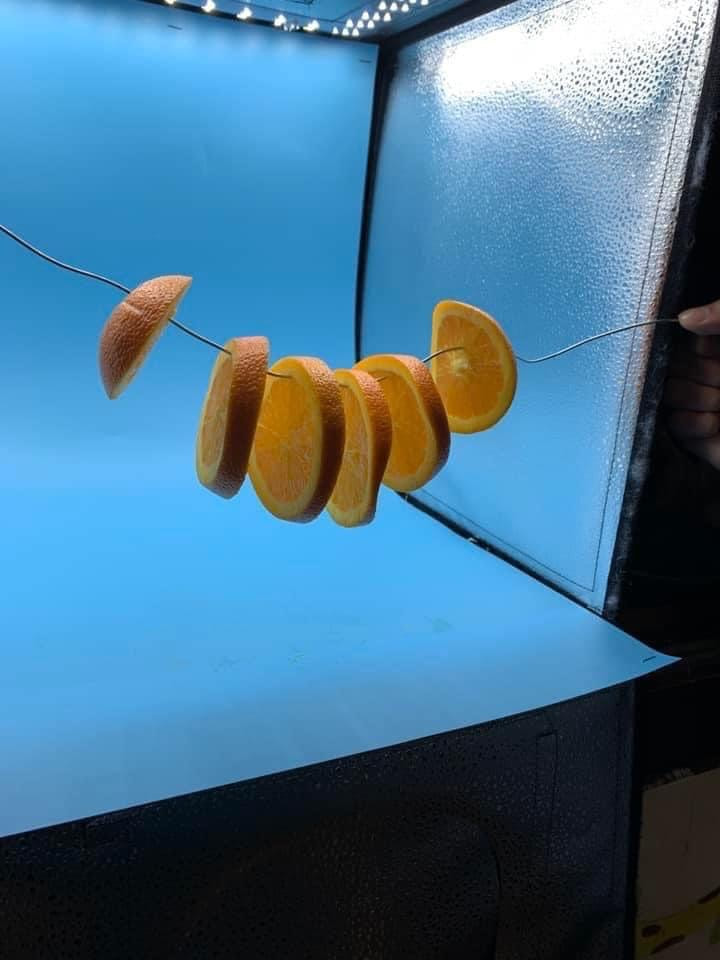
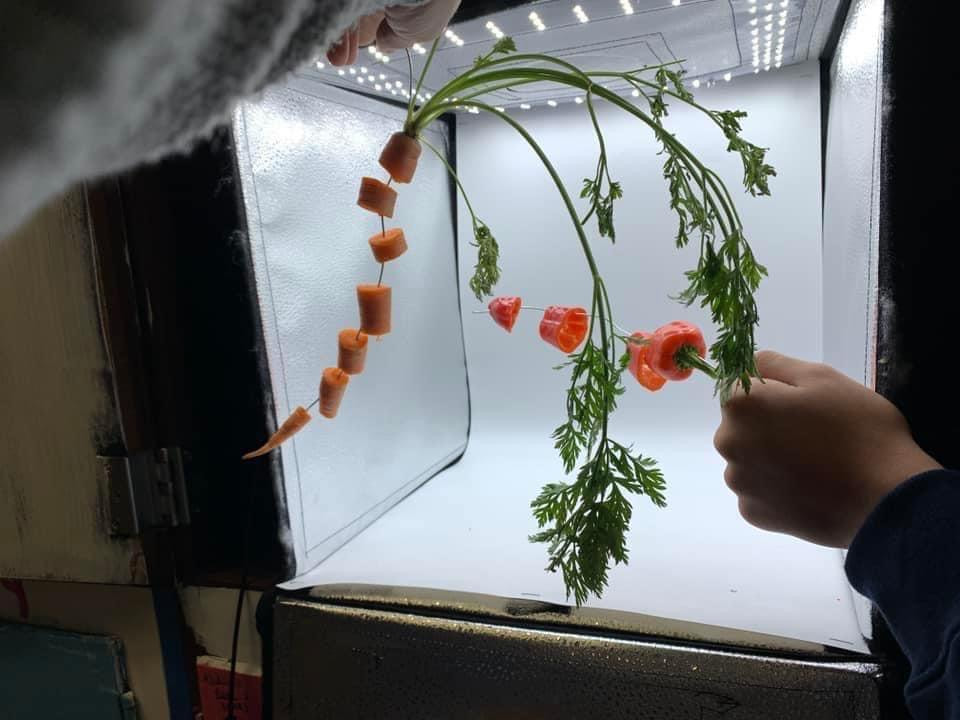
Example AP 2D Portfolio with Artist Statement Another Example of AP 2D Portfolio with Artist Statement Each student will create their own suspended, dissected objects using their Photoshop editing skills. The examples below are all of food items, but try to push the boundaries of what you could suspend. Any object(s) that can be cut into pieces or separated and held up suspended for the photo and then edited to remove the supports to make the object appear to float. You will have the use of the photo booths here in class and you may need to consider how to suspend your parts. I will have some items available like wire or string, but if you need something stronger to suspend your object think of that ahead of time. Any interested student can submit their digital work of art or photo to this optional Art Show. See flyer below for more information.  Using your collections from the Photo Scavenger Hunt, create 2 2-page spread layouts that have a creative design which includes your images, possibly shades and color schemes, as well as a creative title and possibly some sub texts like a description or paragraph.
To begin using typography in Photoshop, I want you to create a new document, add a title and a poem, song lyric, or short story. Play around with the size and types of fonts in the options mentioned in the video. I apologize for the dog barking at the end of my video. See my example below. Add shapes and colors for decoration. CLICK HERE to watch the tutorial  |
B.GatesNewest assignments appear at the top. Archives
May 2023
Categories |


 RSS Feed
