|
Take a couple photos and try to imagine a monster invading the image some how. Pick on image to illustrate a monster into the situation based off of Ben Rubin's subway illustrations. See website: http://www.businessinsider.com/subway-doodle-draws-monsters-next-to-unsuspecting-subway-riders-in-nyc-2016-9 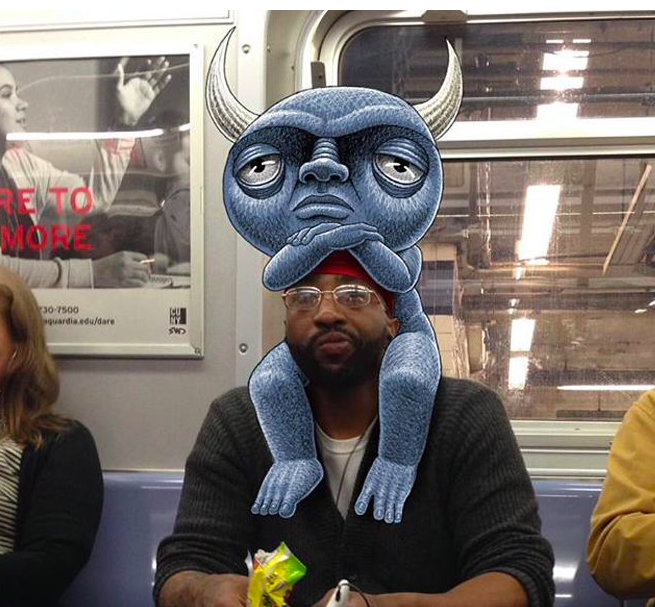
0 Comments
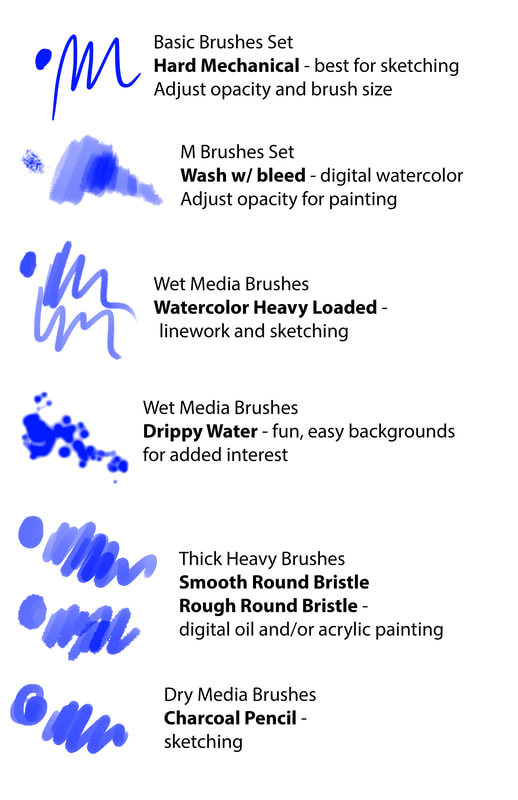
Choose an animal to recreate by digitally painting them using the stylus pen and Wacom tablet. You will want to try to match the texture, value and colors as closely as possible. The background could be realistic or abstract just using color or texture, but do not leave it white. You'll begin by finding a reference image or using one of your own images of an animal or insect. Open it up in PhotoShop. 1. Create a new layer. Fill that layer with white and move it under the Original Photo Layer. You will have to unlock the original photo. Label the "Photo" and "Background" layers. 2. Create a new layer and move it above the original photo. Label this layer "Sketch". Lower the Opacity of the original photo so you can see your drawing better. Use the Hard Mechanical brush which is good for sketching, or another brush of your choice. You can adjust the opacity so that it is lighter for a sketch where you can still see the details below. 3. Move the original image next to the sketch so you can view the original at the same time you're working on your illustration. To do this you need to have both photos open as separate documents in Photoshop, then go to Window on the top bar in Photoshop. Click on Arrange then select Tile Vertically. 4. Create a new layer for each part of your digital painting: a layer for the eye, nose or beak, feathers, etc. Each layer must be labeled correctly. Use the brush chart below for reference for different brushes that might be good to use for this painting. 5. When you're done with the animal, do the background by either creating an abstract background or drawing the natural background from the image.
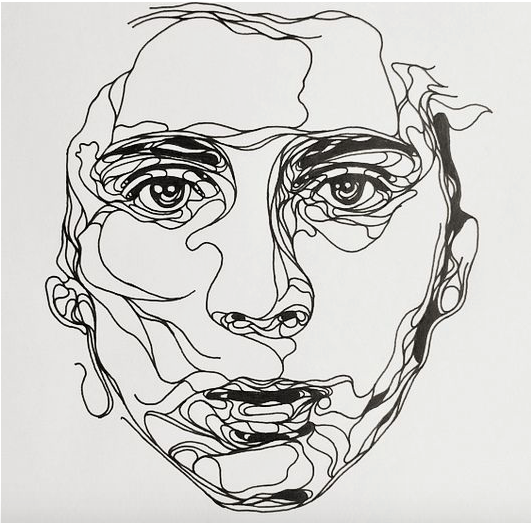
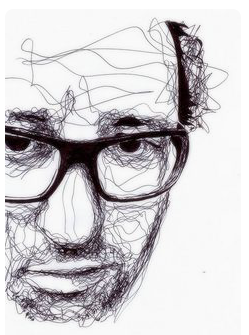
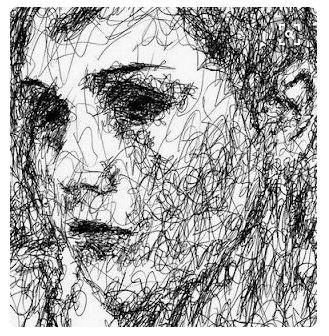
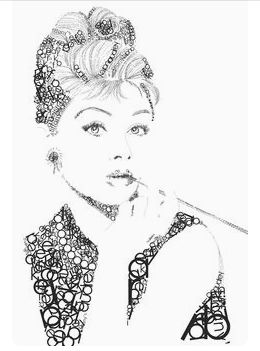
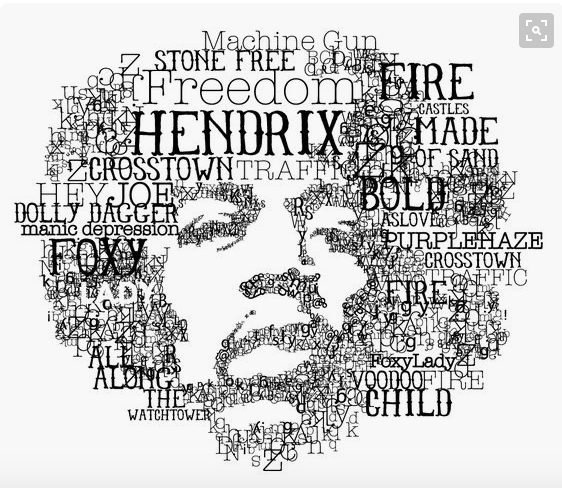
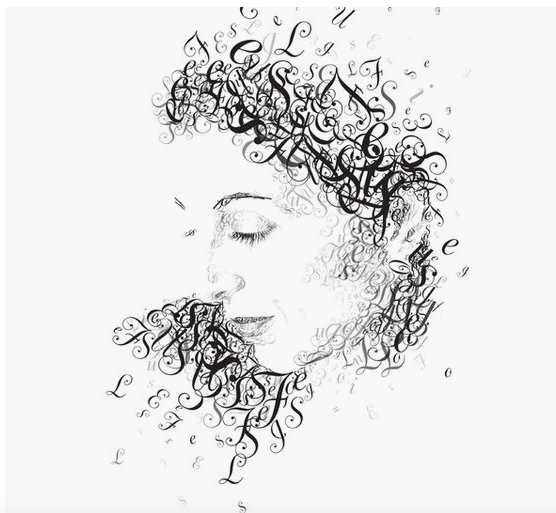
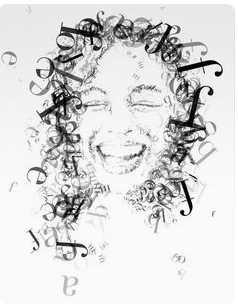
For this assignment, I want you to use one of your own photos to create a digital illustration of it. The photo can be a portrait, landscape, or still life. You will be adding illustrative elements to one of your photos that accent the design. If you want to simply create a linear drawing of your image that is fine too, or you can keep the original image and simply add illustrations to it. If you are comfortable adding value feel free to experiment with that. Use a clear portrait photo to add illustration to it in any style or pattern you choose by contouring around the parts of the face. We will be using the brush tools and the paint bucket tool to begin illustration. You will also be using the stylus pens and Wacom tablets for this project. 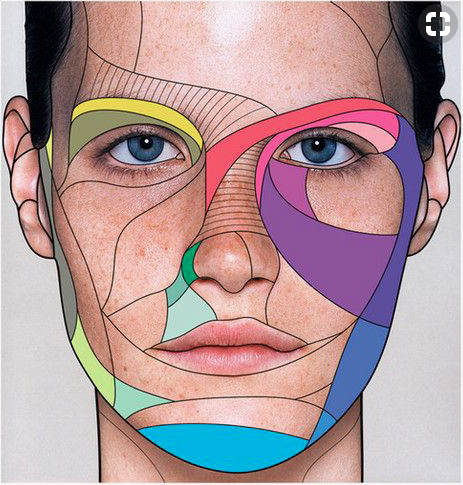 Using Photoshop and some of your own photos along with some animal photos from Morguefile.com you will create a double exposure image of a person and their spirit animal. I encourage you to play around with several adjustments and filters to alter the color schemes of both photos. Students will also need to add some layers with patterns or other images or textures to further develop their composition and enhance their images. IF you are comfortable experimenting with the drawing or painting tools you can add hand drawn elements in your composition. Start by opening an image of someone you know. Then try to find an animal using the website below that match the personality and/or pose of your person. To insert another picture on top of your original image, create a new layer, go up to FILE and down to PLACE EMBEDDED. You can change the opacity on the Layers page to make the animal layer more transparent. You could also erase the background of the animal so it's not present as much. See some examples below. The following websites have images you can use safely without copyright issues from online: morguefile.com search.creativecommons.org Create a low poly, highly realistic portrait of one of your favorite person. Get a high resolution image of the person you want to illustrate. After opening your image in Photoshop, select the Polygonal Lasso Tool, create a shape on a small portion of the face. Press Control+Command+F to give that shape the Average Blur effect on that selected area. Then press Command+D to deselect that area and repeat those steps for each section on the face. Below are two YouTube videos with tutorials if you need extra help. They both show different ways of doing this process. Watch the video tutorial here: www.youtube.com/watch?v=wnpI7TvUpQY Watch the video tutorial here: www.youtube.com/watch?v=kYe-VC6NIUM Using a selfie for reference, we will be creating an avatar. This can be as simple or as complicated as you are capable of doing. For beginners this will be an introduction into Photoshop and layers. Cut, Copy and Paste elements of photos and put them together to create an imaginary world. Try to make it as seamless as possible - like they actually belong together. Getting images that are clear and of similar color and resolution are key to this assignment. If you use images that are not yours, make sure you're allowed to use those images by searching through Morguefile.com or CreativeCommons.org. If you are comfortable illustrating, you can combine photos with illustration or you can do all illustration. When tracing your objects use either the Quick Selection tool or the Pologonal Selection tool. Go to EDIT then Copy and then go to the document you want to put it in to Paste the object in. You will have to choose TWO of the following options below to complete for your final. The projects you choose must be posted to your website no later than your scheduled final: |

 |  |
Author
B. Gates
Archives
April 2019
March 2019
February 2019
January 2019
December 2018
November 2018
October 2018
September 2018
August 2018
July 2018
April 2018
March 2018
February 2018
January 2018
November 2017
October 2017
September 2017
August 2017
April 2017
January 2017
September 2016
August 2016
 RSS Feed
